Post by kliff on May 15, 2009 6:14:55 GMT -5
Yeah, like I once said, these things are gonna be like Lays tater chips...can't do just one.
So, inspired by [glow=red,2,300]gy6rocket[/glow] and [glow=red,2,300]shookupart[/glow], not to mention the "ole man" comments on the Ruckus Forum(LMAO!), seriously, I luv those youngsters, they think way outside the box! I decided to start work on a "Bobber" project. A "bobber" in cycledom, is a bike that has had everything unneeded removed, and at least some minor power additions thrown in the mix.
So Wednesday, I'm heading for Atlanta to pick up another scoot, and get started. Ain't gonna be quick, as I've got other projects already on the fire, but stay tuned, rocket & shook done started a fire... I'm gonna run with it too. All detailed with pics, from the engine up grades, to frame mods & paint. By Thusday, I should at least have some pics of the sacrificial lamb up...after that.
Damn the torpedoes, FULL speed ahead!
[glow=red,2,300]Quick Reference Upgrades[/glow]
26Mar09
1500 RPM torque spring
14/37 (2.64:1 ratio) installed
High Angle, teflon coated variator installed
11.5gr rollers
Gates PowerLink Belt
27Mar09
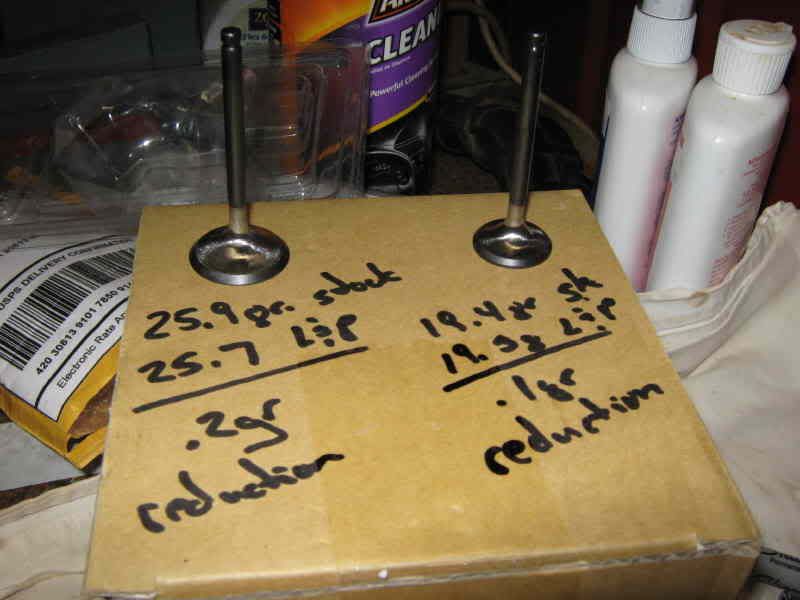
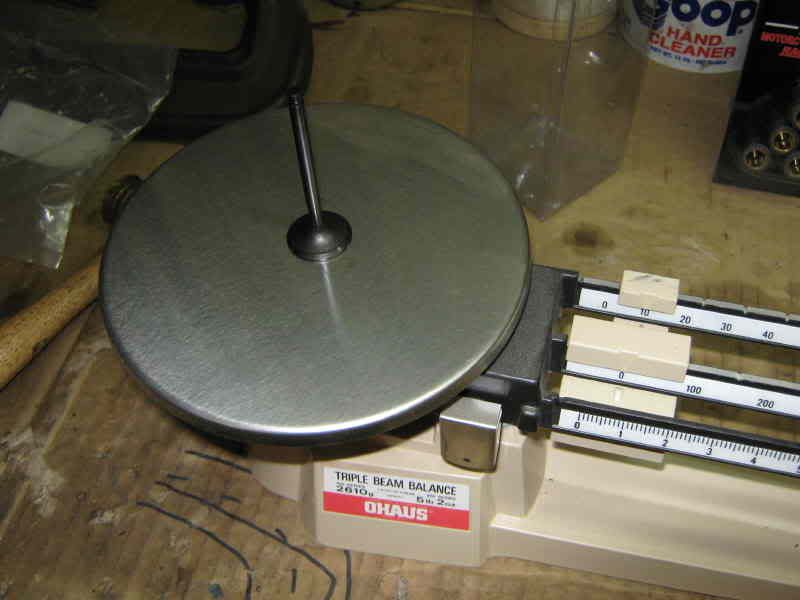
Valves lightenned and swirl polished
(int valv, 25.9>25.7= .2gr reduction)
(exh valv, 19.4>19.3= .1gr reduction)
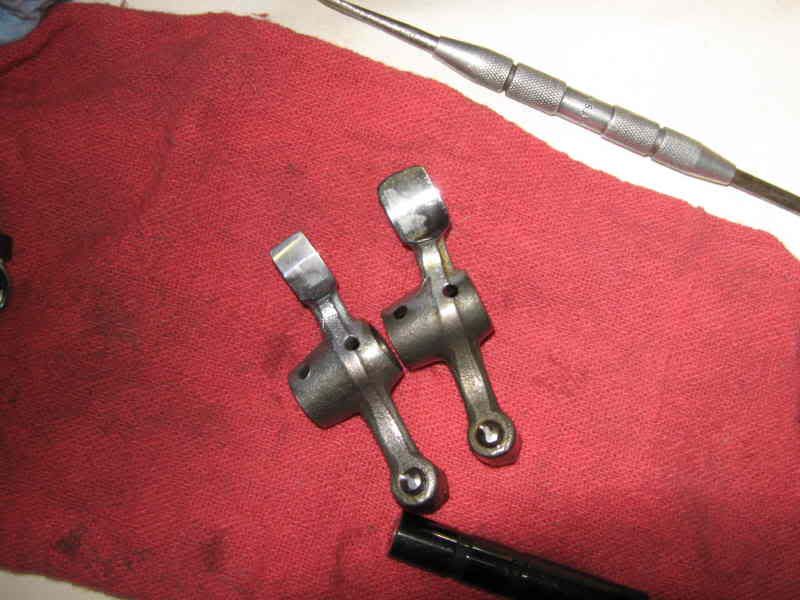
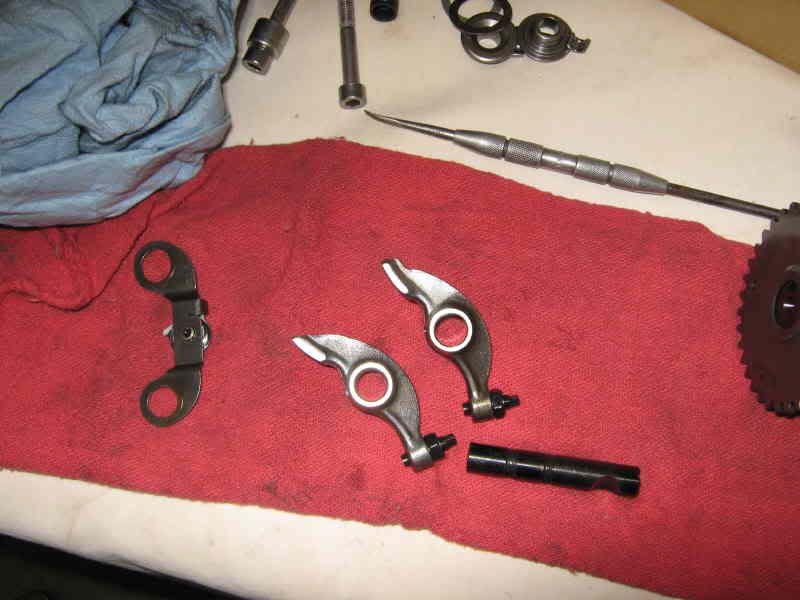
Rocker arms lightenned and polished
(ex rocker, 40.5gr >36.6gr = 4.0gr reduction)
(in rocker, 41.1gr > 36.9gr = 4.2gr reduction)
Intake and exhaust port matched
K&S super duty valve springs installed
Ring end gap set at .009"
59mm piston & cylinder installed
Head re-assembled and installed with A-9 cam
Now, down to bidness....
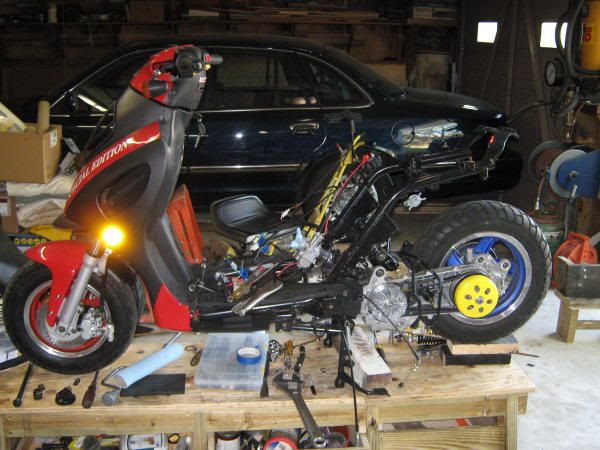
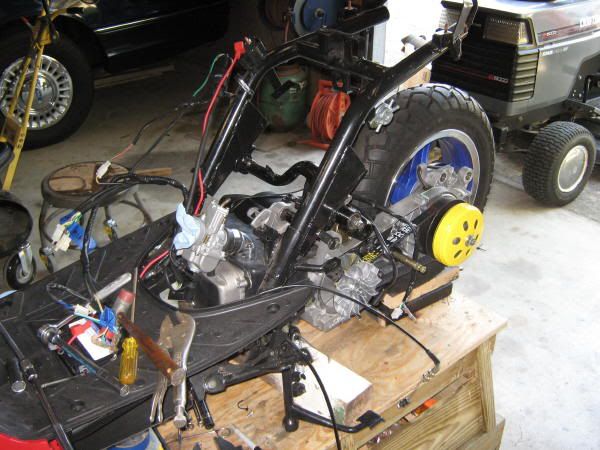
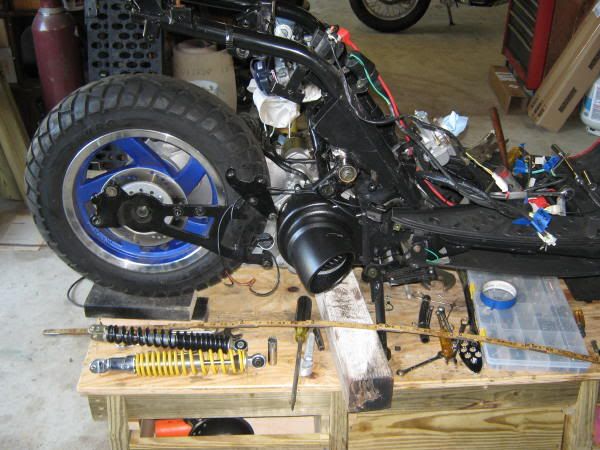
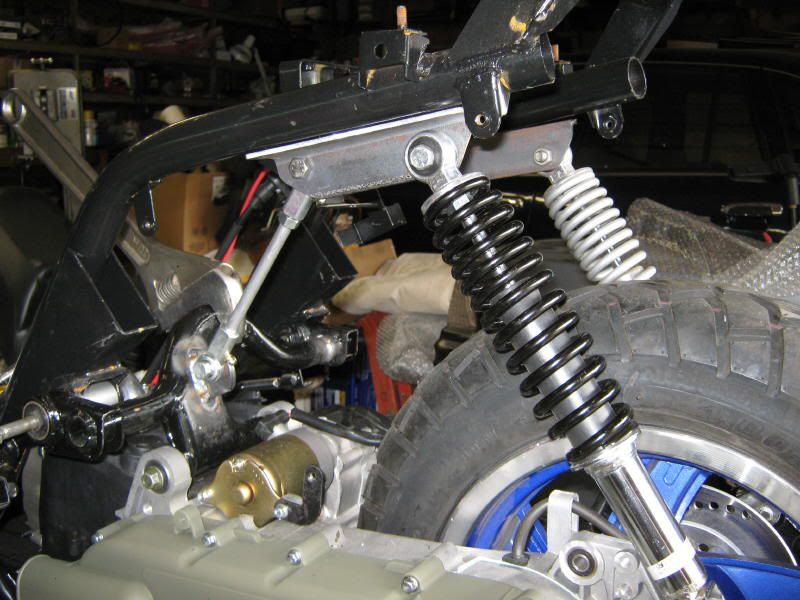
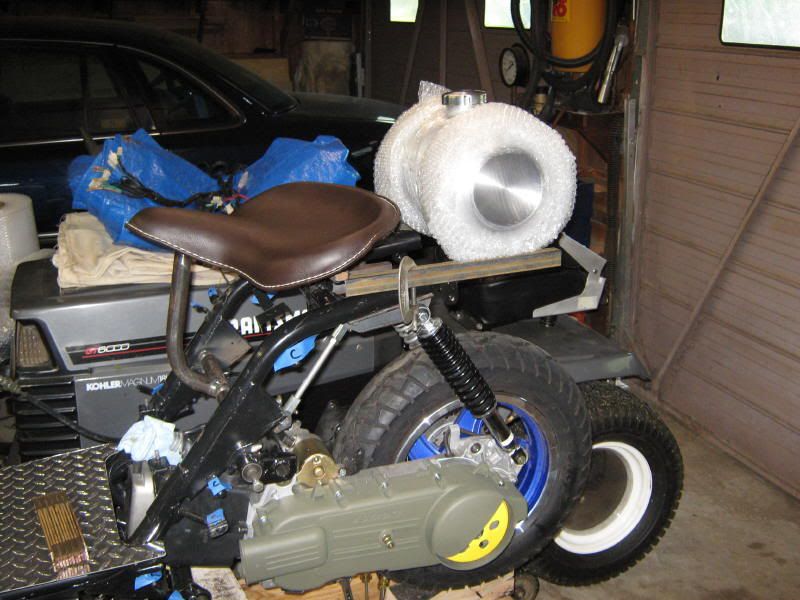
Picked up a larger frame, 150 tourer today, cosmetic damage, not running, 766 miles, for $300.00
Different frame design than that of shook or gy6rocket, but should make an interesting "Bobber." Got a feeling the cut & chop pile is gonna get rather extensive though, starting with every last piece of plastic and the seat!
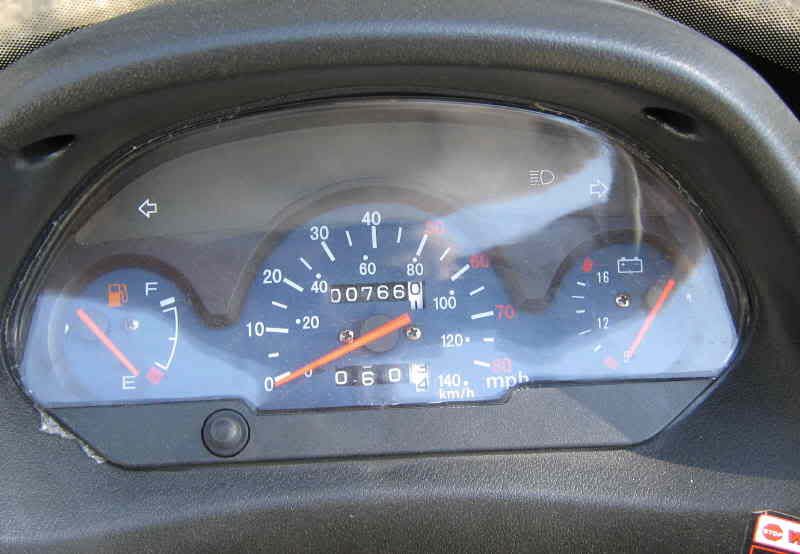
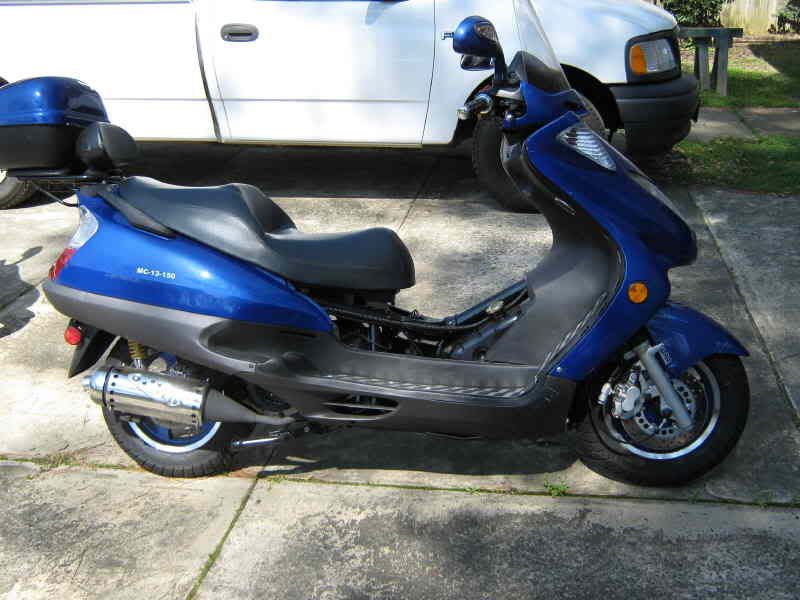
Well, why we're waiting, decided to get started on some power unit mods.
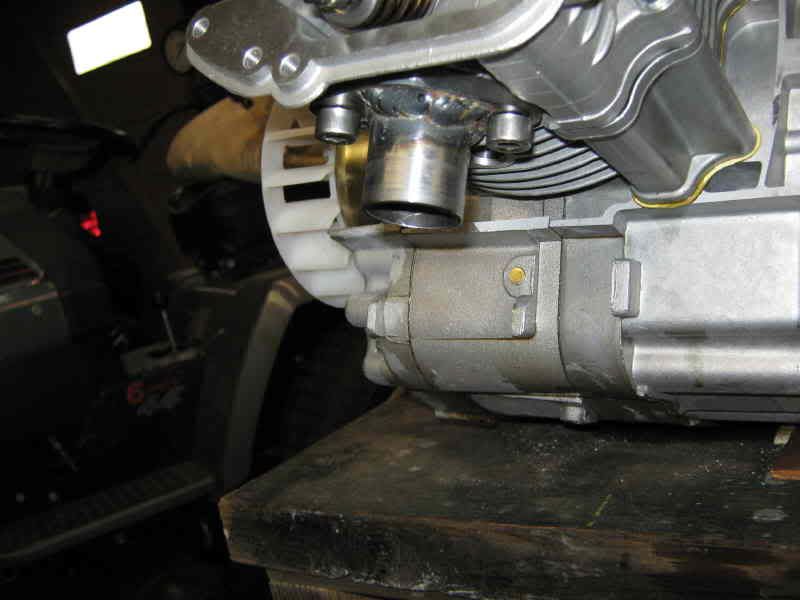
Started by fabbing the exhaust flange, and anti-reversion nipple...
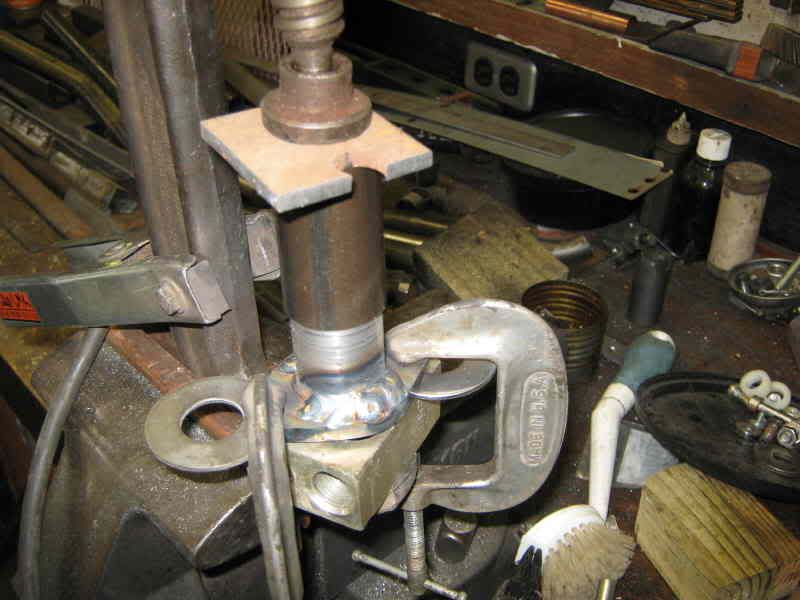
Yeah, that pic is a little confusing, but you'll see more romorrow, as I start port matching it to the head.
So, on to the drive unit.
Tore everything apart and cleaned with brake cleaner, then openned up the gear box and swapped some 15/37 NCY gears in, utilizing a new countershaft gear as well.
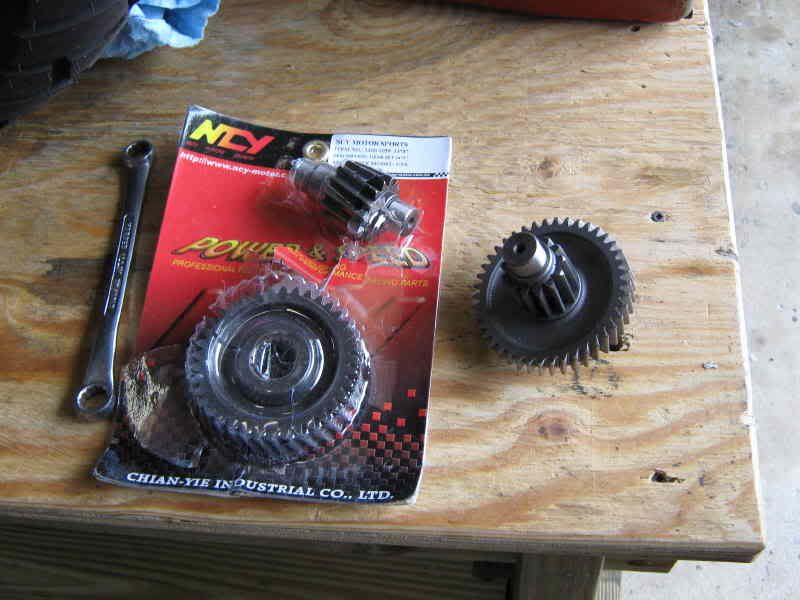
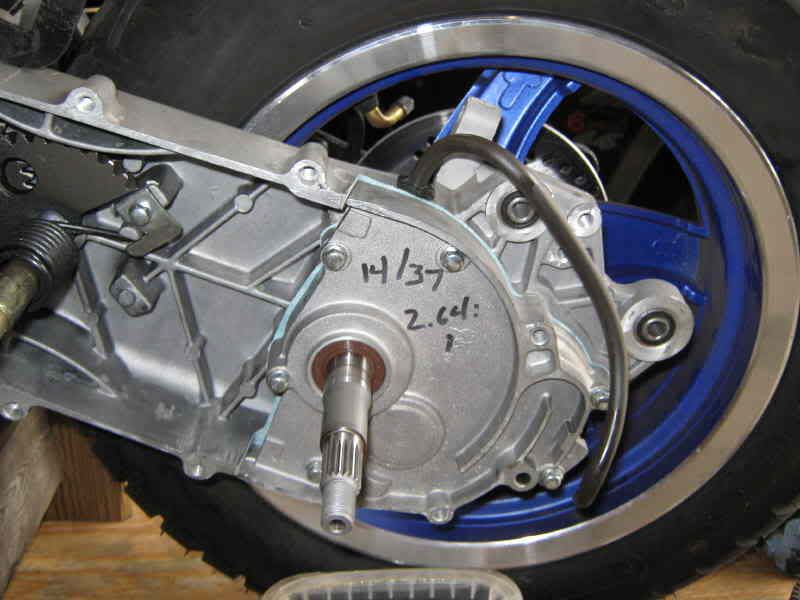
Added a 1500rpm torque spring...
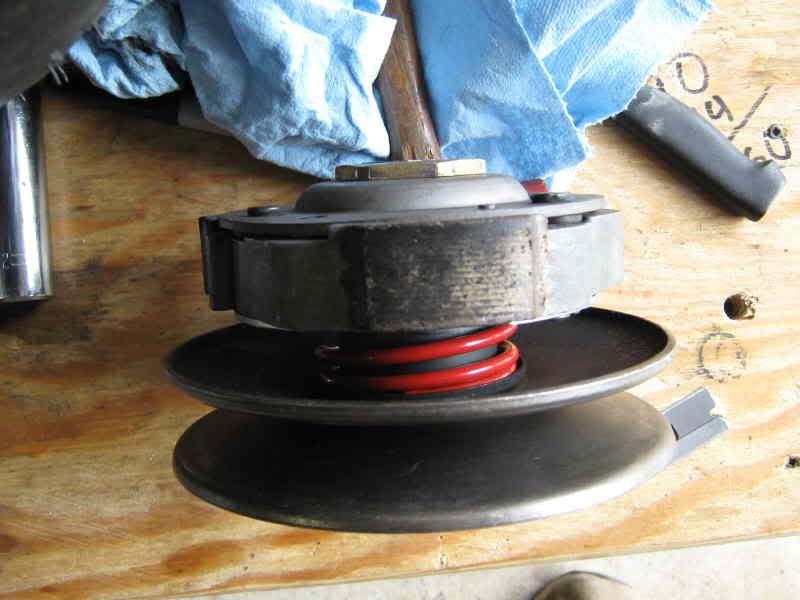
Installed a new "race variator, teflon lined, with 11.5gr weights and a new power-link belt, and painted the clutch drum.
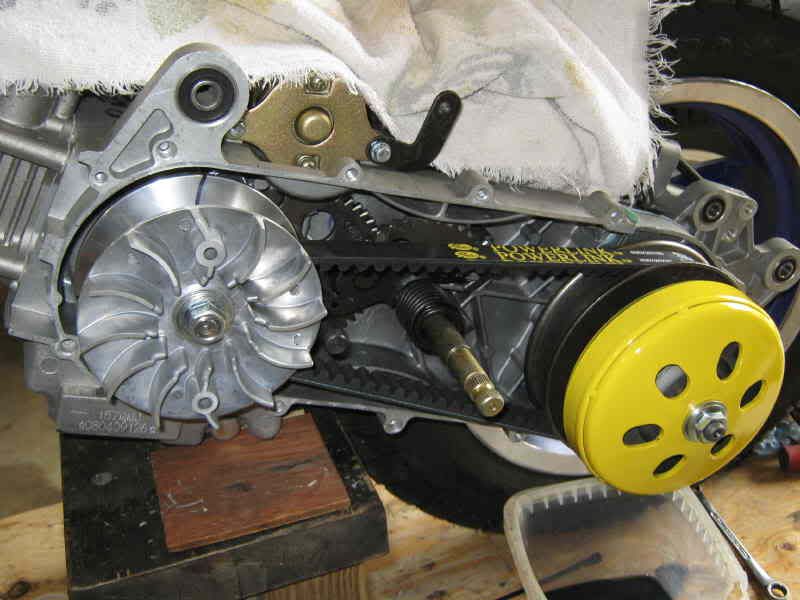
The original sleeve for the variator didn't want to slide easily on the new variator. So a light polish on the buffing wheel of the sleeve with some black rouge, and a light internal polish og the variator hub wit some 320 wet paper, and she's slipping and a sliding like grease on glass now!
Details guys, preassemble, find any problems, and square them away BEFORE final assy...
Tomorrow, some port matching of the head, lighgtenning the rocker arms, KS super duty valve springs, ring end gap adjustments....and just maybe we'll put that little 59mm top end on....LOL ;D
Got the top end on today...
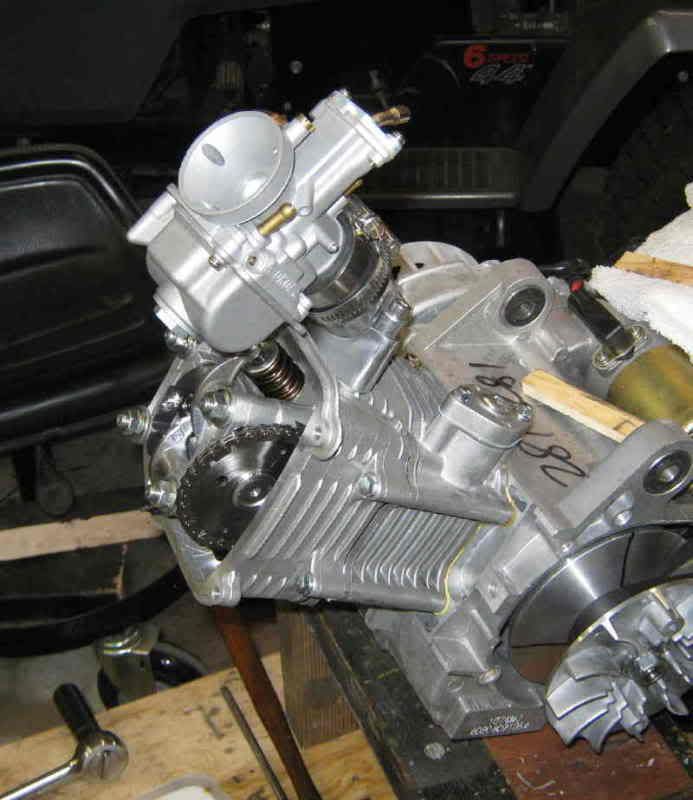
Lightenned the valves, and swirl polished, lightenned the rockers...
Port matched the intake, and exhaust rversion nipple...
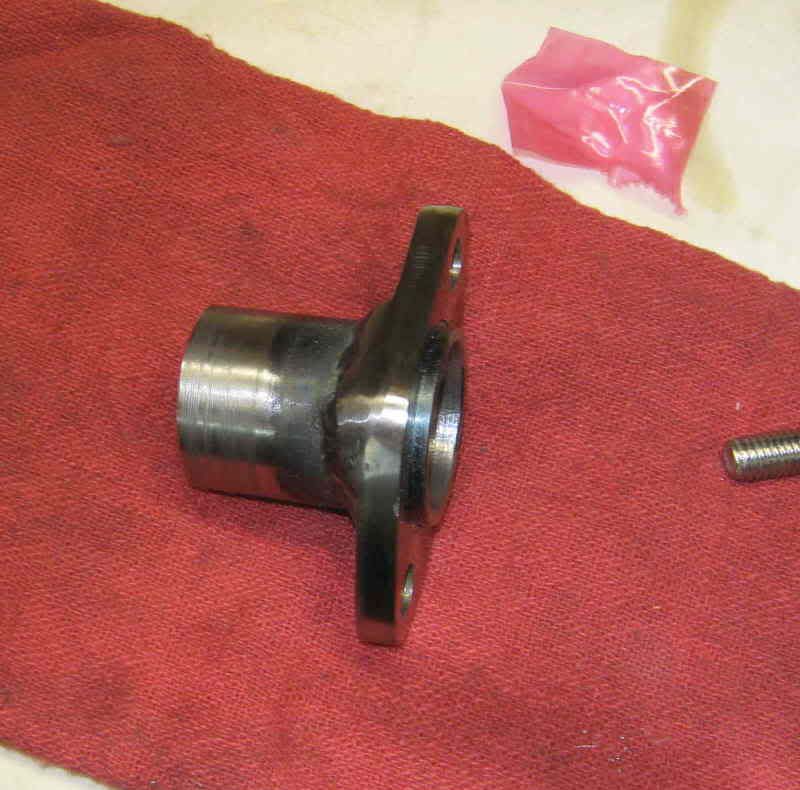
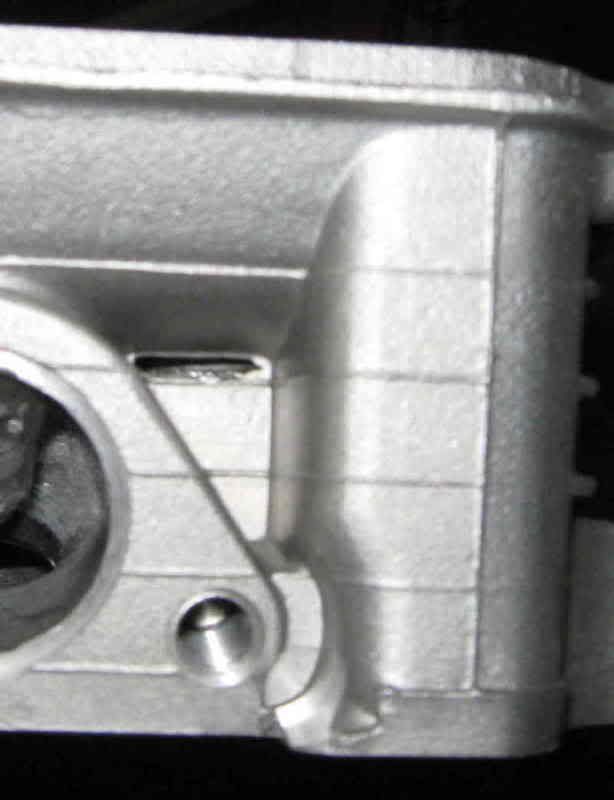
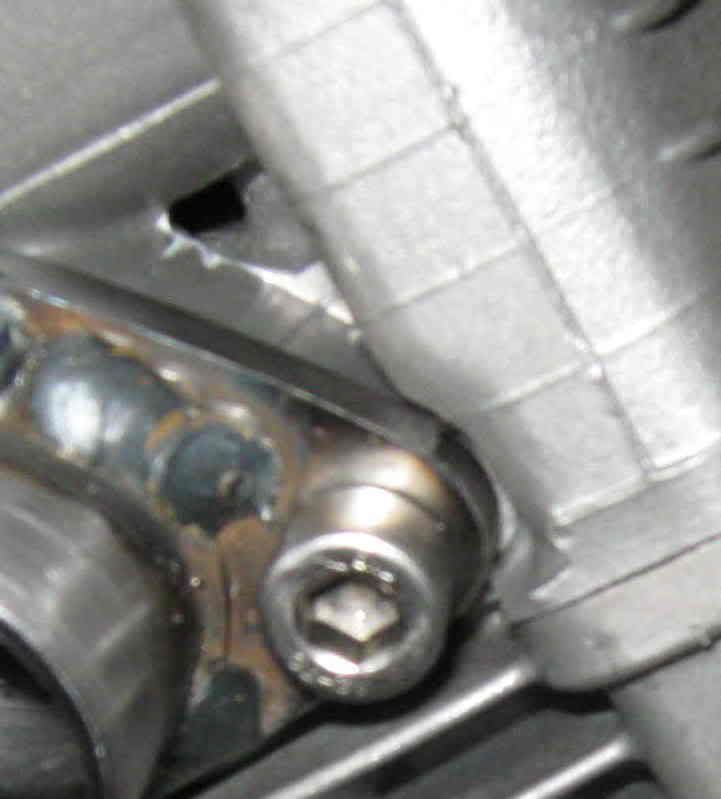
Openned up this flashing for improved air flow across the combustion chamber.
Couldn't do nuttin' without my trusty scales.....LOL!
The sacrificial lamb is here...
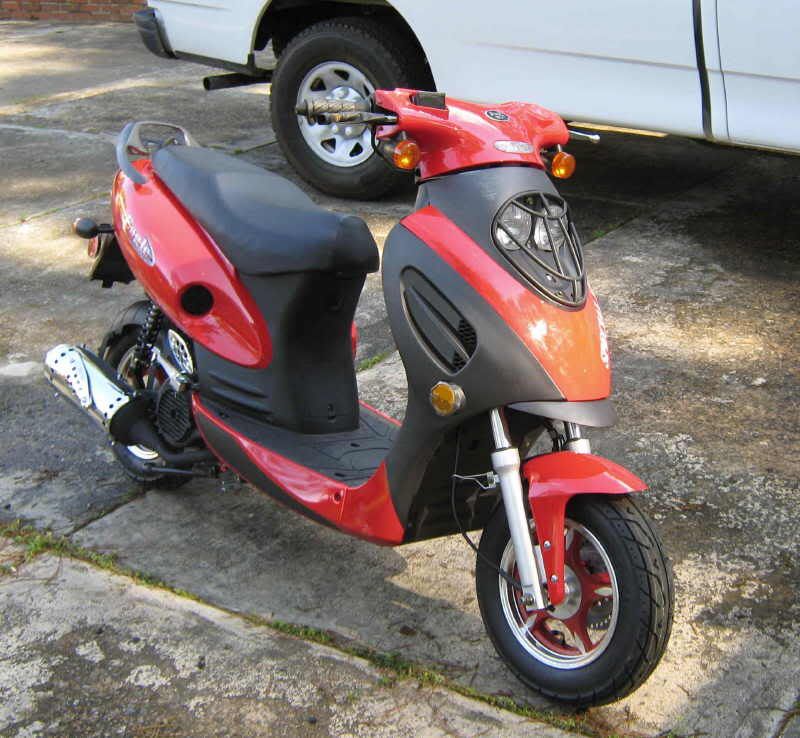
....she's gonna get her guts ripped out soon.... gonna have this thrown in there.
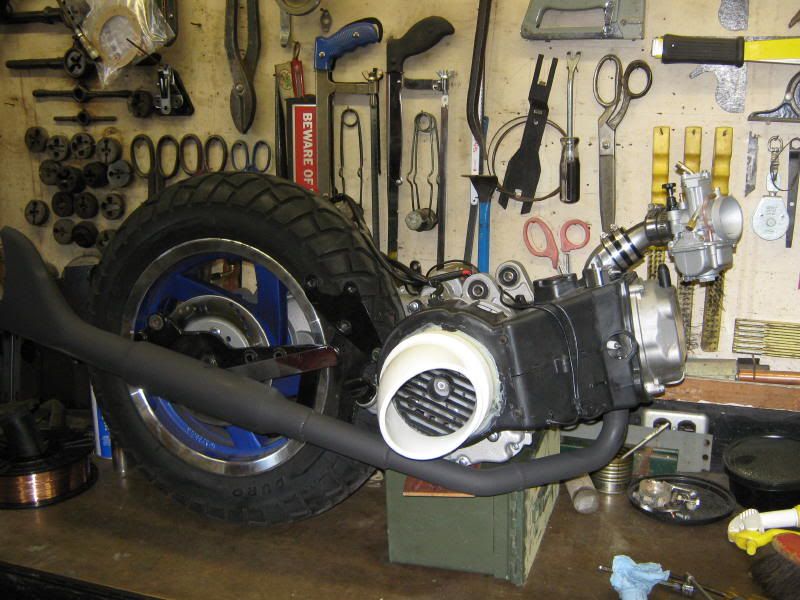
But to get to that point, this morning I started finishing up the exhaust. Goal #1 was to flow well in all rpm ramnges and avoid "drag-pipe-itis," the tuning nite mare that comes with LONG straight pipes, without baffles. They'll tune, but usually to one narrow rpm band and be either fat or lean off the sweet spot no matter what you do.
So I fabbed up the exhaust port nipple with a 1" i.d for 2"

Then, a 1.125" i.d. section, about 12" long, utilizing the sharp step at the port nipple for initial reversion prevention. Then we jump to a 1.375" i.d tubing for about 8" into the muffler, which has a 1.25" straight through core.
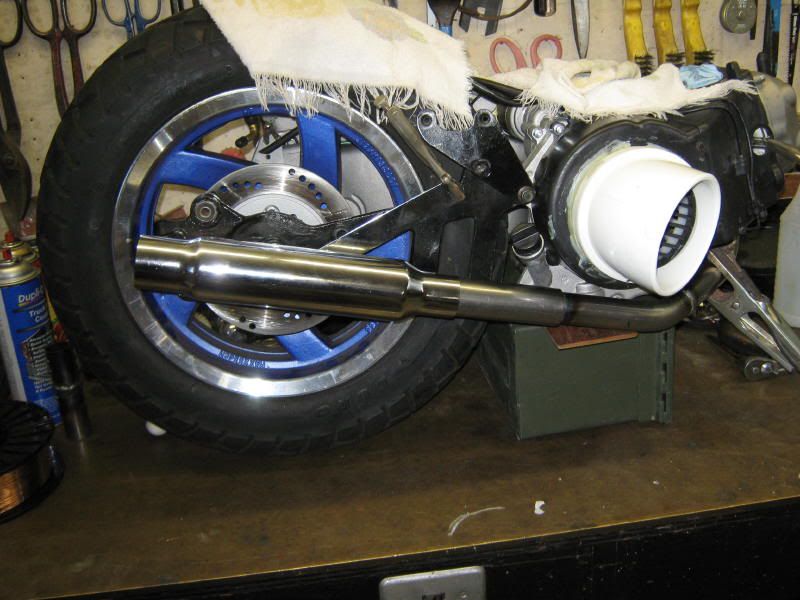
And finally to a 1.750" outlet with a strictly ornamental "Fishtail."
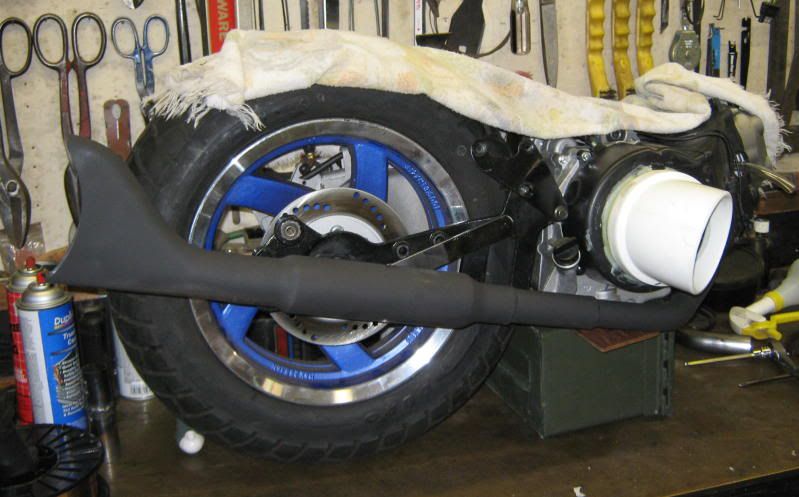
If all works well, this should be a well balanced system, with ultimate tuneability, regardless of rpm range.... if not, I guess I forgot something about my last 40 years...and back to the drawing board....LOL. We'll see soon enough.
Now, in response to MedMan... how did I go about lightenning my valves and rocker arms.
Simply put, material removal. How much and where....ahh, that is the question...
Rocker arms. The amount remoed can be seen in the side by side pics. Is this critical...YOU BET YOUR BUTT IT IS! Scew it up, and wipe out your cam...quick, as in seconds after initial start up. First, clean everyting, dissassemble the head, remove the valve springs. Apply machinist dye to the contact patch on the rocker arms, Install the cam, rockers etc, still without valve or springs. Rotate the cam, applying presure to the rocker on the cam by hand. You want the cam lobe to "mark the machinist die." Now dissassemble and look carefully at the contact patch. ith a scribe and straight edge, draw a border around the patch, in the virgin dye, about .020" away from the patch area. Now, all that blue area, outside the scribe line, can be removed. But slowly, without over heating the rocker. NO heat discoloration allowed! I use a 2"x72" knife making belt sander, and work bare handed so I can feel heat build-up, and quinch the part frequently in water. When taperring the back of the rocker, always do it in length with the arm, do NOT go cross grain. Yes, metal has "grain," and cross grain creates stress line, which lead to fractures...


Valve lightenning is a little easier....
Chuck the valve in a lathe, and spin a good rate, I like about 1000rpm. The withn a dremel tool and a sanding drum, start polishing the back of the head, slowly working up the stem. Concetrate on the head of the valve though. Again, low teps, liuttle pressure...take your time. A light swirl poilsh here will work wonders on mid-range and upper rpm ranges.
The lightenning of both components, add to valve spring and cam life, "spin up" is quicker too....MUCH quicker with lightenned valve train components.
Stock
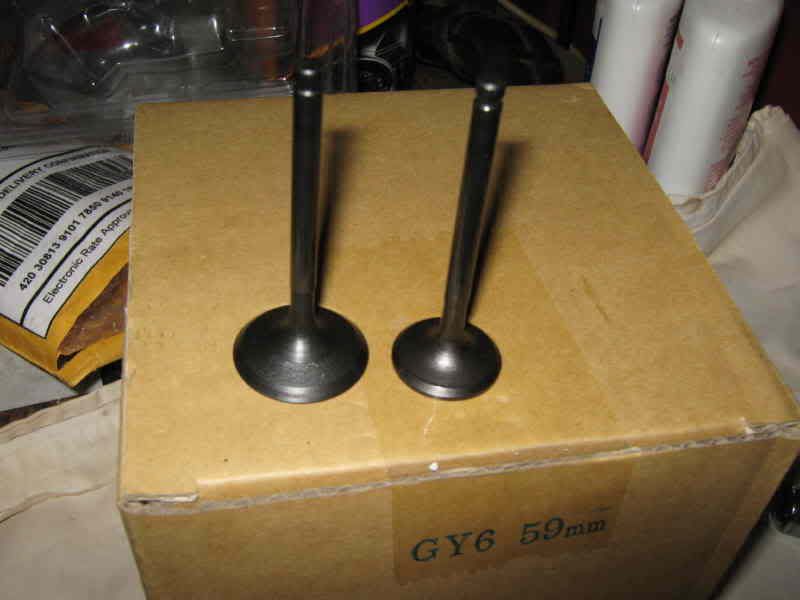
After swirl polishing/lightenning

So, inspired by [glow=red,2,300]gy6rocket[/glow] and [glow=red,2,300]shookupart[/glow], not to mention the "ole man" comments on the Ruckus Forum(LMAO!), seriously, I luv those youngsters, they think way outside the box! I decided to start work on a "Bobber" project. A "bobber" in cycledom, is a bike that has had everything unneeded removed, and at least some minor power additions thrown in the mix.
So Wednesday, I'm heading for Atlanta to pick up another scoot, and get started. Ain't gonna be quick, as I've got other projects already on the fire, but stay tuned, rocket & shook done started a fire... I'm gonna run with it too. All detailed with pics, from the engine up grades, to frame mods & paint. By Thusday, I should at least have some pics of the sacrificial lamb up...after that.
Damn the torpedoes, FULL speed ahead!
[glow=red,2,300]Quick Reference Upgrades[/glow]
26Mar09
1500 RPM torque spring
14/37 (2.64:1 ratio) installed
High Angle, teflon coated variator installed
11.5gr rollers
Gates PowerLink Belt
27Mar09
Valves lightenned and swirl polished
(int valv, 25.9>25.7= .2gr reduction)
(exh valv, 19.4>19.3= .1gr reduction)
Rocker arms lightenned and polished
(ex rocker, 40.5gr >36.6gr = 4.0gr reduction)
(in rocker, 41.1gr > 36.9gr = 4.2gr reduction)
Intake and exhaust port matched
K&S super duty valve springs installed
Ring end gap set at .009"
59mm piston & cylinder installed
Head re-assembled and installed with A-9 cam
Now, down to bidness....
Picked up a larger frame, 150 tourer today, cosmetic damage, not running, 766 miles, for $300.00
Different frame design than that of shook or gy6rocket, but should make an interesting "Bobber." Got a feeling the cut & chop pile is gonna get rather extensive though, starting with every last piece of plastic and the seat!


Well, why we're waiting, decided to get started on some power unit mods.
Started by fabbing the exhaust flange, and anti-reversion nipple...

Yeah, that pic is a little confusing, but you'll see more romorrow, as I start port matching it to the head.
So, on to the drive unit.
Tore everything apart and cleaned with brake cleaner, then openned up the gear box and swapped some 15/37 NCY gears in, utilizing a new countershaft gear as well.


Added a 1500rpm torque spring...

Installed a new "race variator, teflon lined, with 11.5gr weights and a new power-link belt, and painted the clutch drum.

The original sleeve for the variator didn't want to slide easily on the new variator. So a light polish on the buffing wheel of the sleeve with some black rouge, and a light internal polish og the variator hub wit some 320 wet paper, and she's slipping and a sliding like grease on glass now!
Details guys, preassemble, find any problems, and square them away BEFORE final assy...
Tomorrow, some port matching of the head, lighgtenning the rocker arms, KS super duty valve springs, ring end gap adjustments....and just maybe we'll put that little 59mm top end on....LOL ;D
Got the top end on today...

Lightenned the valves, and swirl polished, lightenned the rockers...


Port matched the intake, and exhaust rversion nipple...


Openned up this flashing for improved air flow across the combustion chamber.


Couldn't do nuttin' without my trusty scales.....LOL!

The sacrificial lamb is here...

....she's gonna get her guts ripped out soon.... gonna have this thrown in there.

But to get to that point, this morning I started finishing up the exhaust. Goal #1 was to flow well in all rpm ramnges and avoid "drag-pipe-itis," the tuning nite mare that comes with LONG straight pipes, without baffles. They'll tune, but usually to one narrow rpm band and be either fat or lean off the sweet spot no matter what you do.
So I fabbed up the exhaust port nipple with a 1" i.d for 2"

Then, a 1.125" i.d. section, about 12" long, utilizing the sharp step at the port nipple for initial reversion prevention. Then we jump to a 1.375" i.d tubing for about 8" into the muffler, which has a 1.25" straight through core.

And finally to a 1.750" outlet with a strictly ornamental "Fishtail."

If all works well, this should be a well balanced system, with ultimate tuneability, regardless of rpm range.... if not, I guess I forgot something about my last 40 years...and back to the drawing board....LOL. We'll see soon enough.
Now, in response to MedMan... how did I go about lightenning my valves and rocker arms.
Simply put, material removal. How much and where....ahh, that is the question...
Rocker arms. The amount remoed can be seen in the side by side pics. Is this critical...YOU BET YOUR BUTT IT IS! Scew it up, and wipe out your cam...quick, as in seconds after initial start up. First, clean everyting, dissassemble the head, remove the valve springs. Apply machinist dye to the contact patch on the rocker arms, Install the cam, rockers etc, still without valve or springs. Rotate the cam, applying presure to the rocker on the cam by hand. You want the cam lobe to "mark the machinist die." Now dissassemble and look carefully at the contact patch. ith a scribe and straight edge, draw a border around the patch, in the virgin dye, about .020" away from the patch area. Now, all that blue area, outside the scribe line, can be removed. But slowly, without over heating the rocker. NO heat discoloration allowed! I use a 2"x72" knife making belt sander, and work bare handed so I can feel heat build-up, and quinch the part frequently in water. When taperring the back of the rocker, always do it in length with the arm, do NOT go cross grain. Yes, metal has "grain," and cross grain creates stress line, which lead to fractures...


Valve lightenning is a little easier....
Chuck the valve in a lathe, and spin a good rate, I like about 1000rpm. The withn a dremel tool and a sanding drum, start polishing the back of the head, slowly working up the stem. Concetrate on the head of the valve though. Again, low teps, liuttle pressure...take your time. A light swirl poilsh here will work wonders on mid-range and upper rpm ranges.
The lightenning of both components, add to valve spring and cam life, "spin up" is quicker too....MUCH quicker with lightenned valve train components.
Stock

After swirl polishing/lightenning




 CAN YOU HELP ME OUT MAN,AS i LOST ME JOB DUE TO NOT BEING ABLE TO GET THERE?ANY INF