
Post by katastruff on May 31, 2015 7:14:49 GMT -5
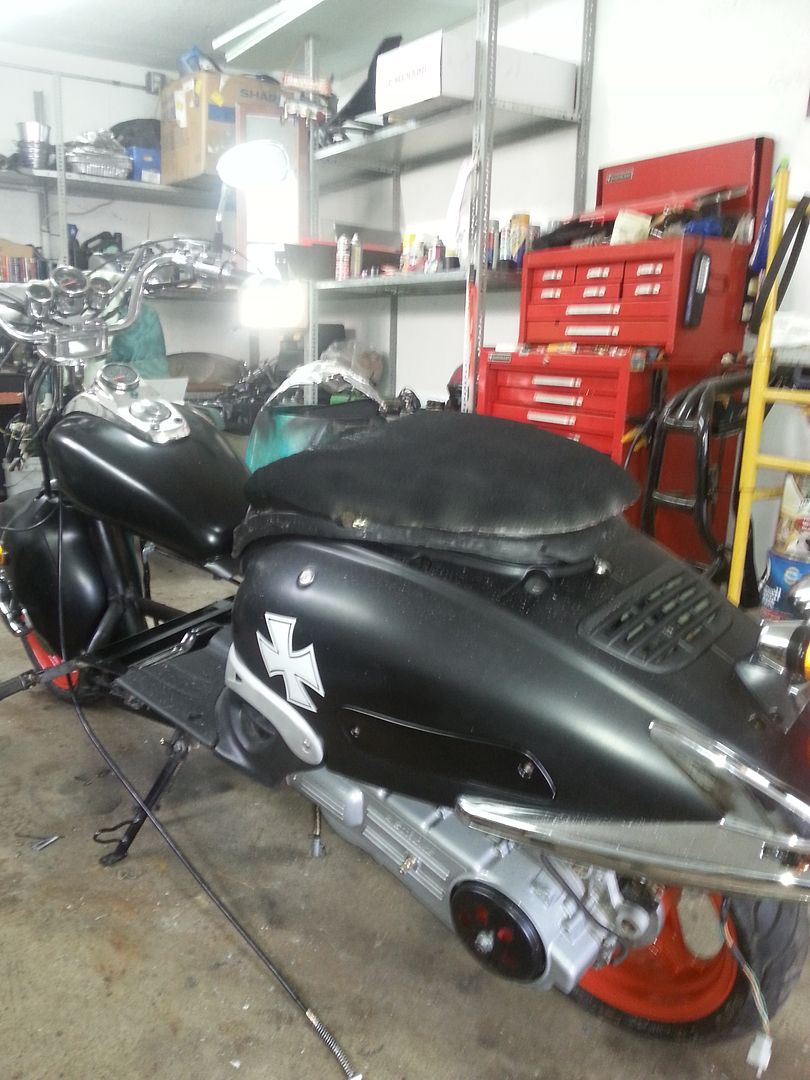
Hi, its been a while since i posted here, its been a pretty busy winter and spring for me with work and my scooter. I.m almost done with my build, just got a few loose ends to finish so here it is.
This build will mostly be about slightly modifying the look of the scooter. I will be stretching it from the middle, adding a bike gas tank on a reinforcement bar, the wheels will go from 10 to 13 inches, a full paint job, and a new head light.
On the mechanical side, its getting a new variator Malossi Multivar. I'm still planning to add the dial-a-je kit and the oxy sensor, but those 2 thing are pretty much at the bottom of my "to do" list.
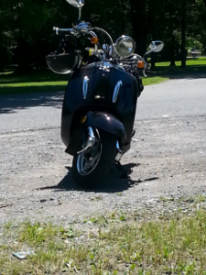
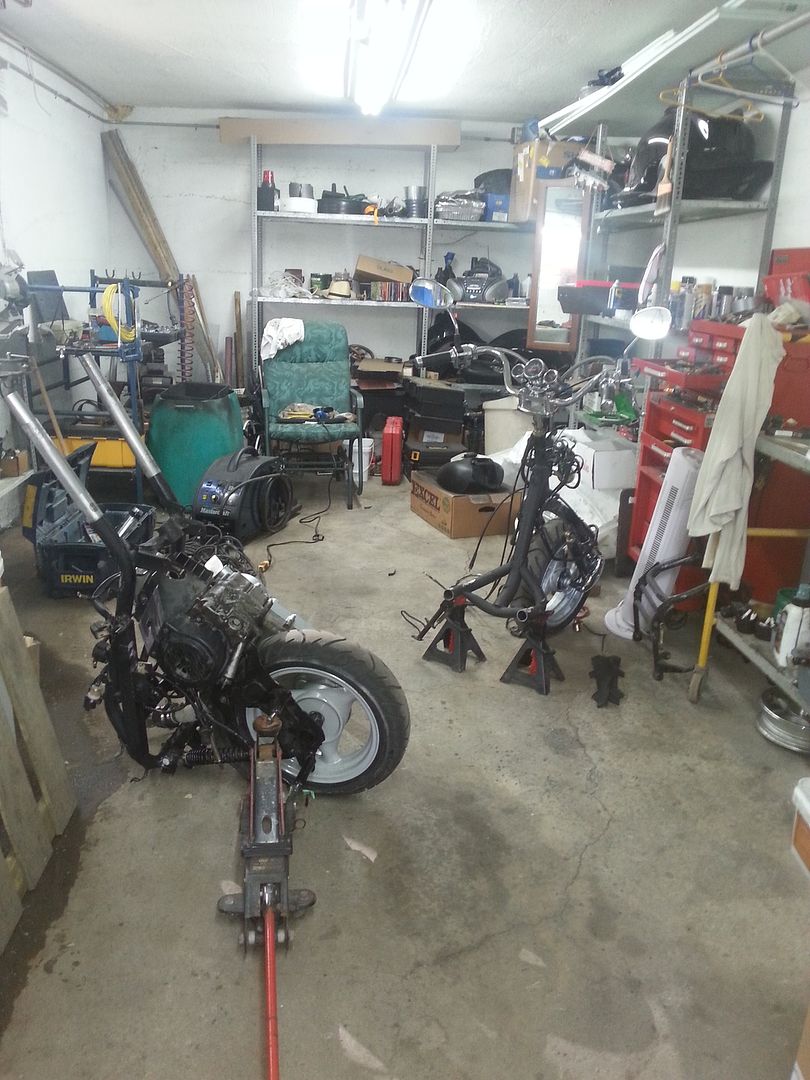
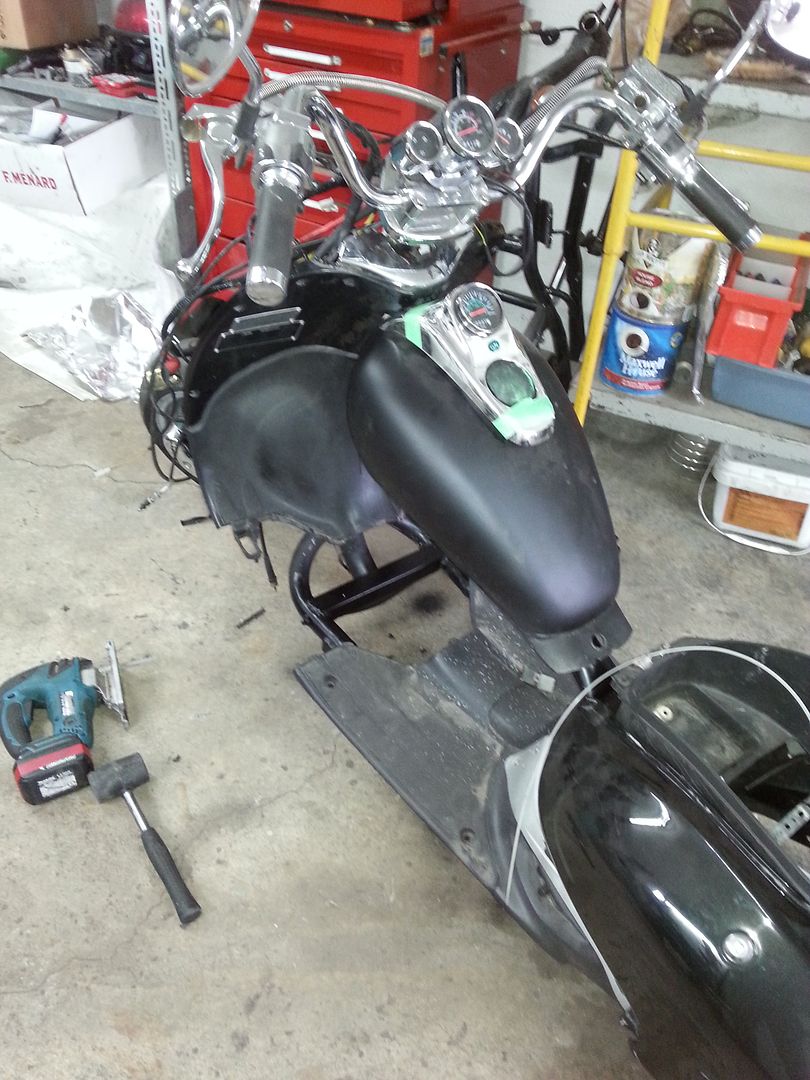
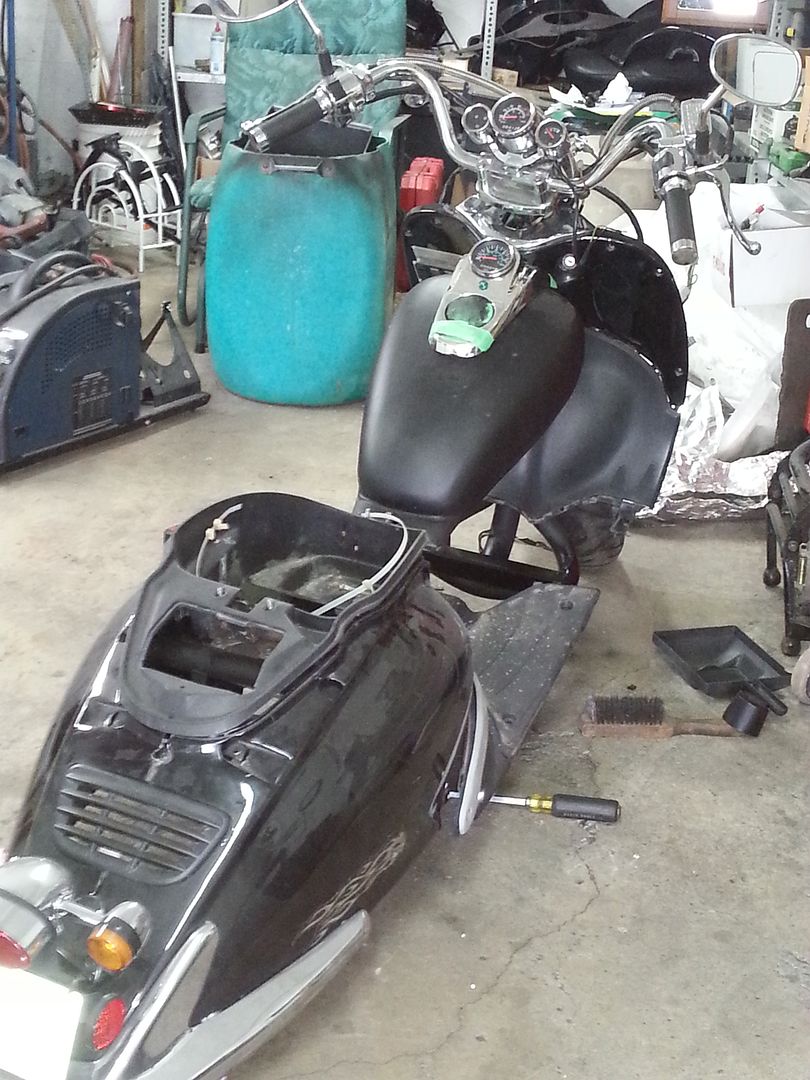
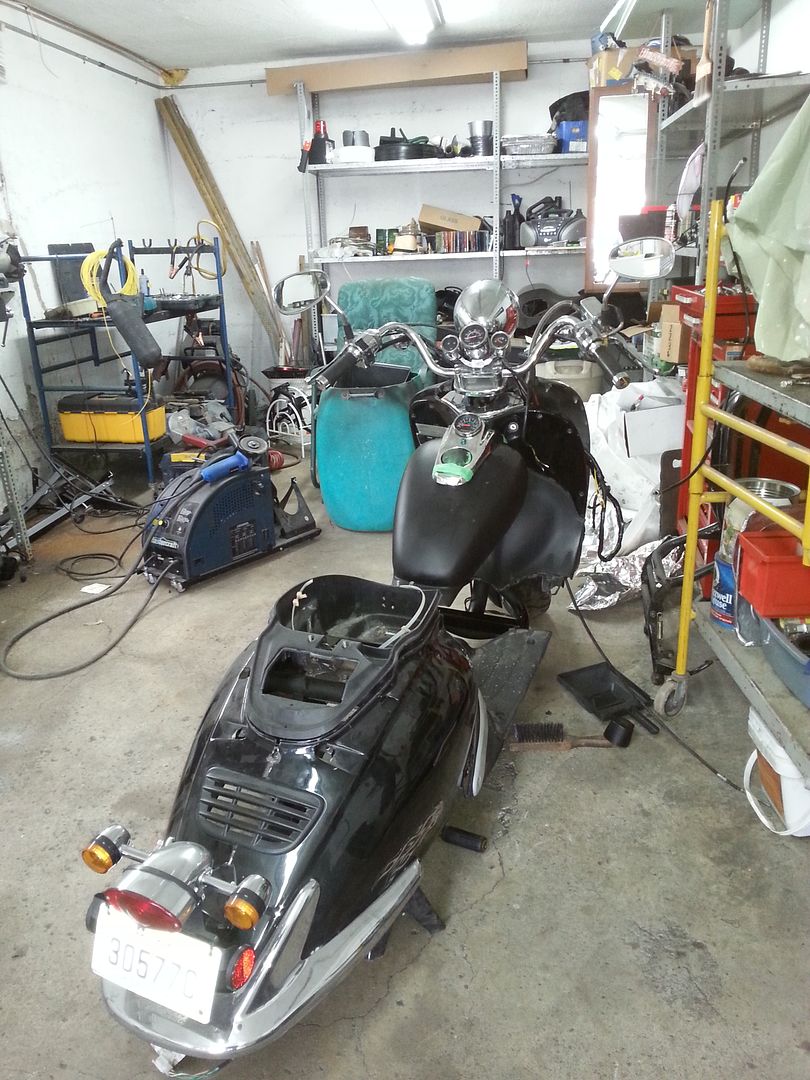
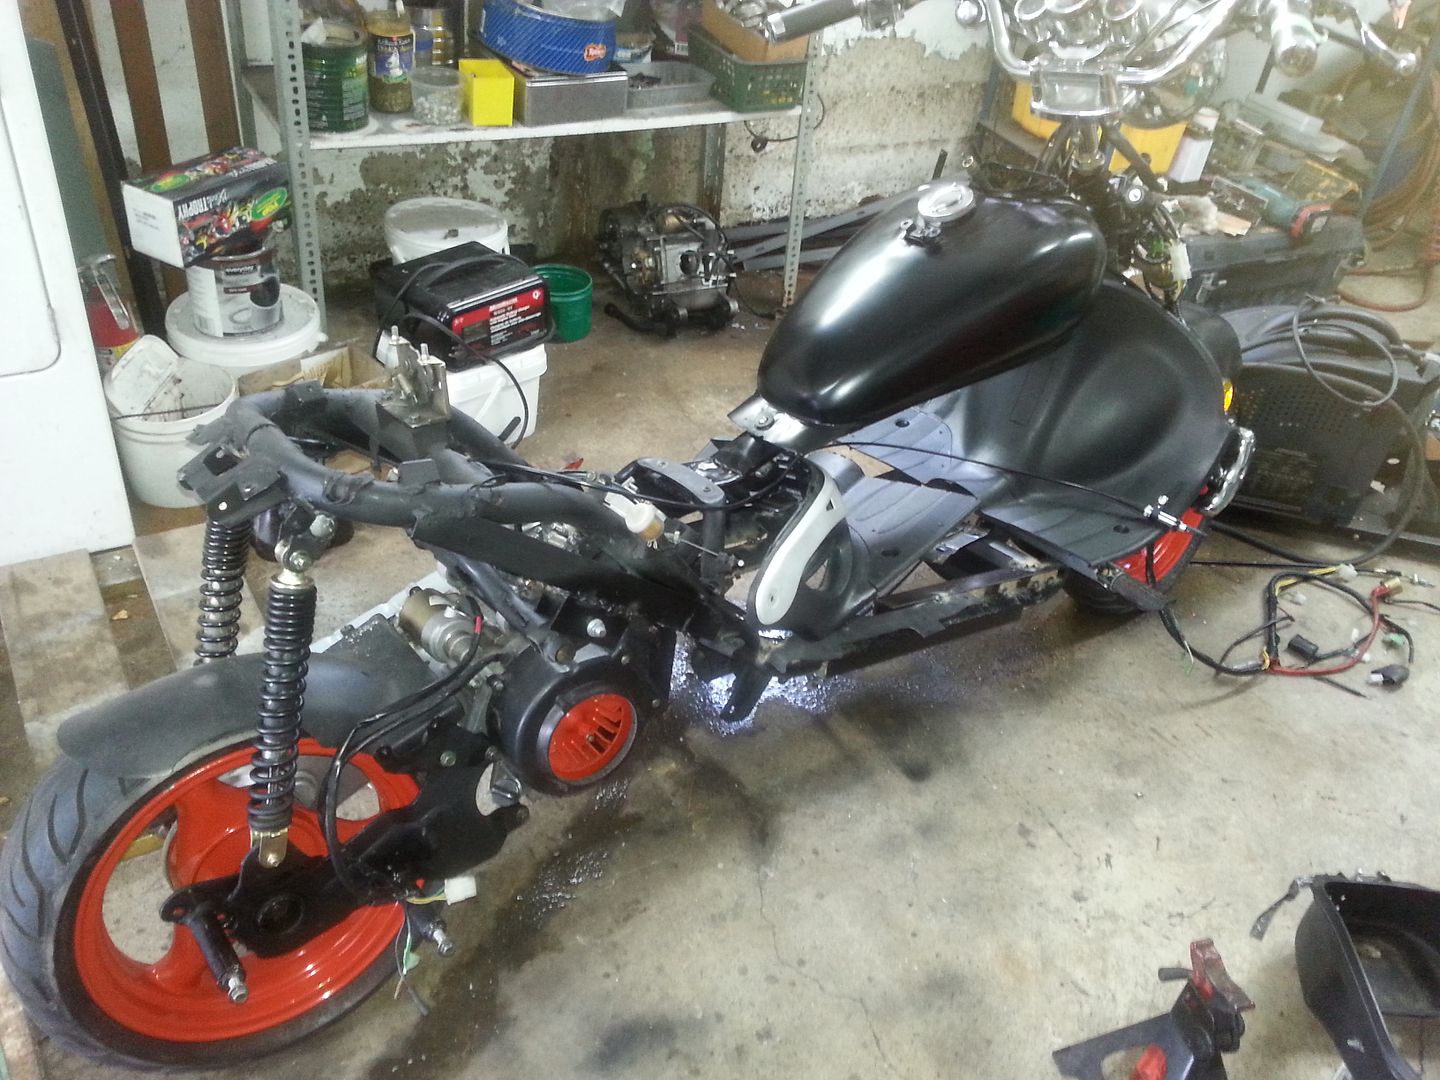
So here is the bike all stock:

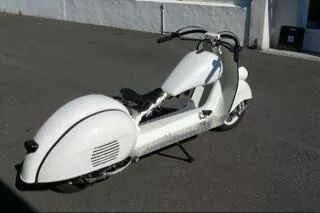
And this is what i intend to do to it.
Did some more fiddling on it today, but first, a little teaser:
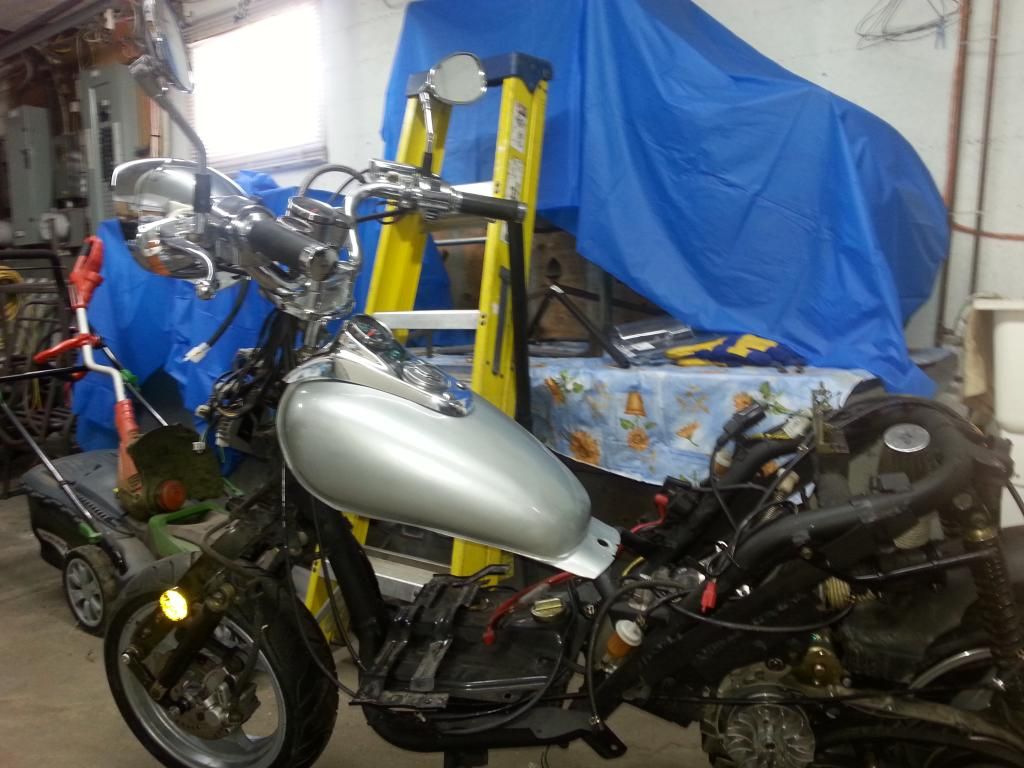
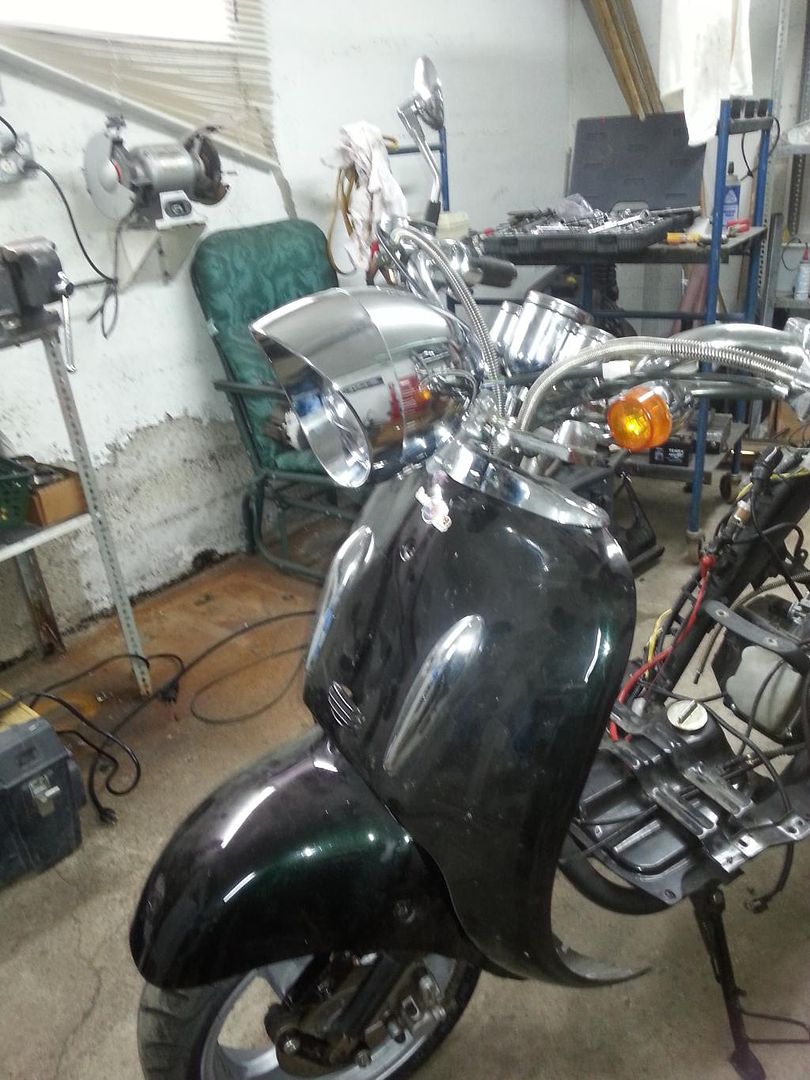
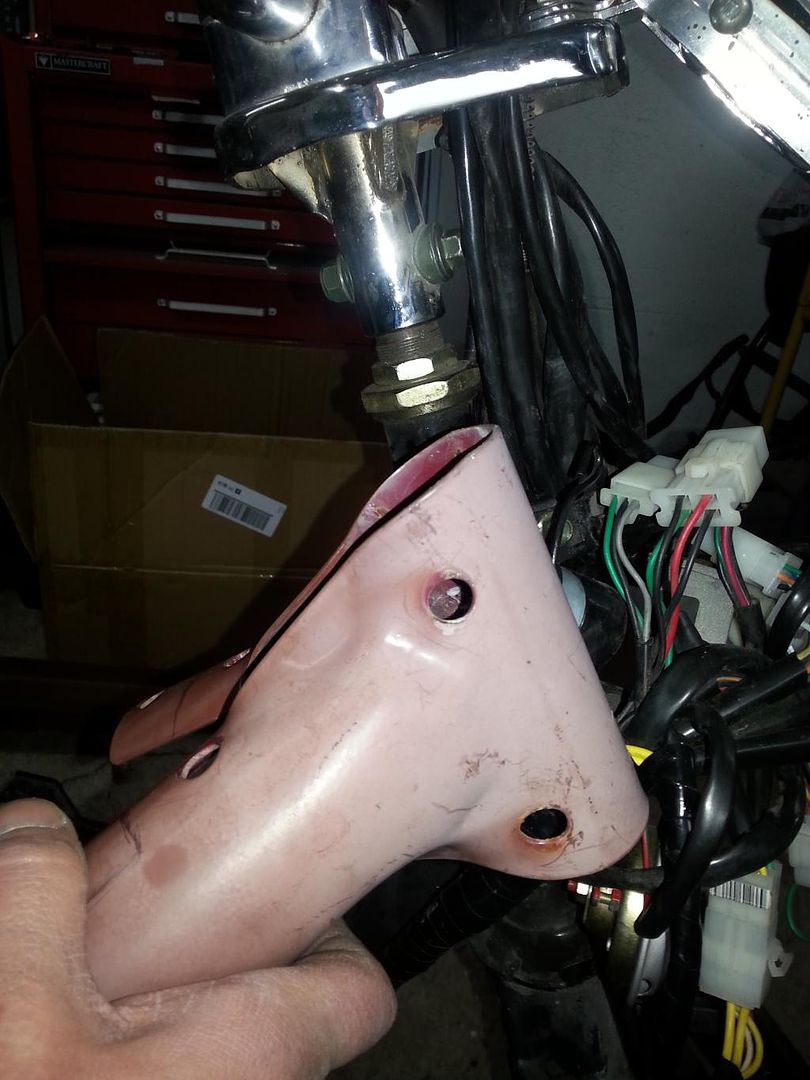
Started to fit on the head light, as always Murphy was around.
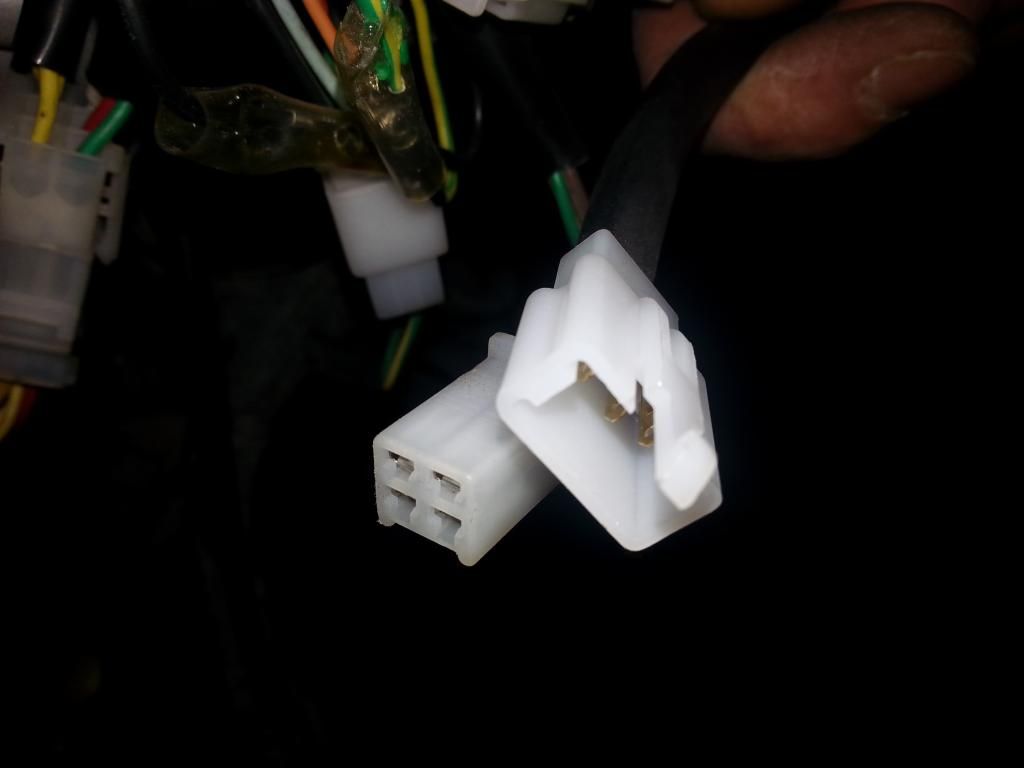
The connector and the mounting bracket:
NOT compatible!!! Murphy...
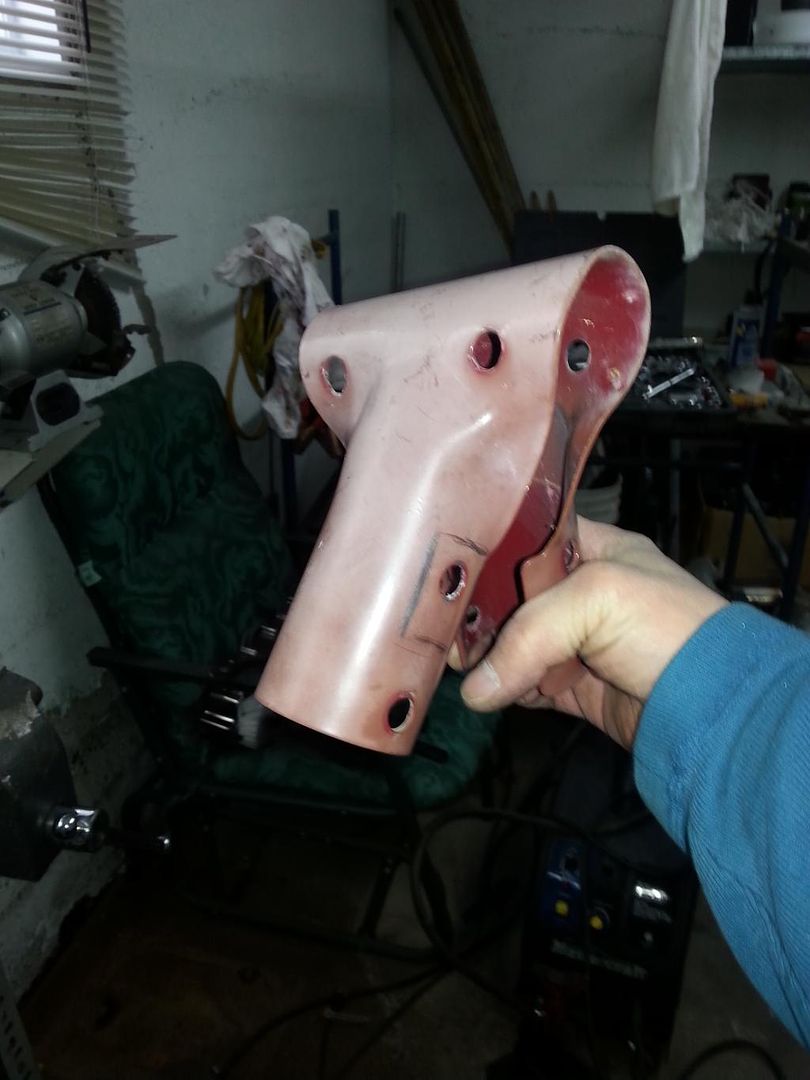
But both are an easy fix. I even started on the braket; witch will be sent out to get chromed one its done.
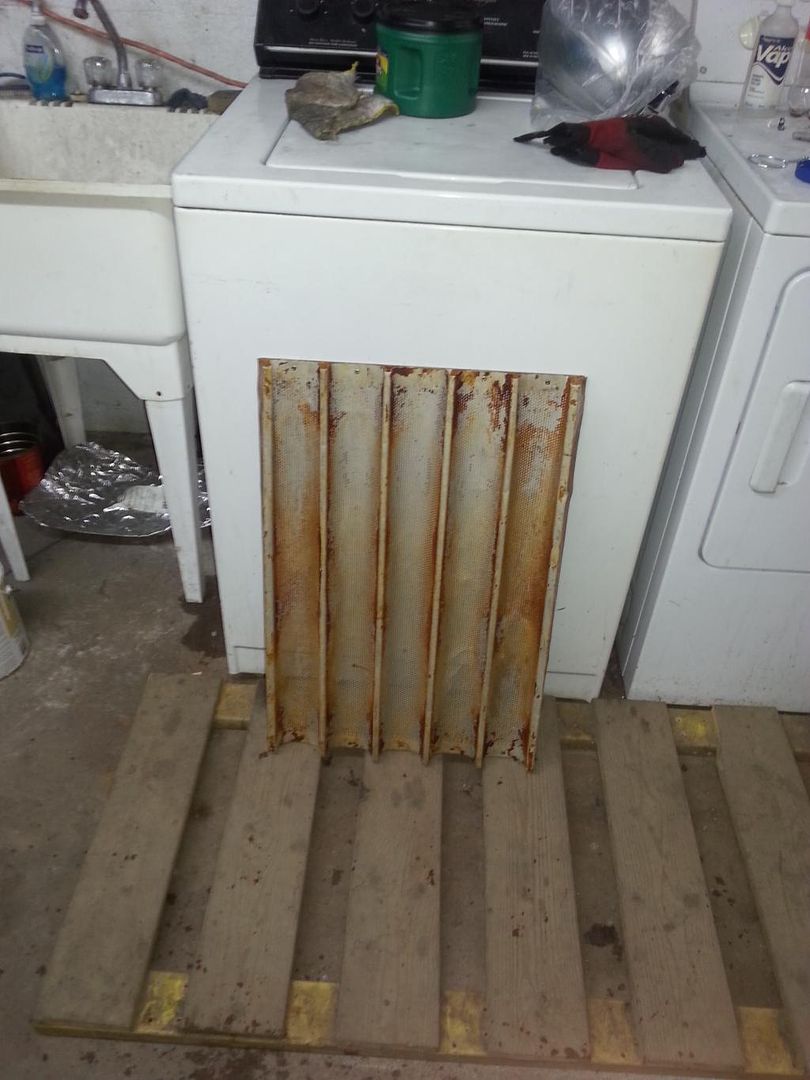
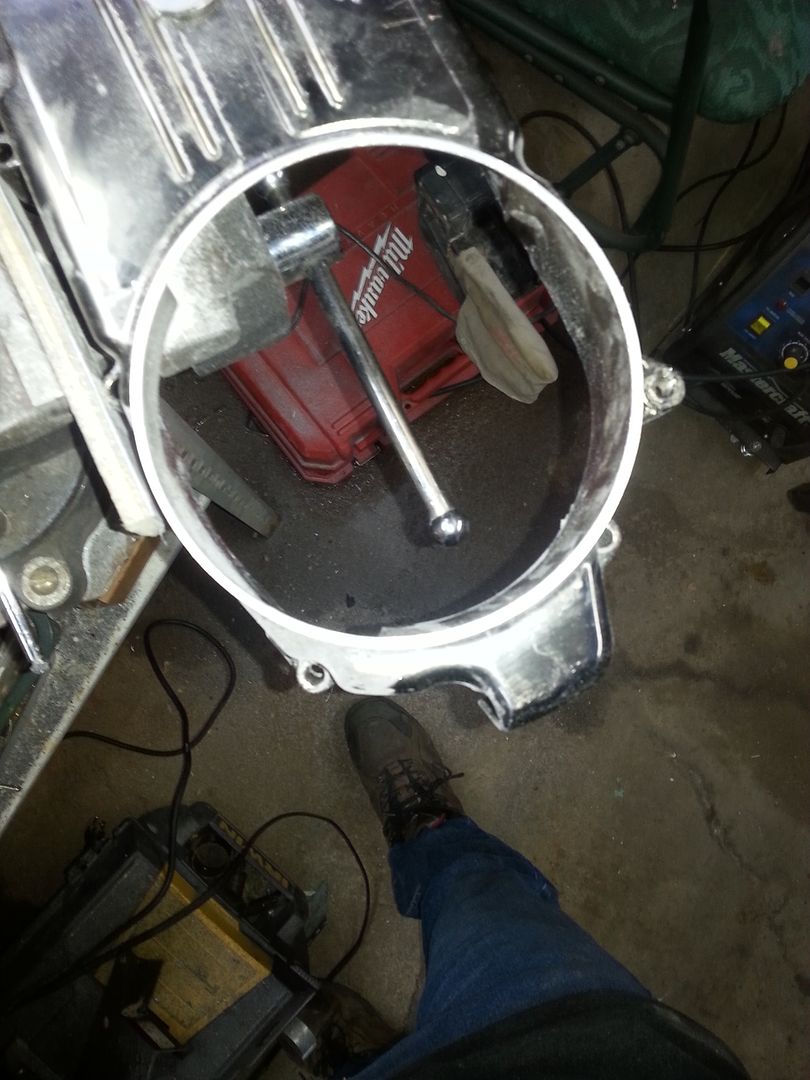
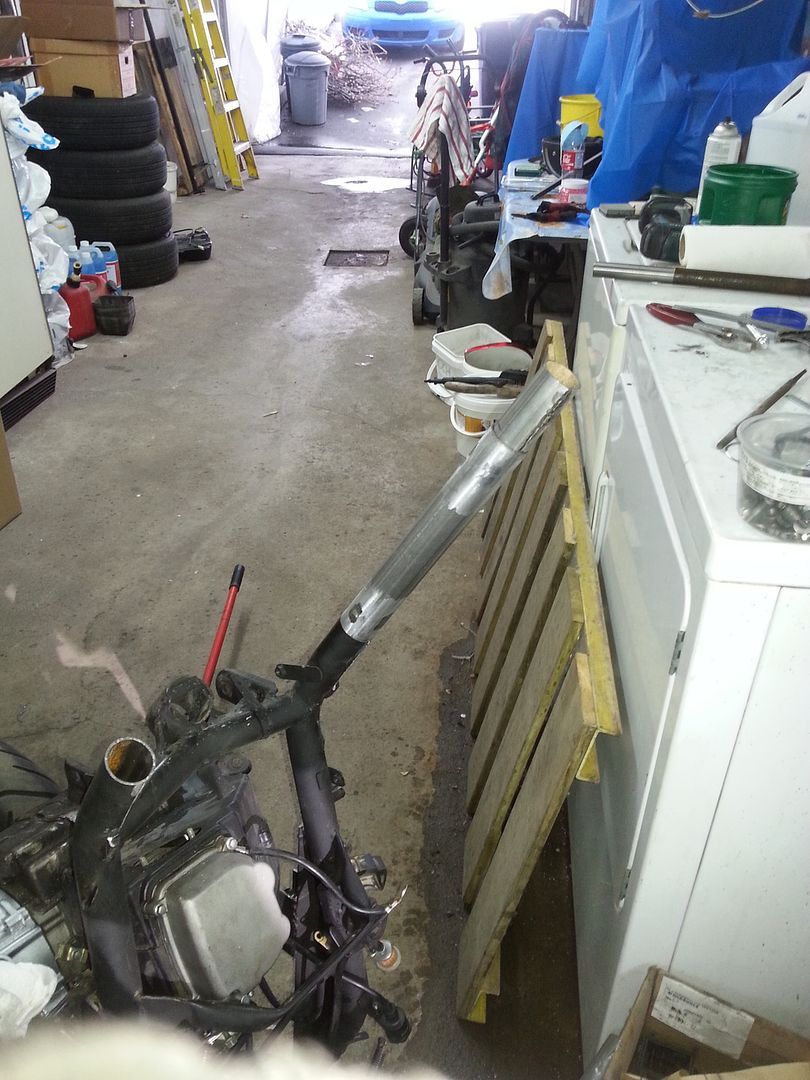
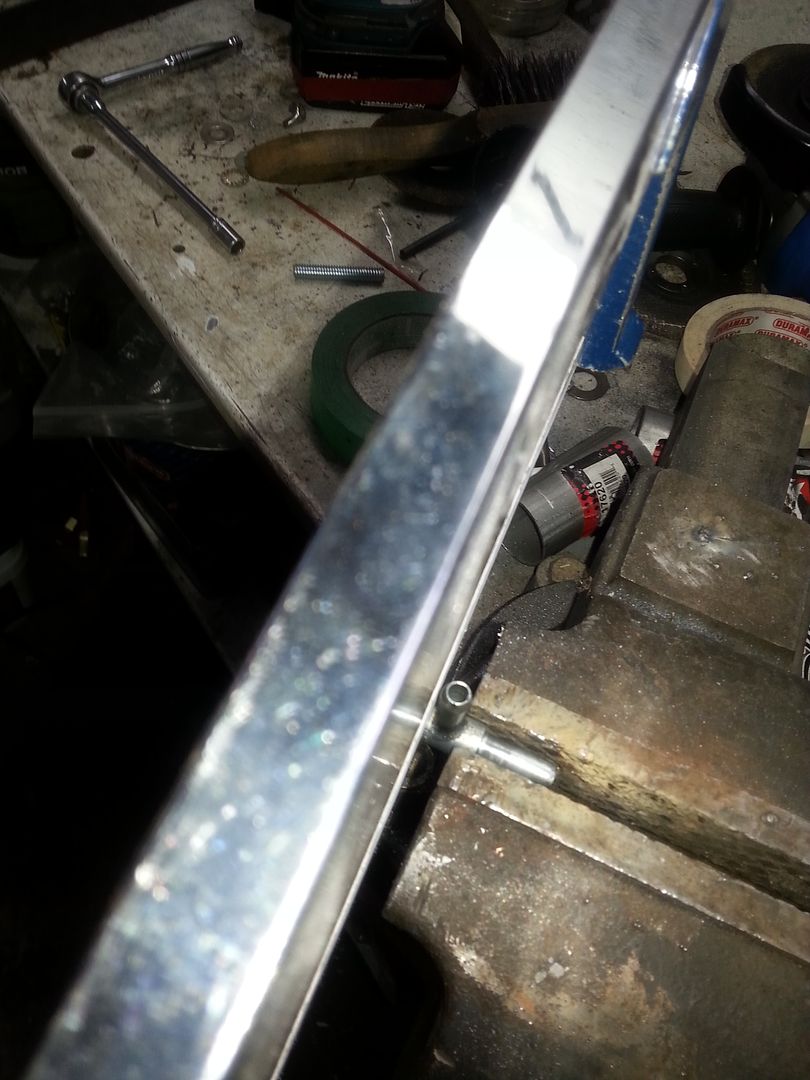
On the first look you see a washing machine and an old bakery pan.
But if you look closely you can see the pipe that will be on the scooter.
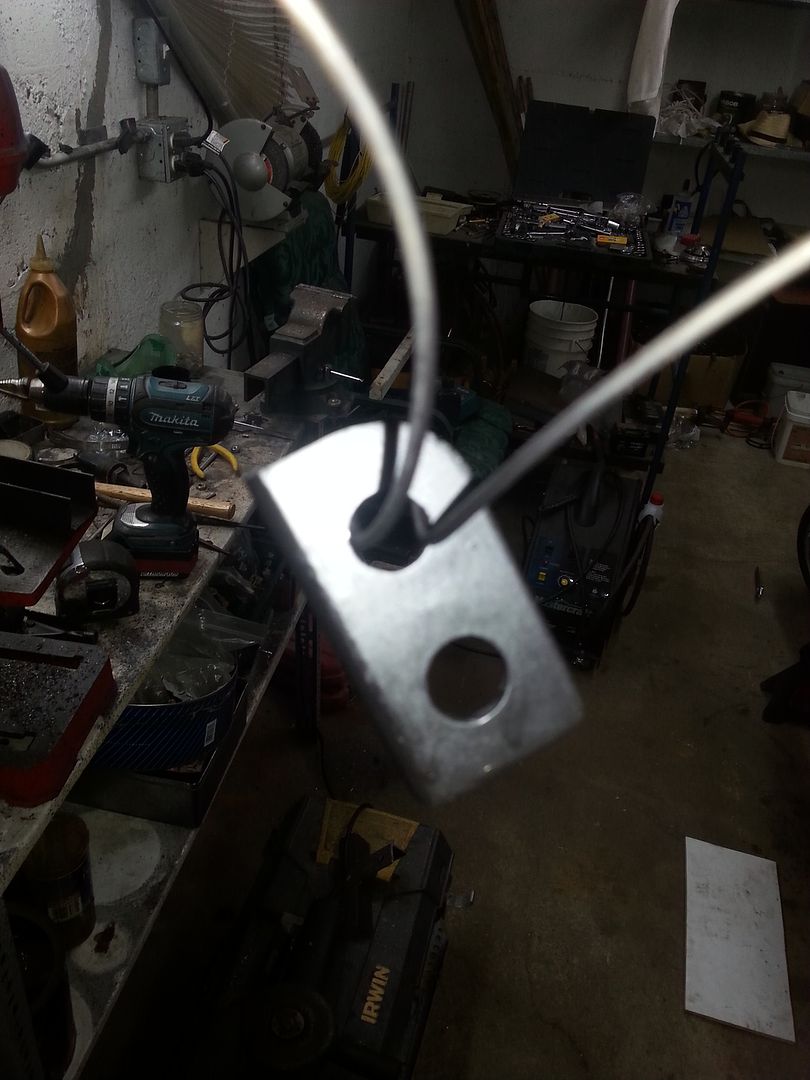
Worked some more on the headlight bracket today and got them practically ready for chroming.

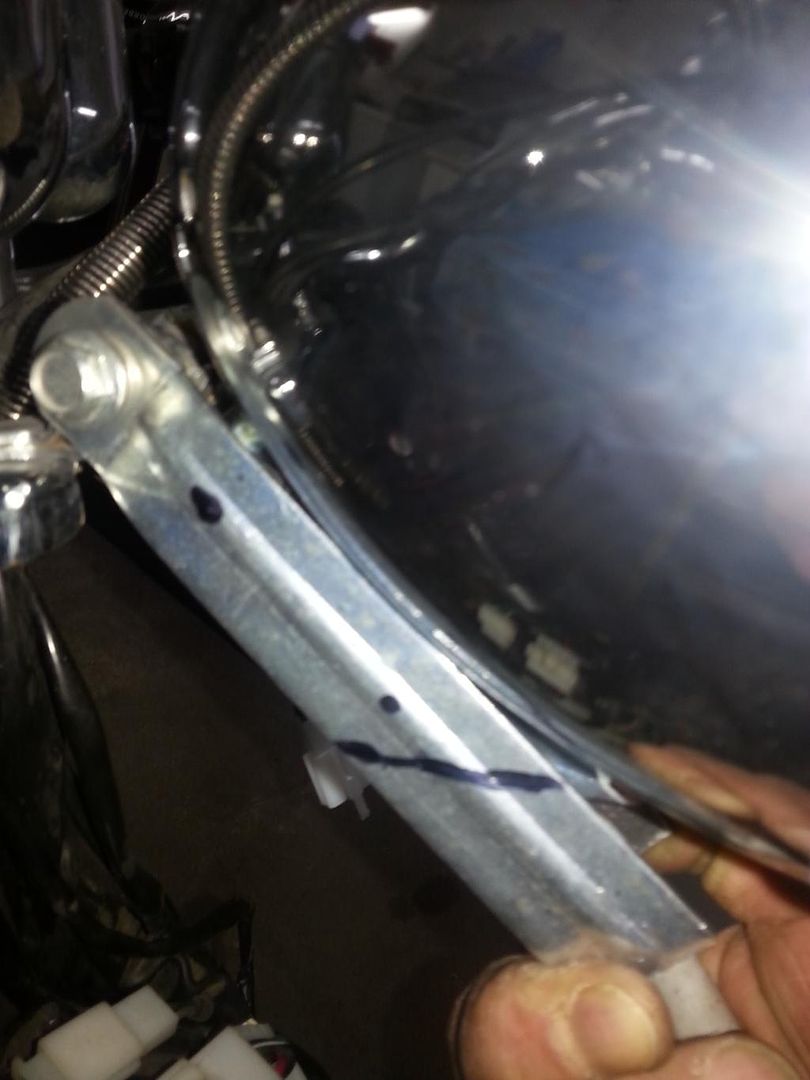
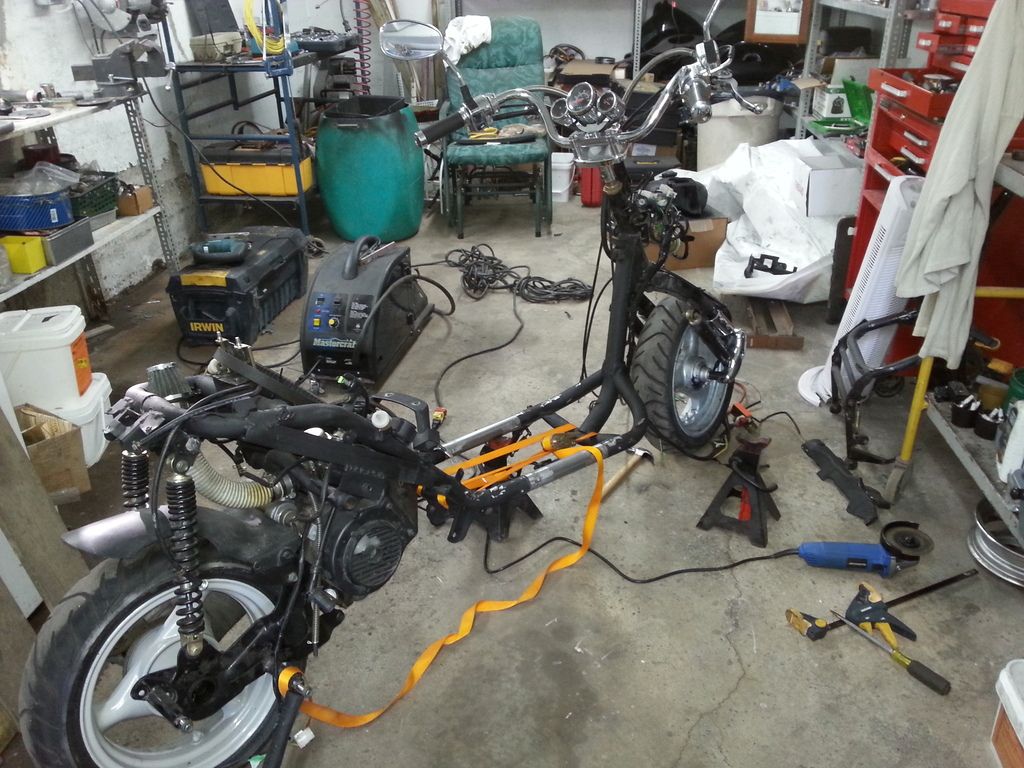
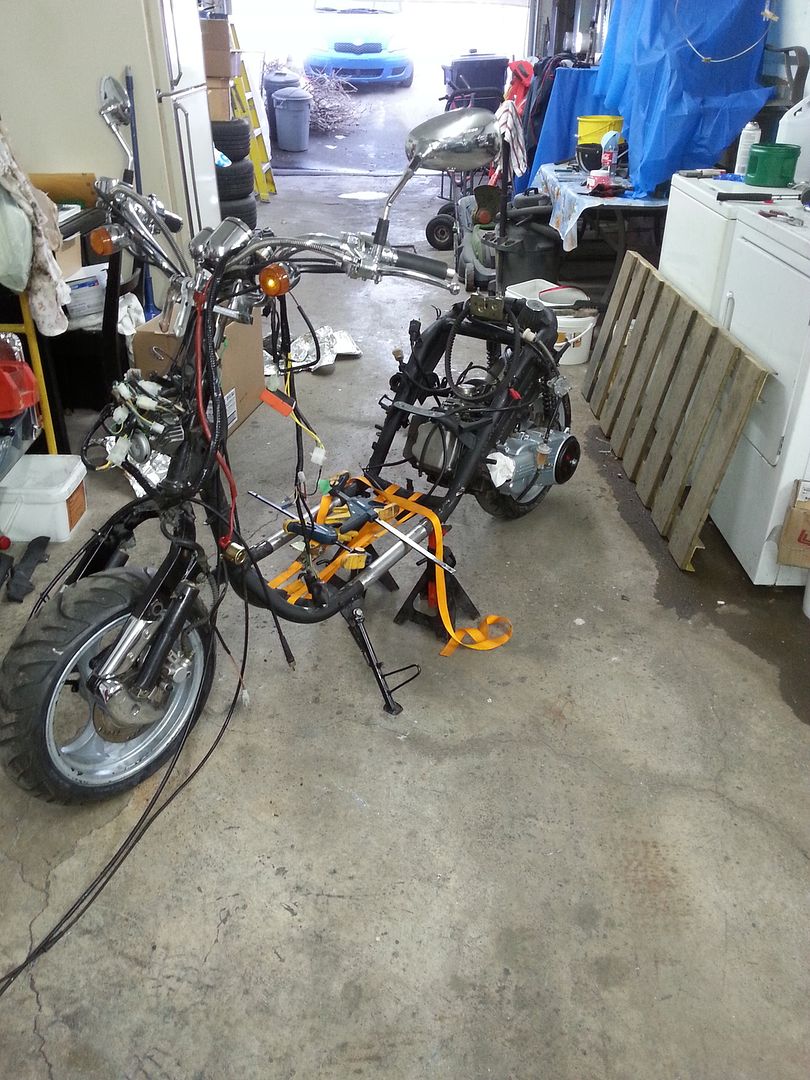
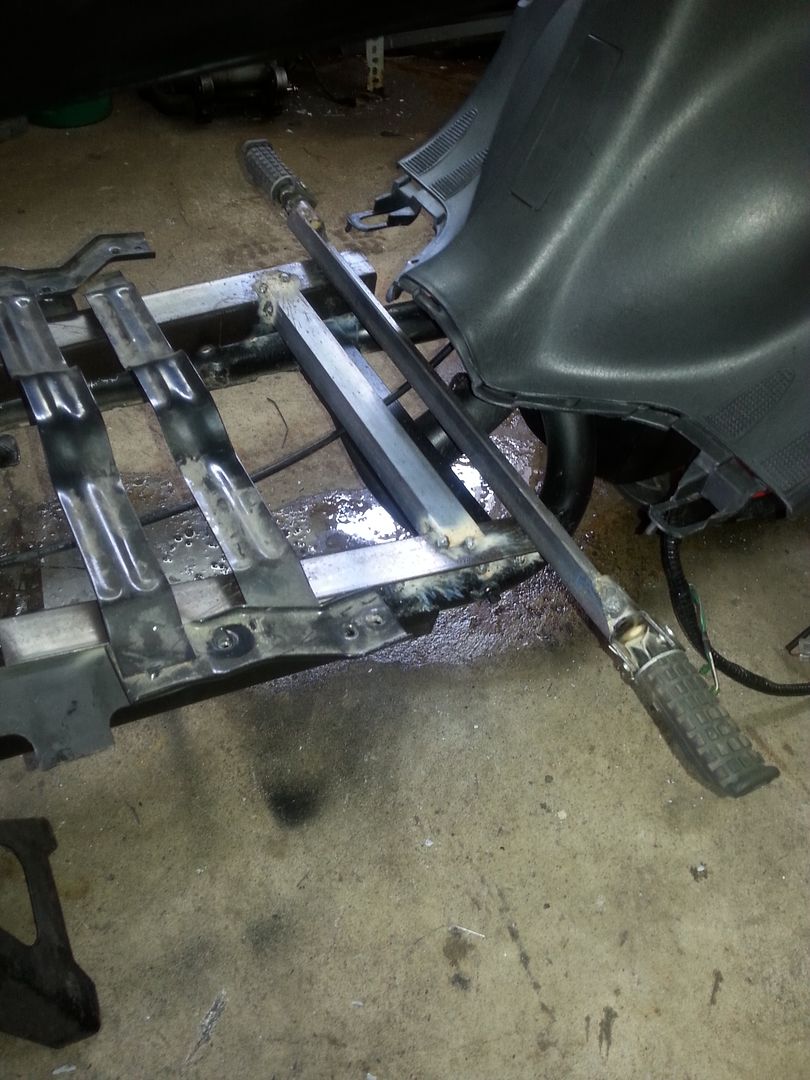
Also started fabricating the center bar witch will hold the gas tank. It will also be solidifying the frame since it will be about 8 to 10 inches longer.
I salvaged some tubing from the kiddy swing that was in my mom's backyard when the pool was installed.
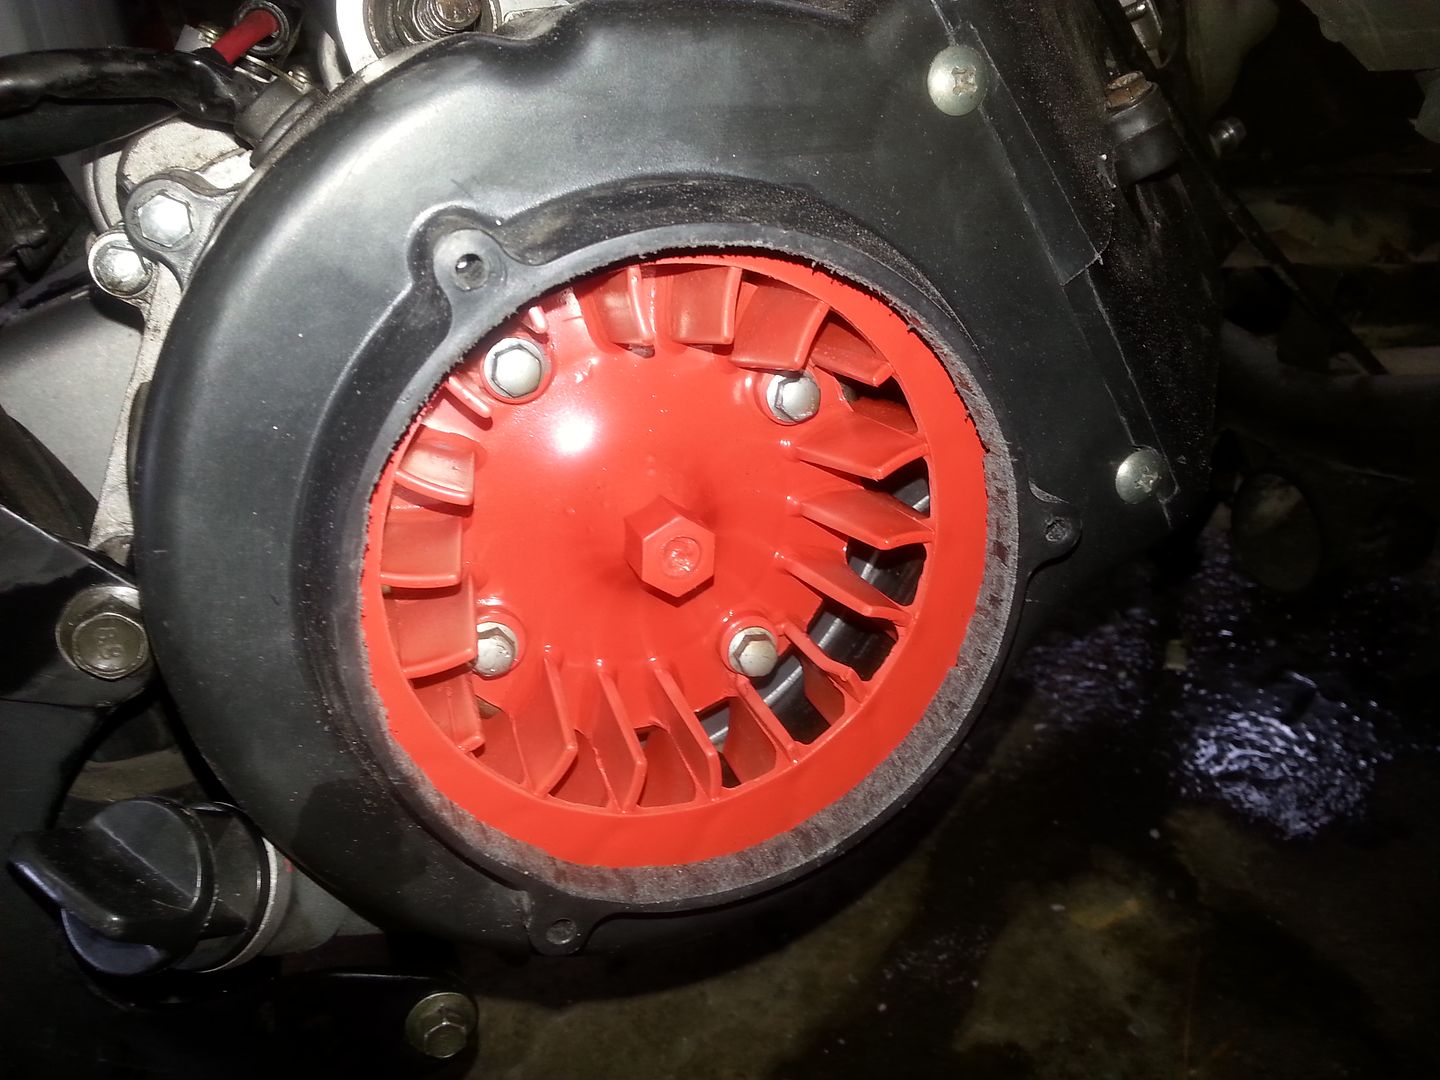
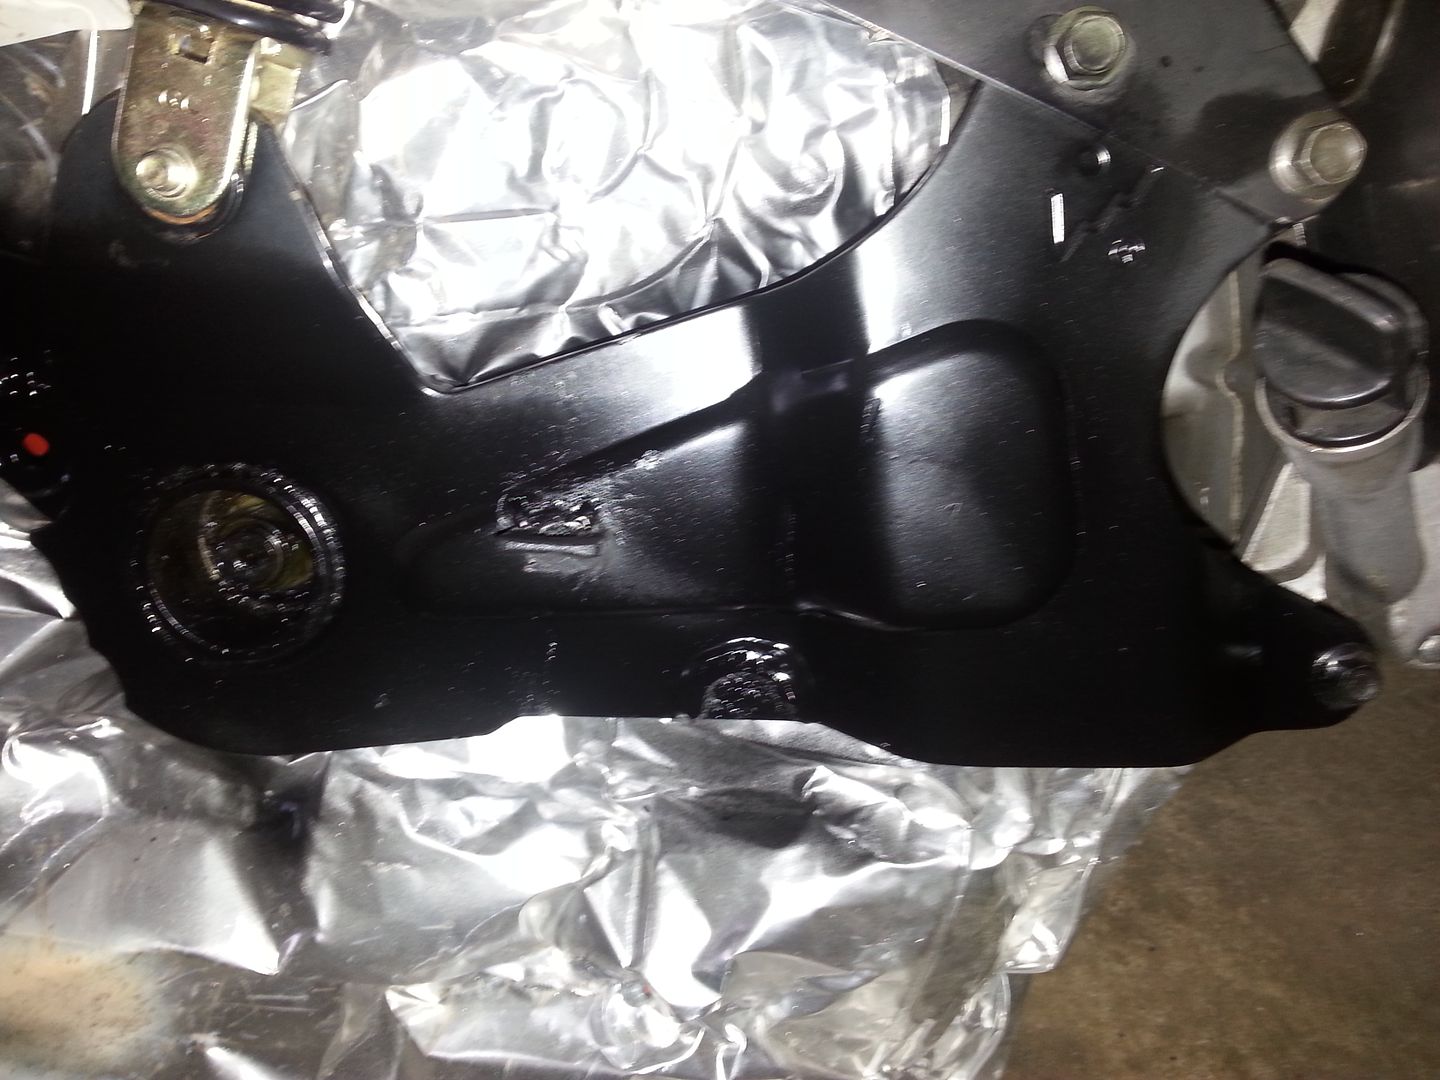
discreet opening to help keep my clutch cool.
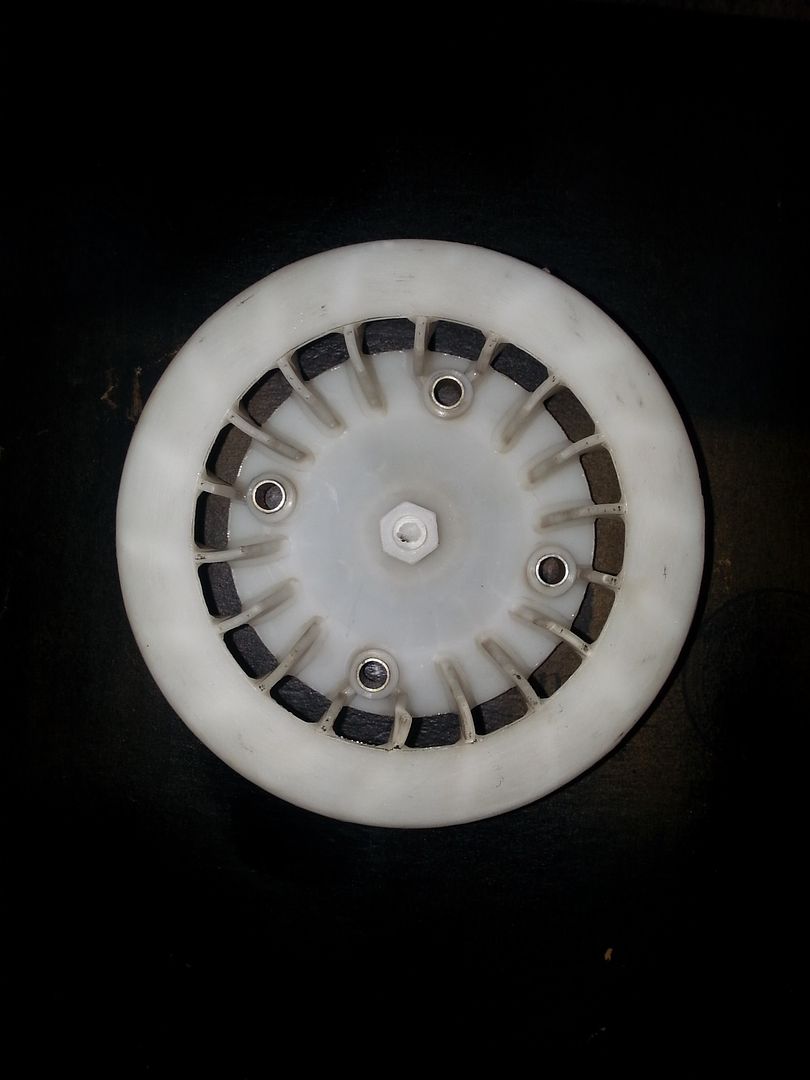
Then i took out the brushes to give it a little look.
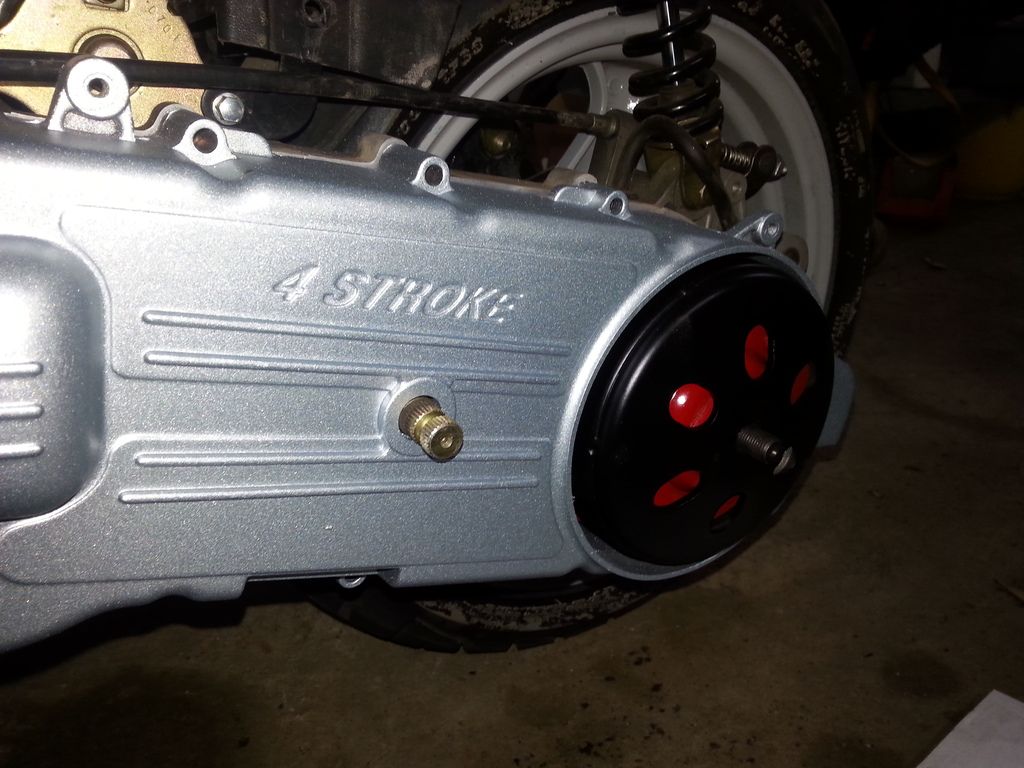
While i was toying with the rattlers, i stumbled on a nice can of flat black.
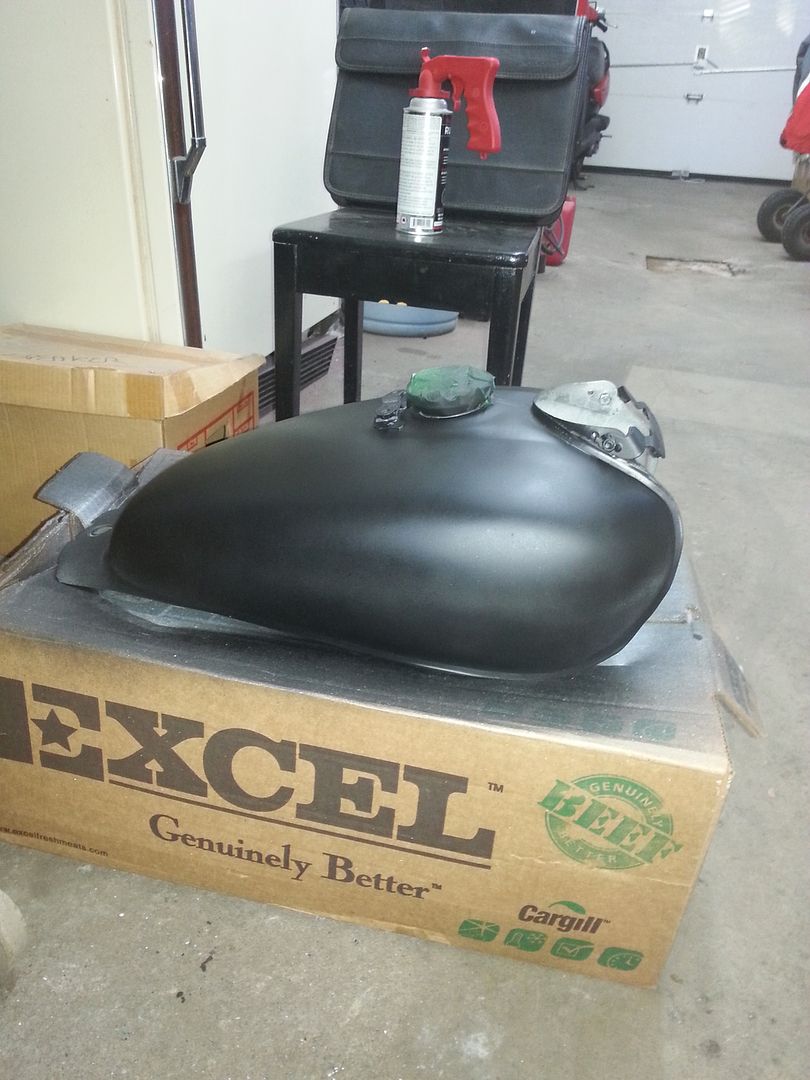
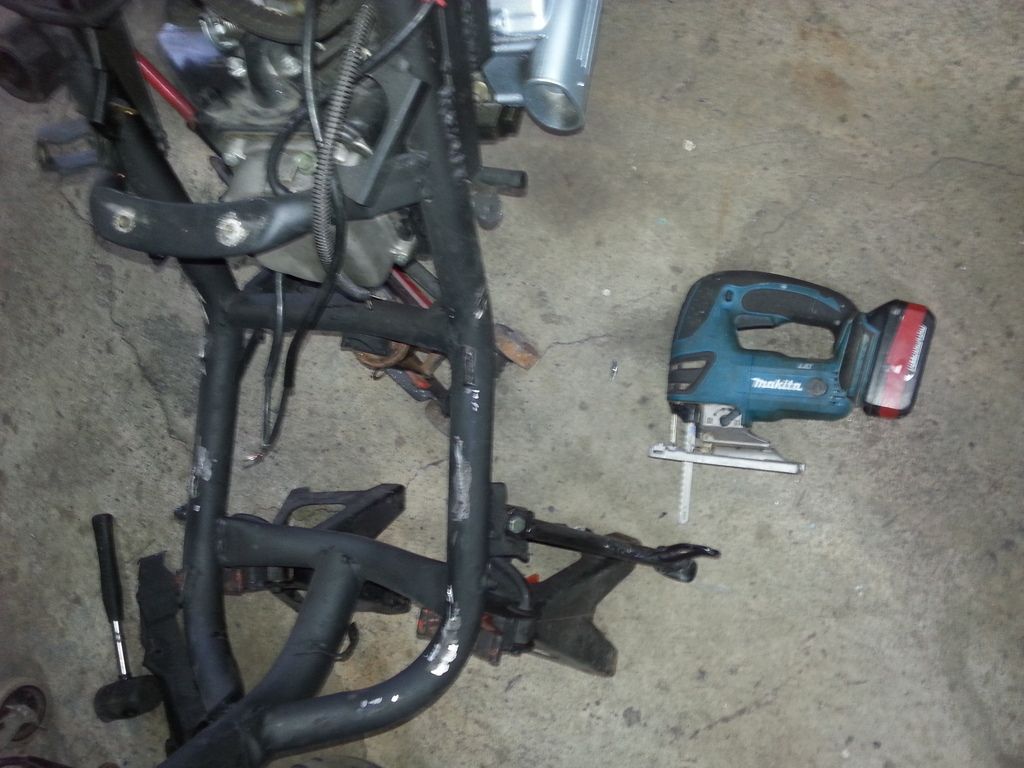
Pretty soon i'll be taking out the portable metal saw to chop it in 2 and stretch it. ::chinese::
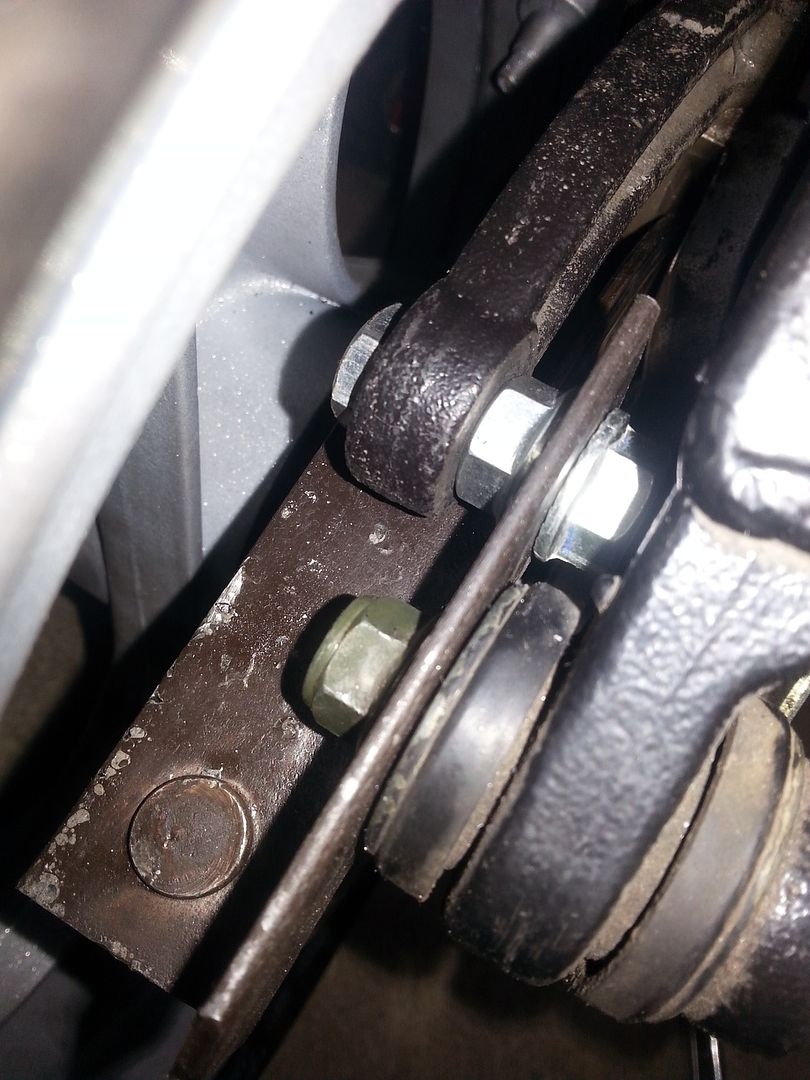
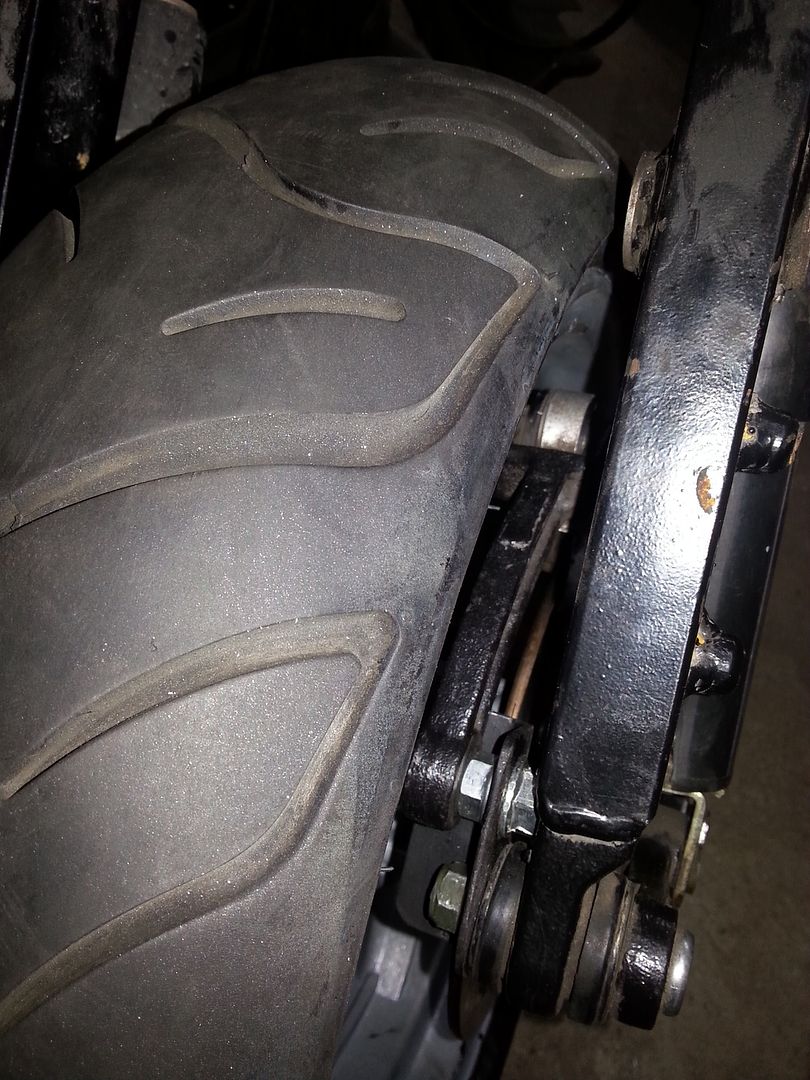
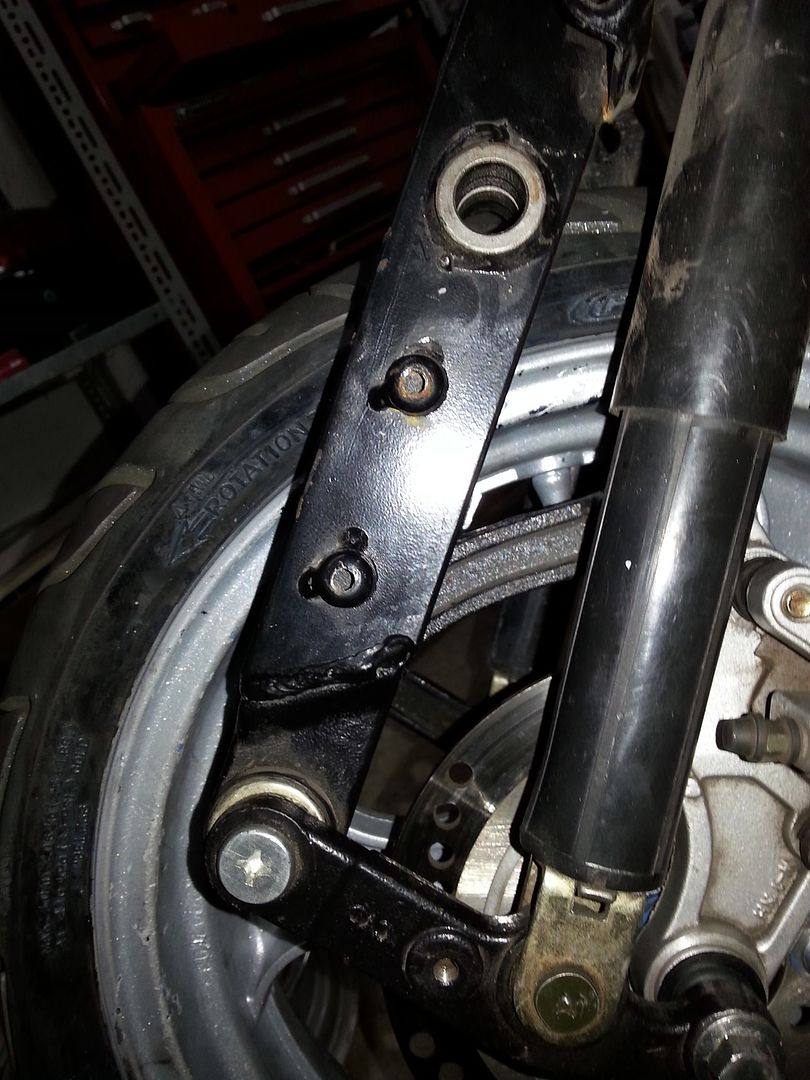
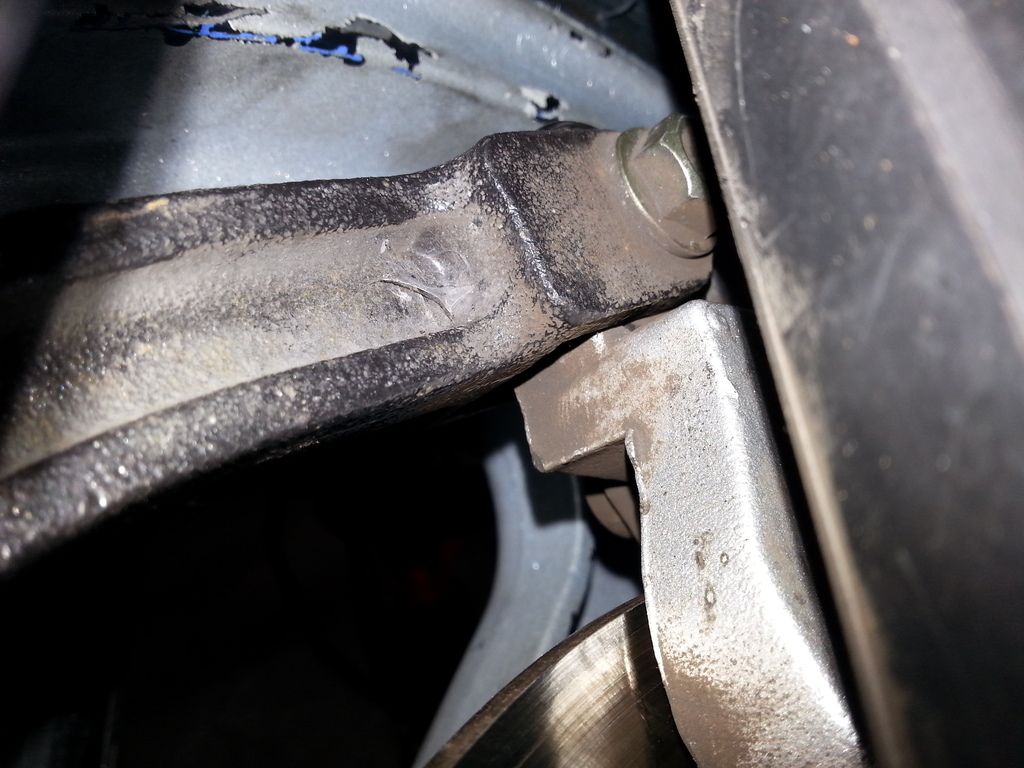
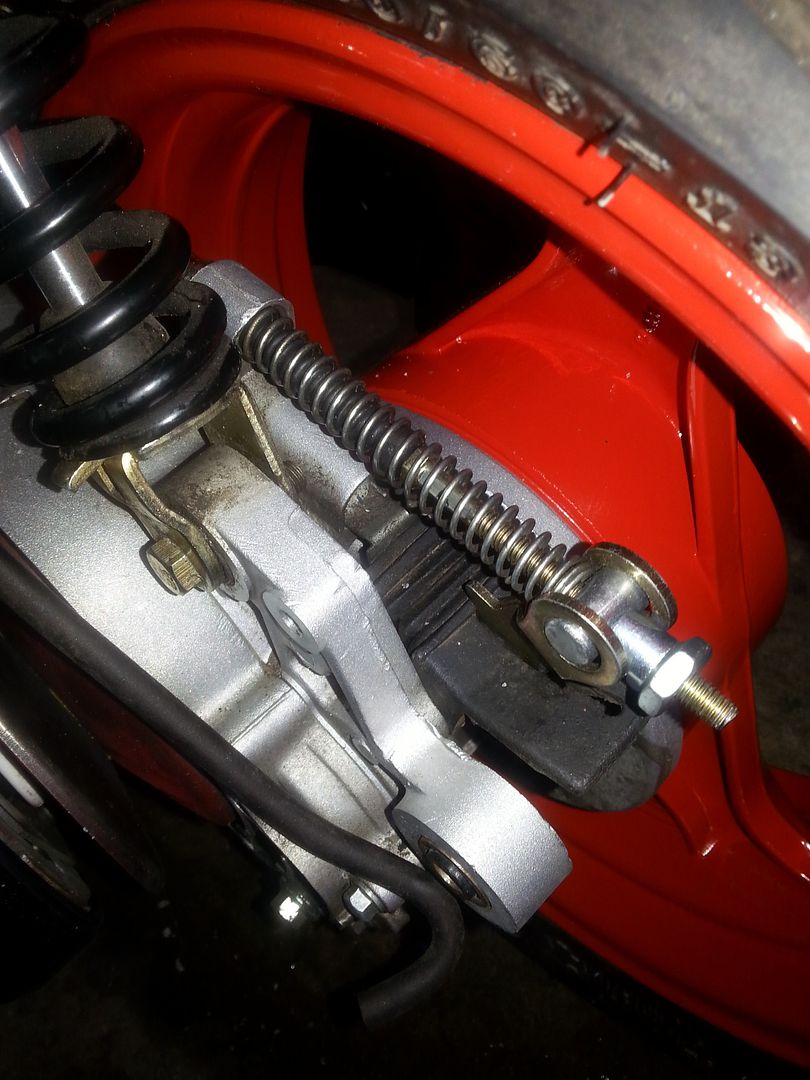
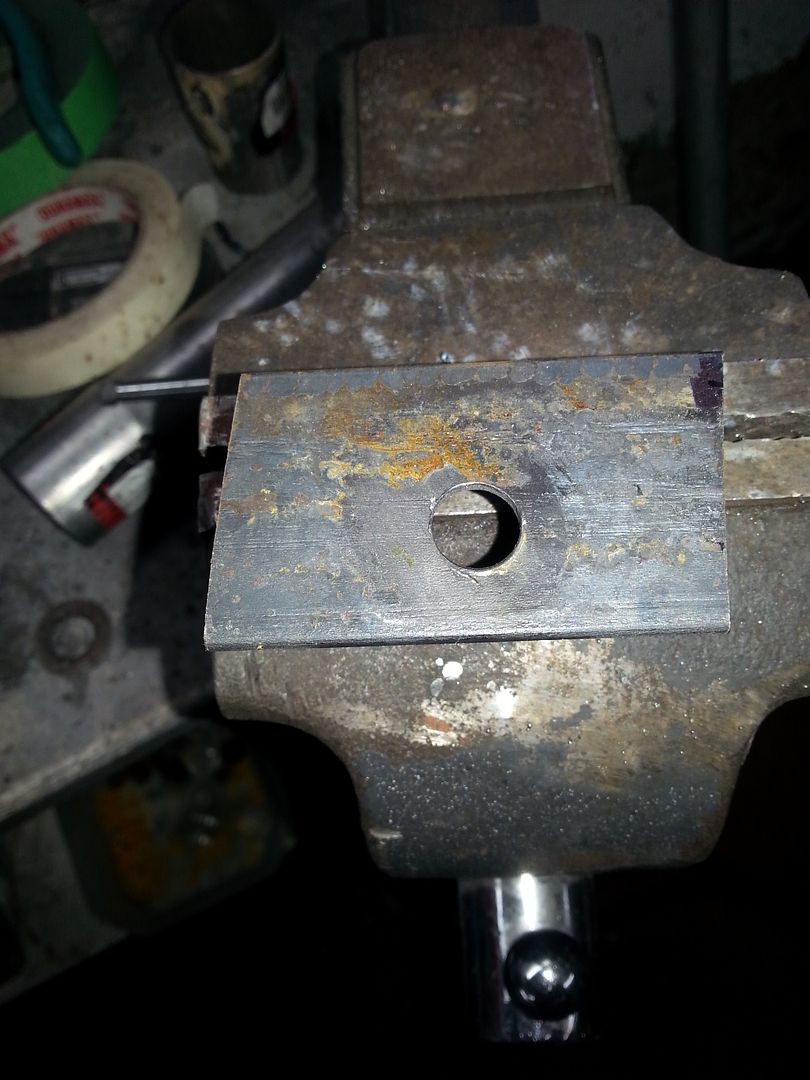
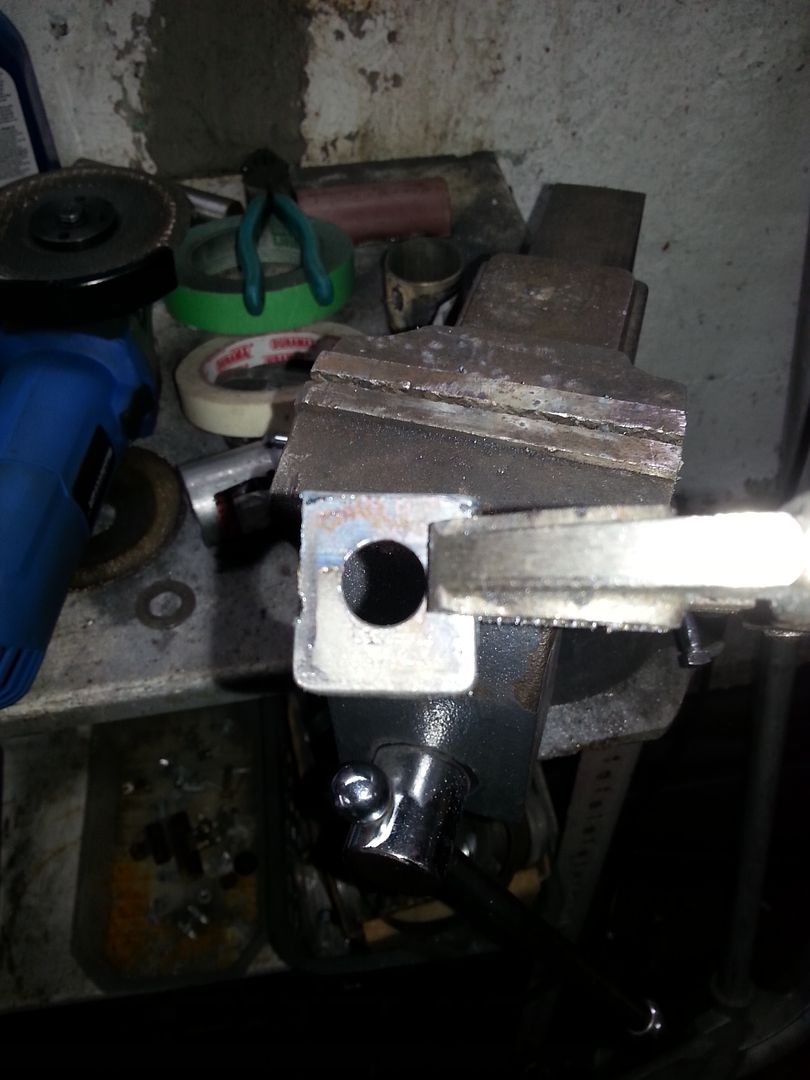
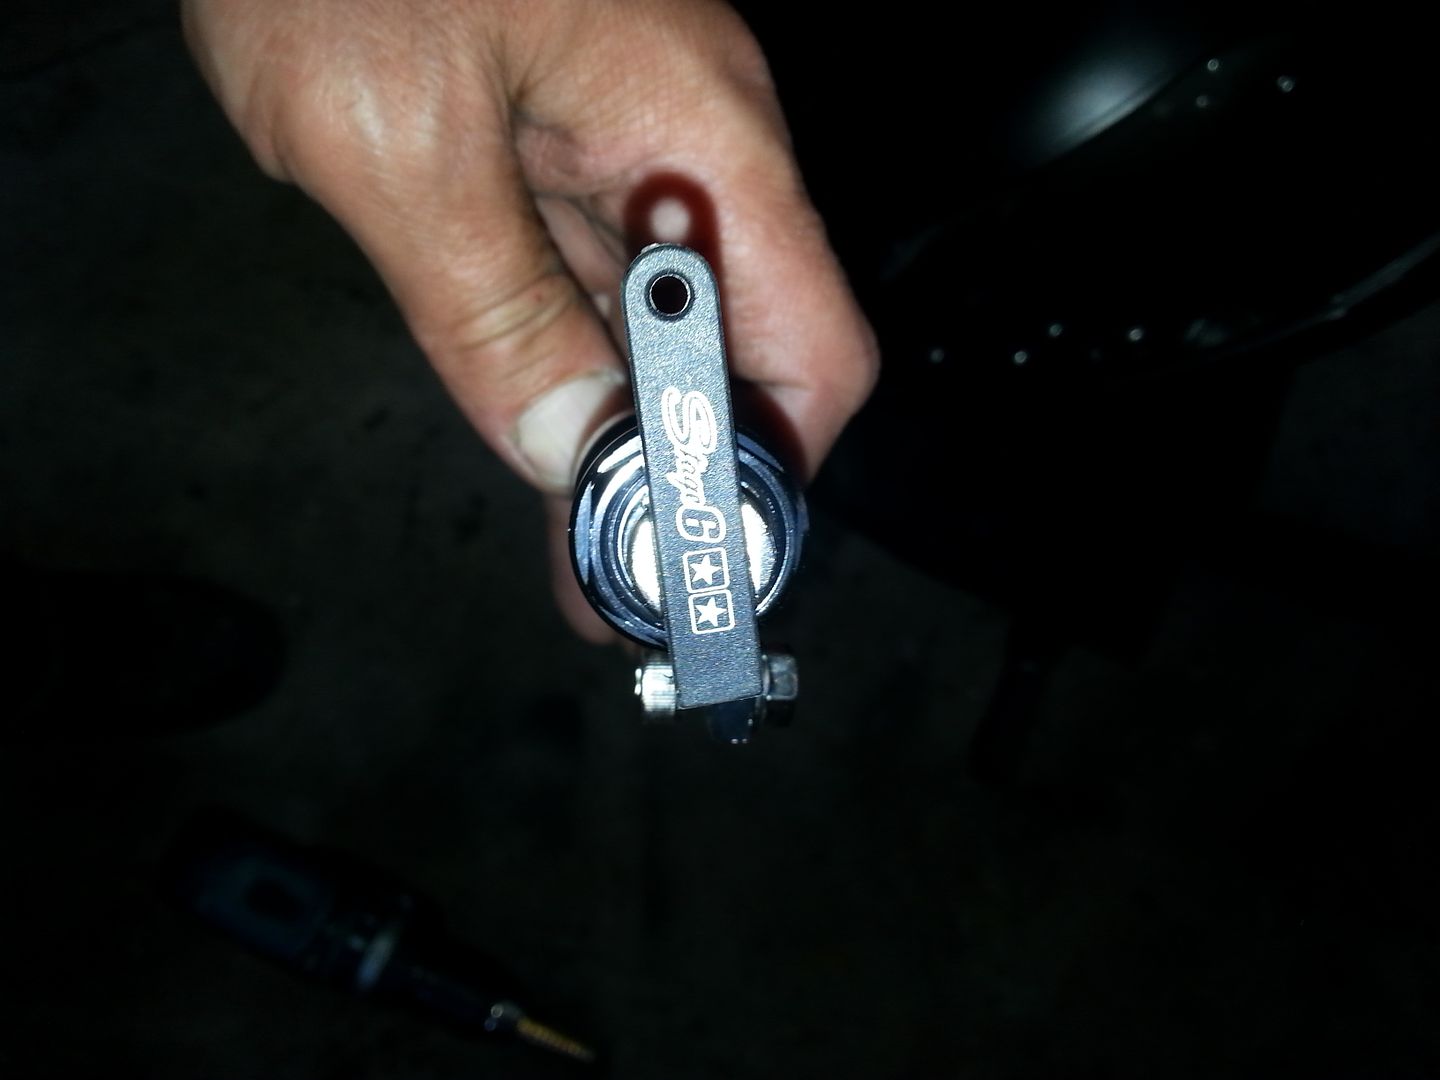
I got front brakes now, came up with a pretty simple solution: I stretched the galiper retainer with some of that "Adamantium" bedframe angle bar. Now i only need a new break wire for the rear. The one i harvested from the donor is a little bit too much on the used side for my taste.
Forgot to take a final pictures of it finished and installed, but its pretty discreet.
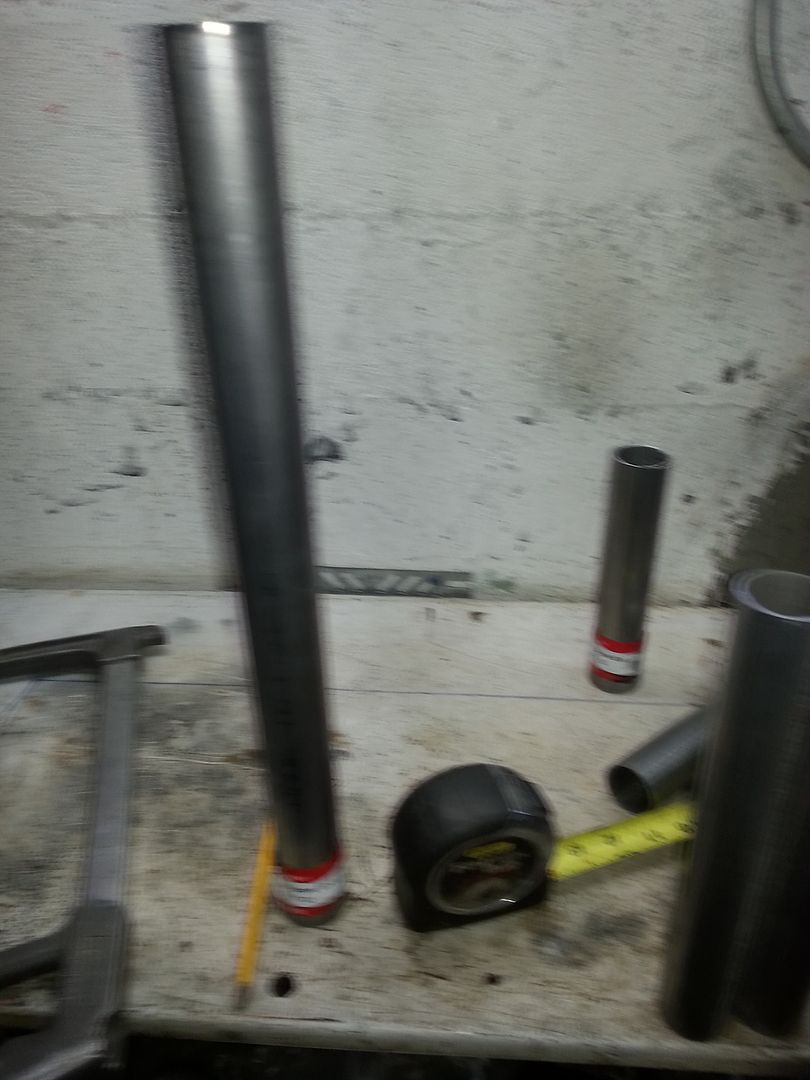
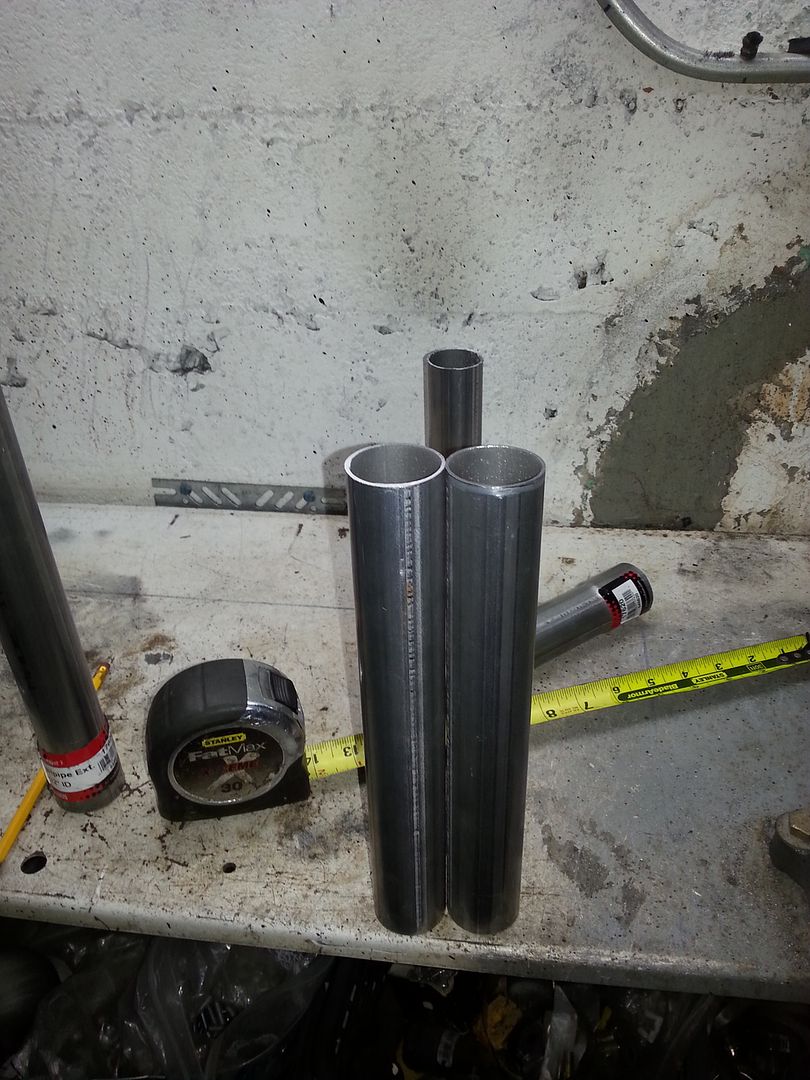
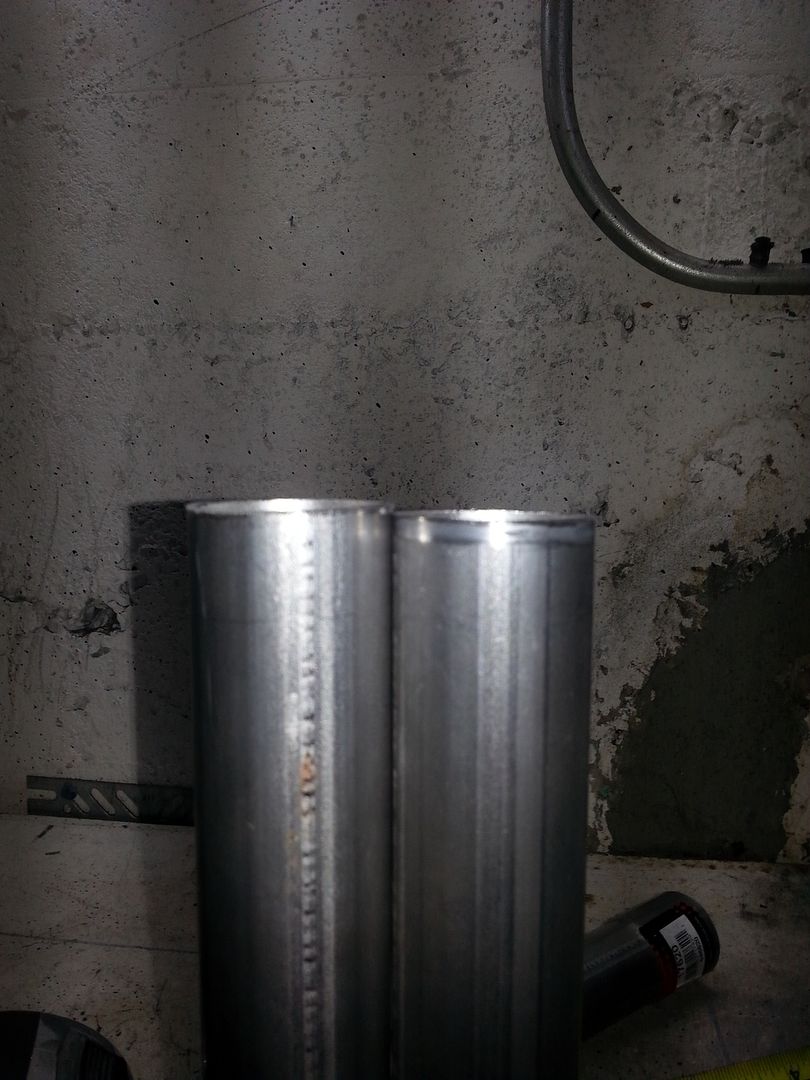
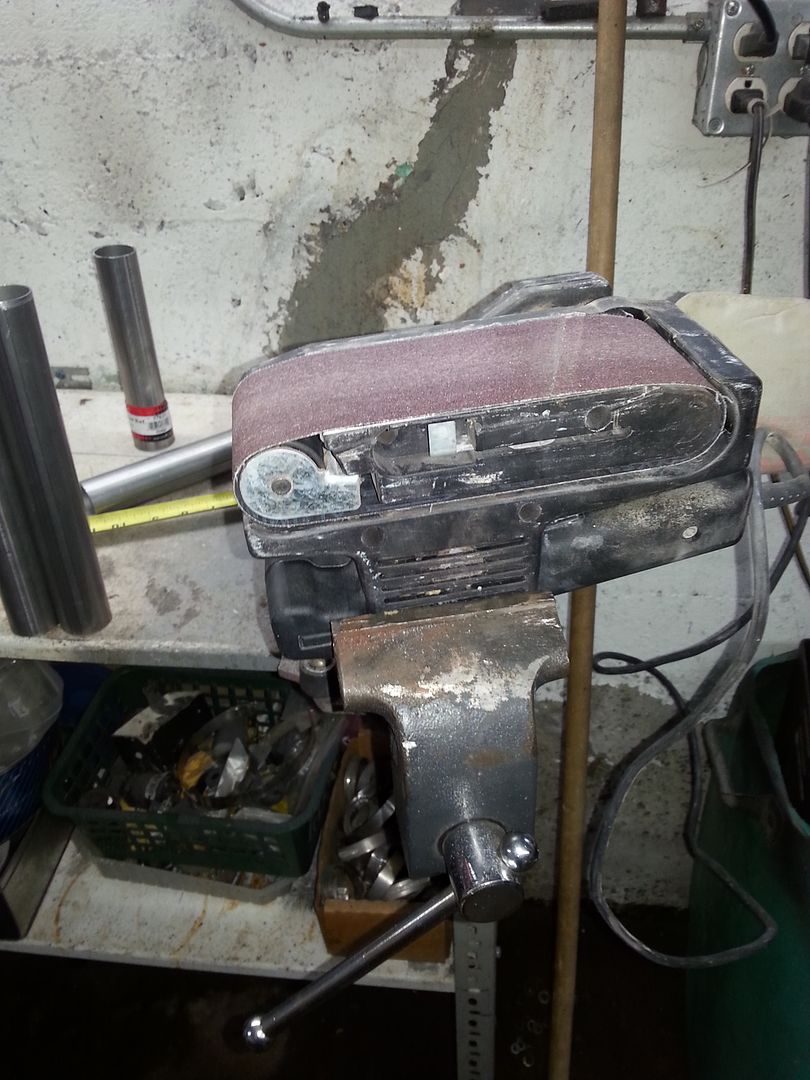
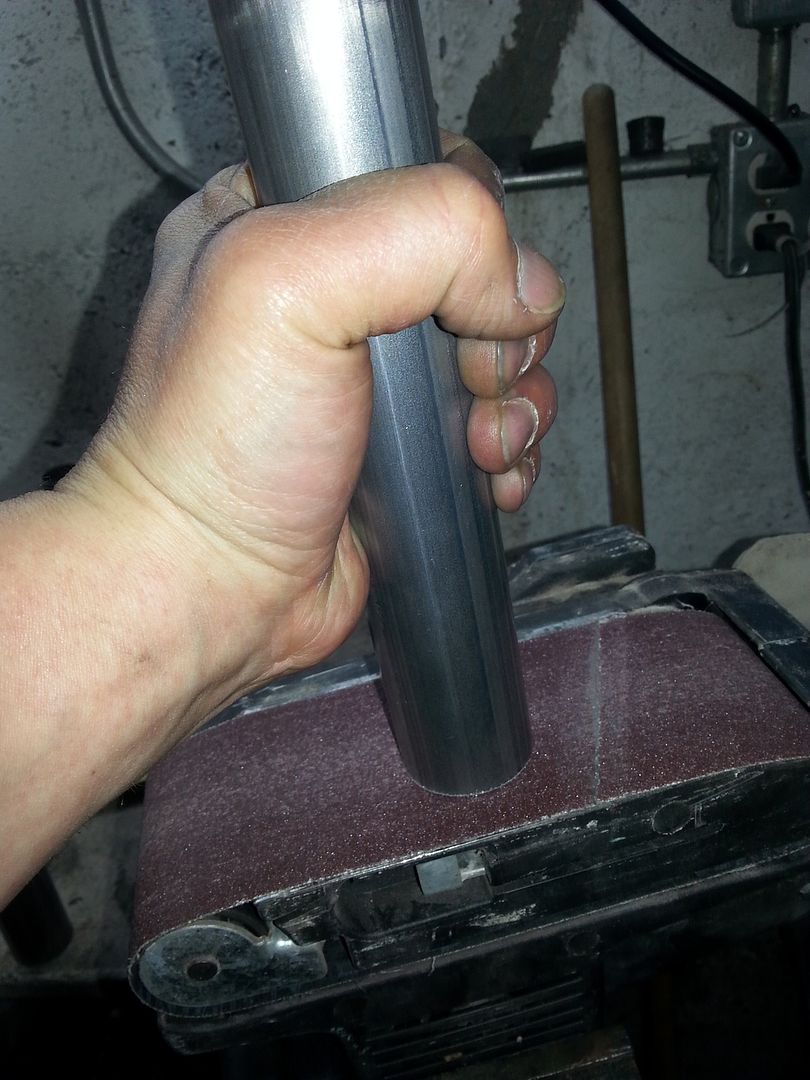
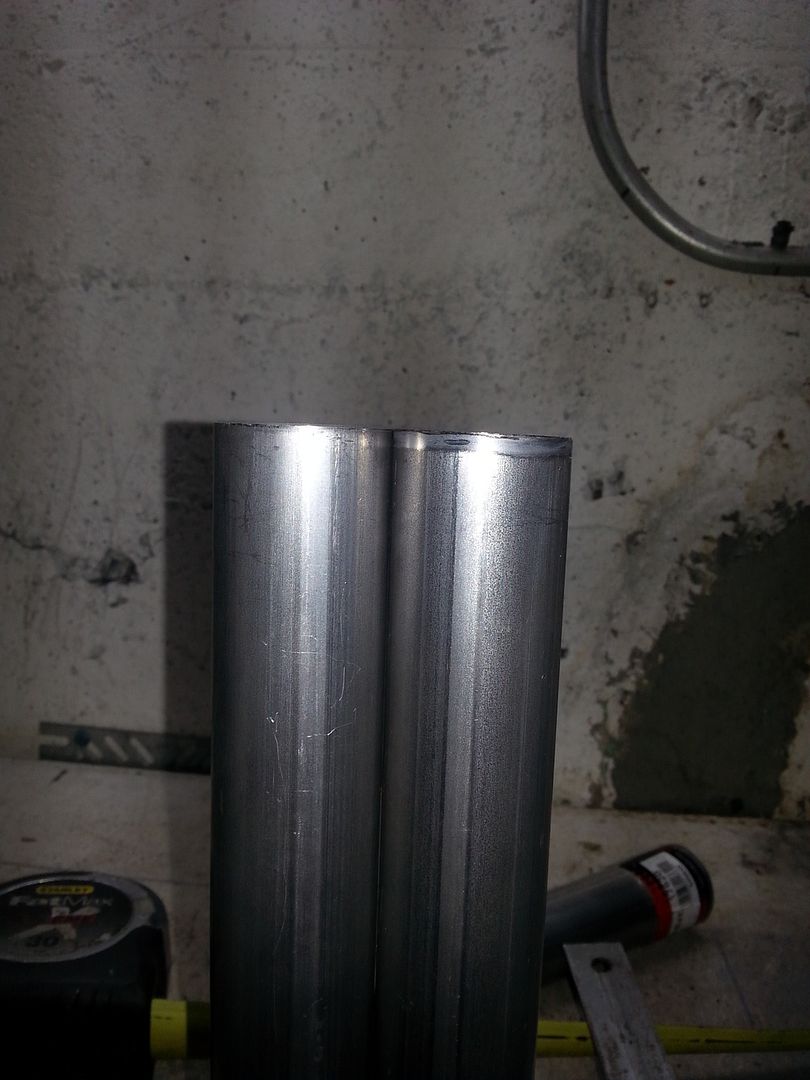
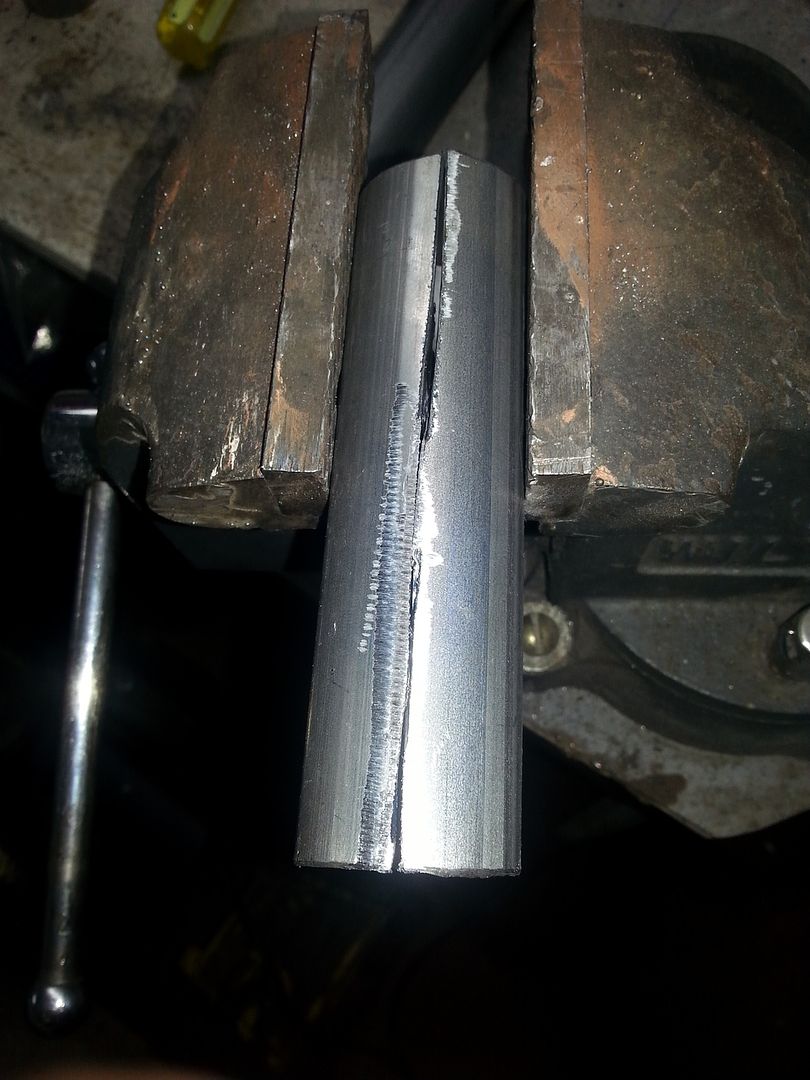
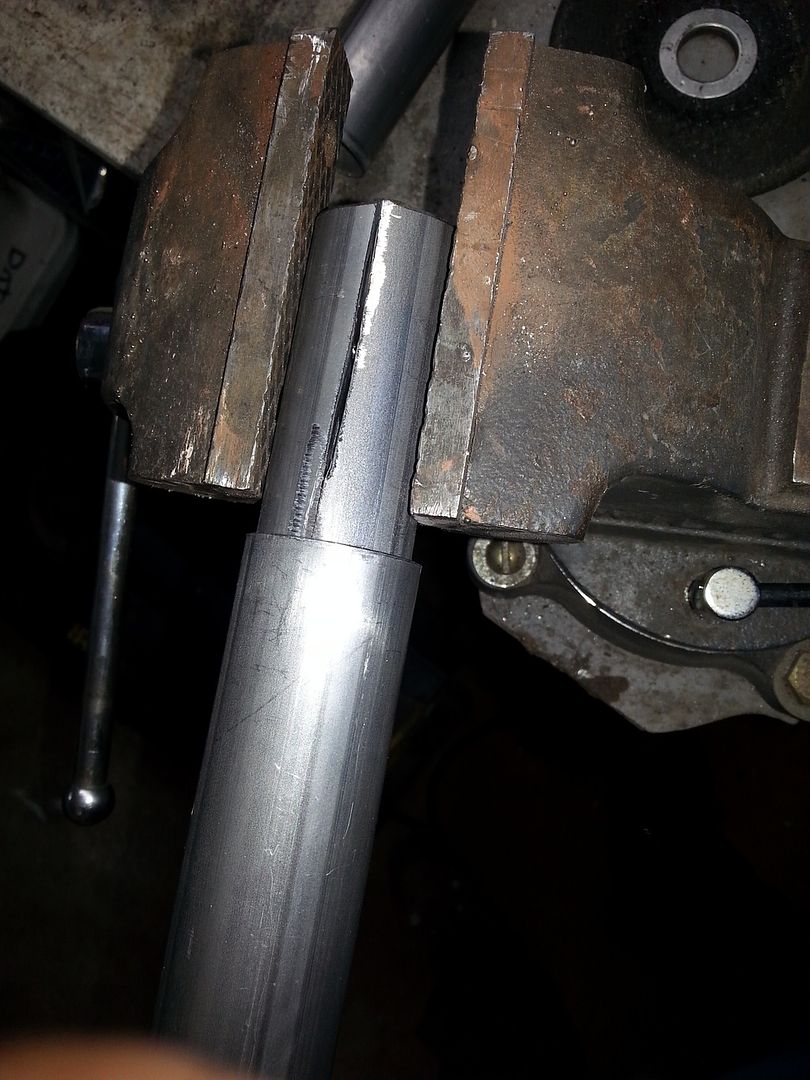
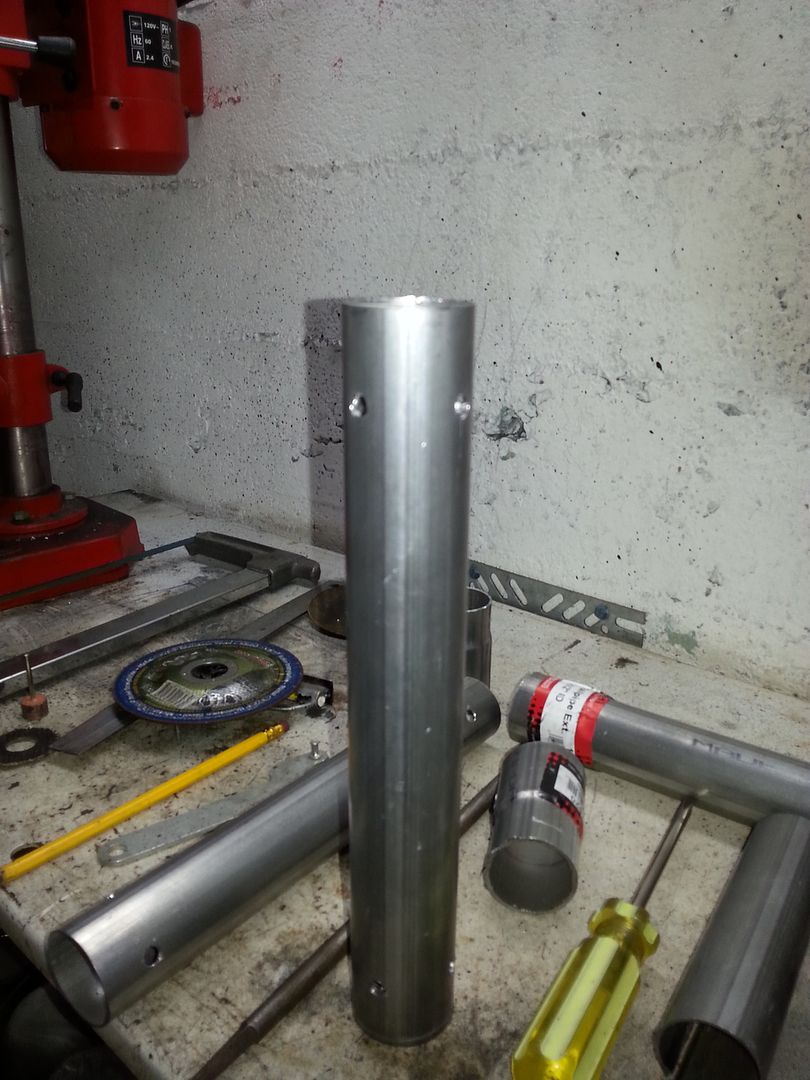
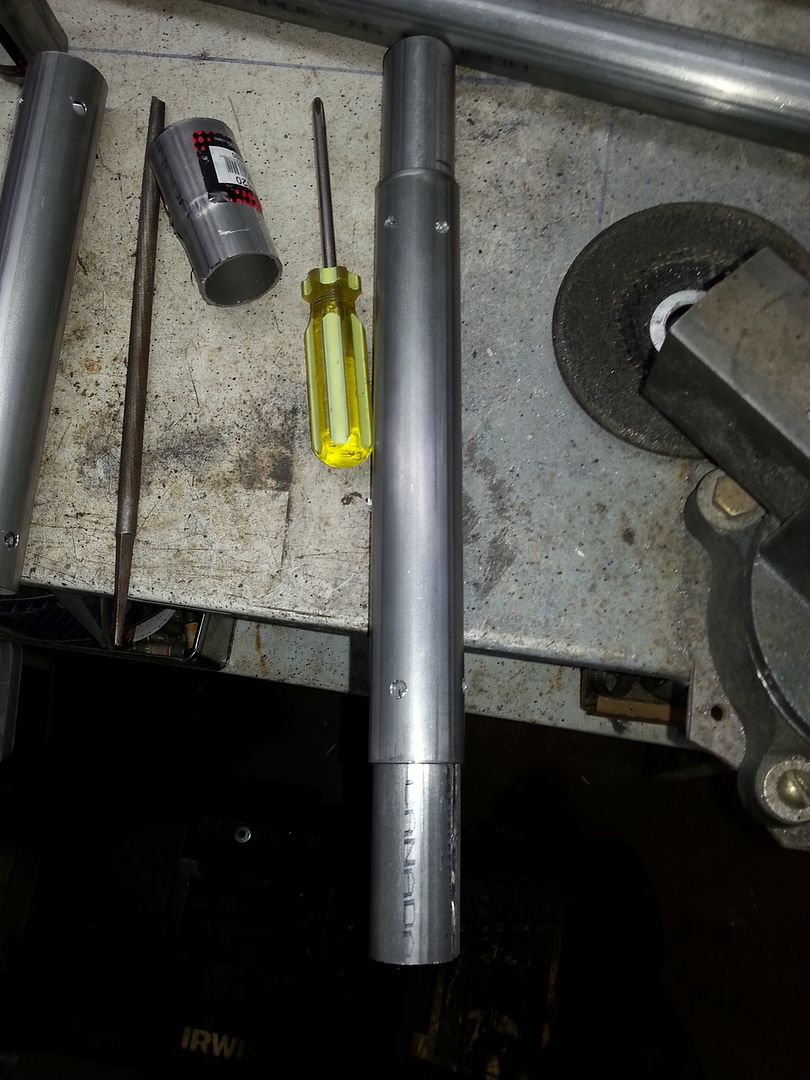
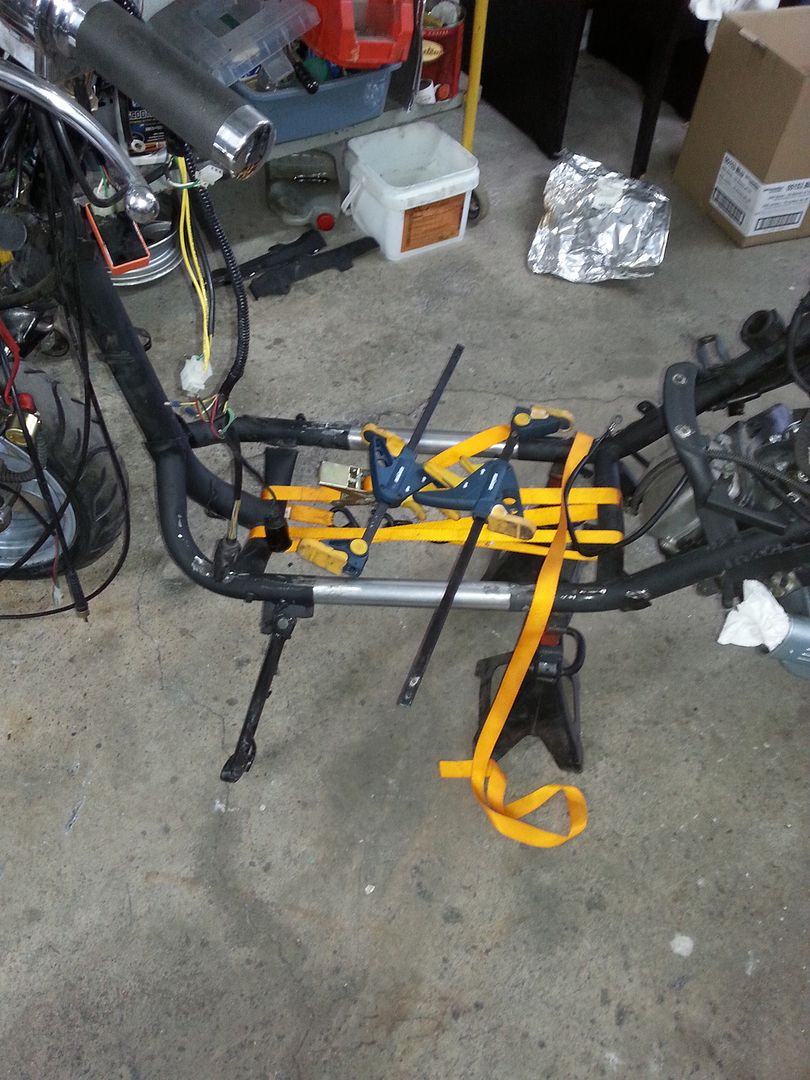
Got around to buying some tubing for the stretch. unfortunately they did not have anything that would fit tightly inside on the tube so i doing the next best thing, im making the inner tube myself.
The outer tube is the exact same diameter as the frame, all i needed was some way to joint them together to make them more solid. The center bar for the tank will finish up the job to make this as stiff as can be.

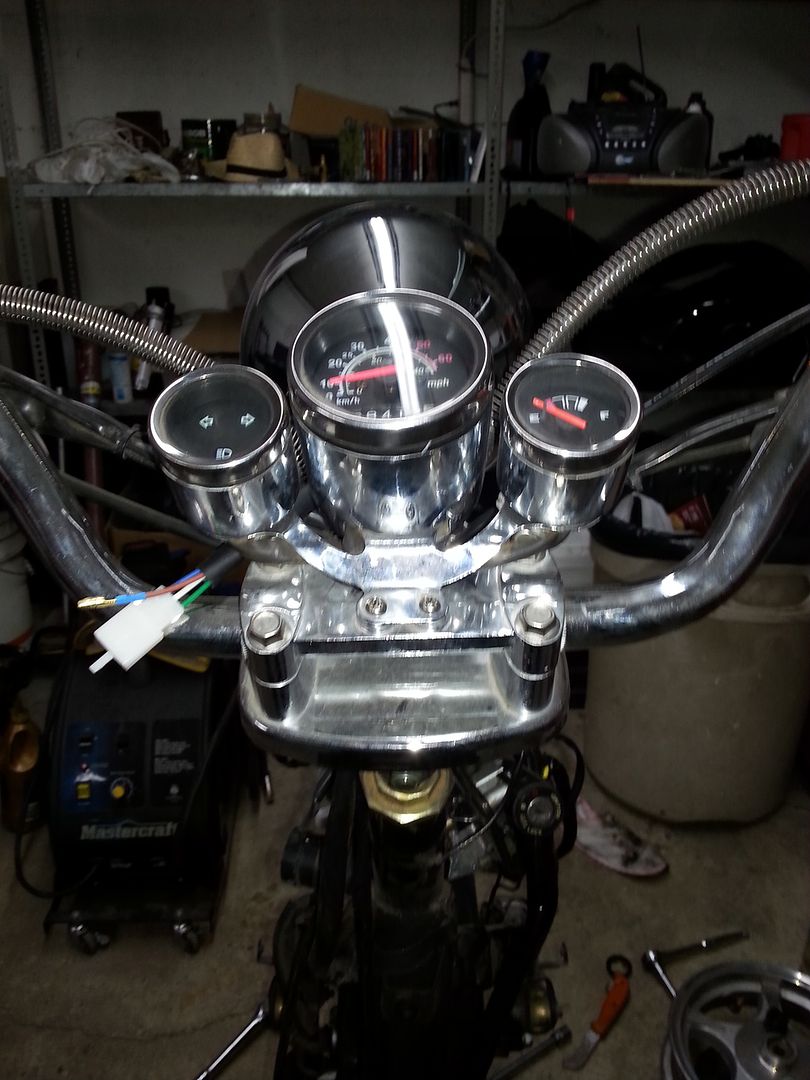
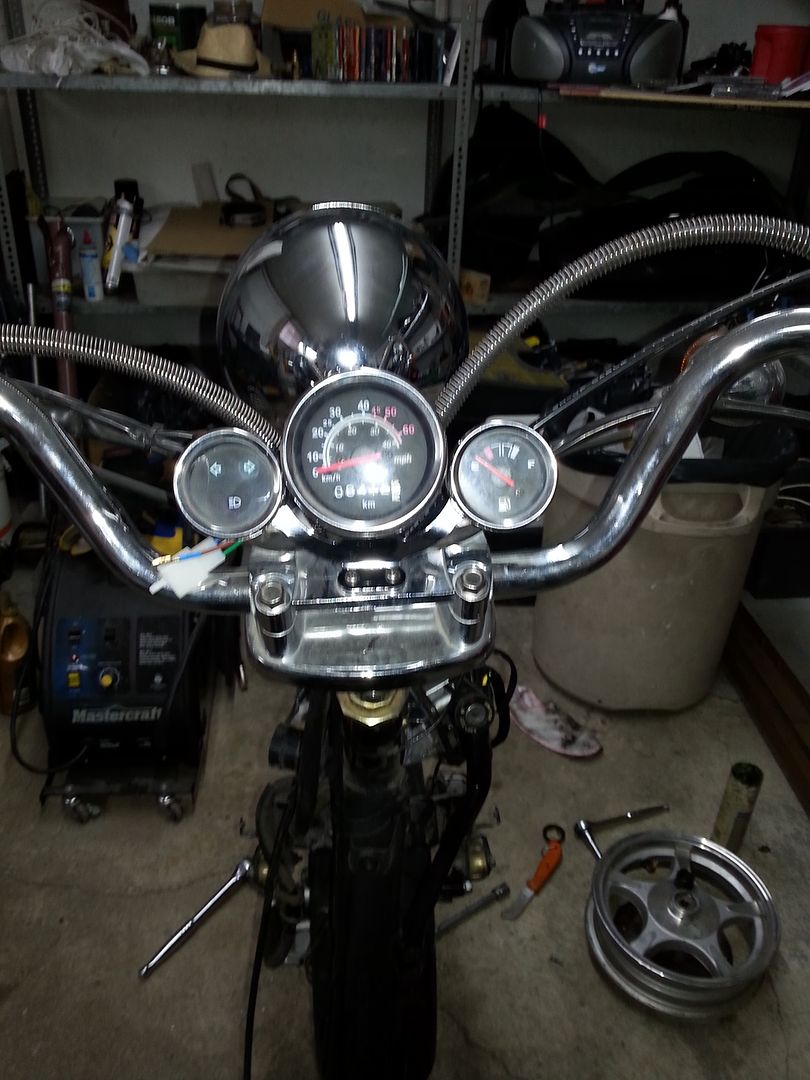
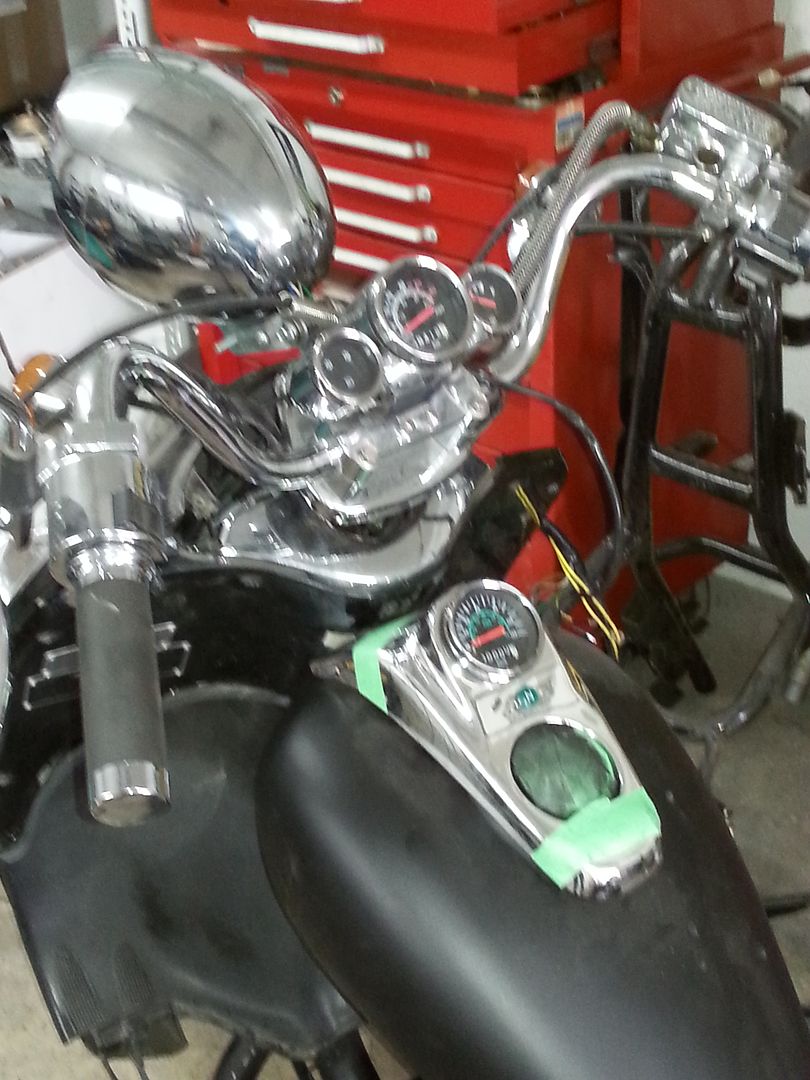
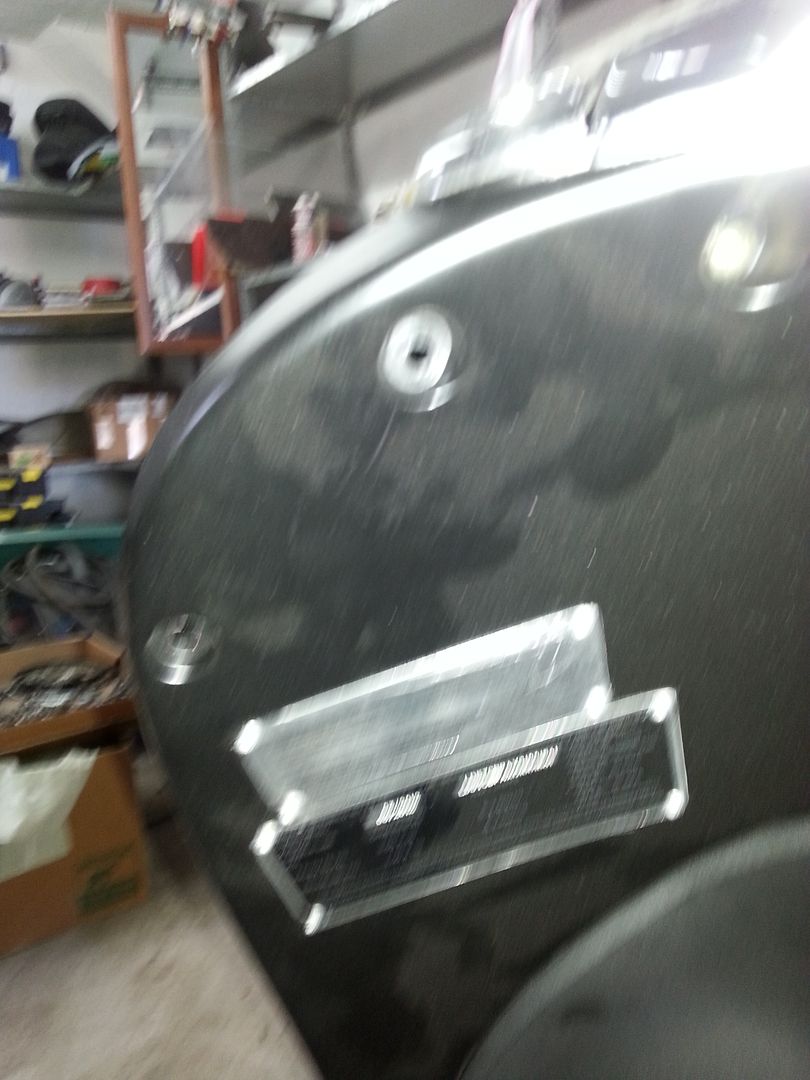
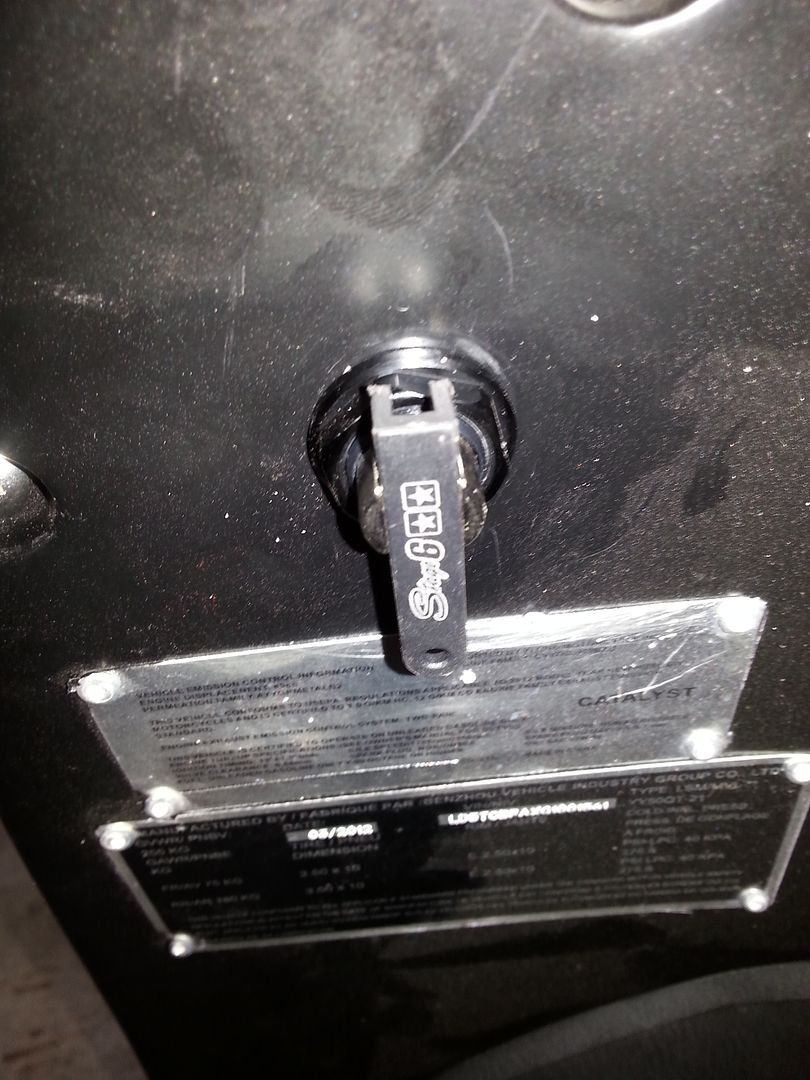
I also fiddle with the gauges since i will be sitting lower on the bike.
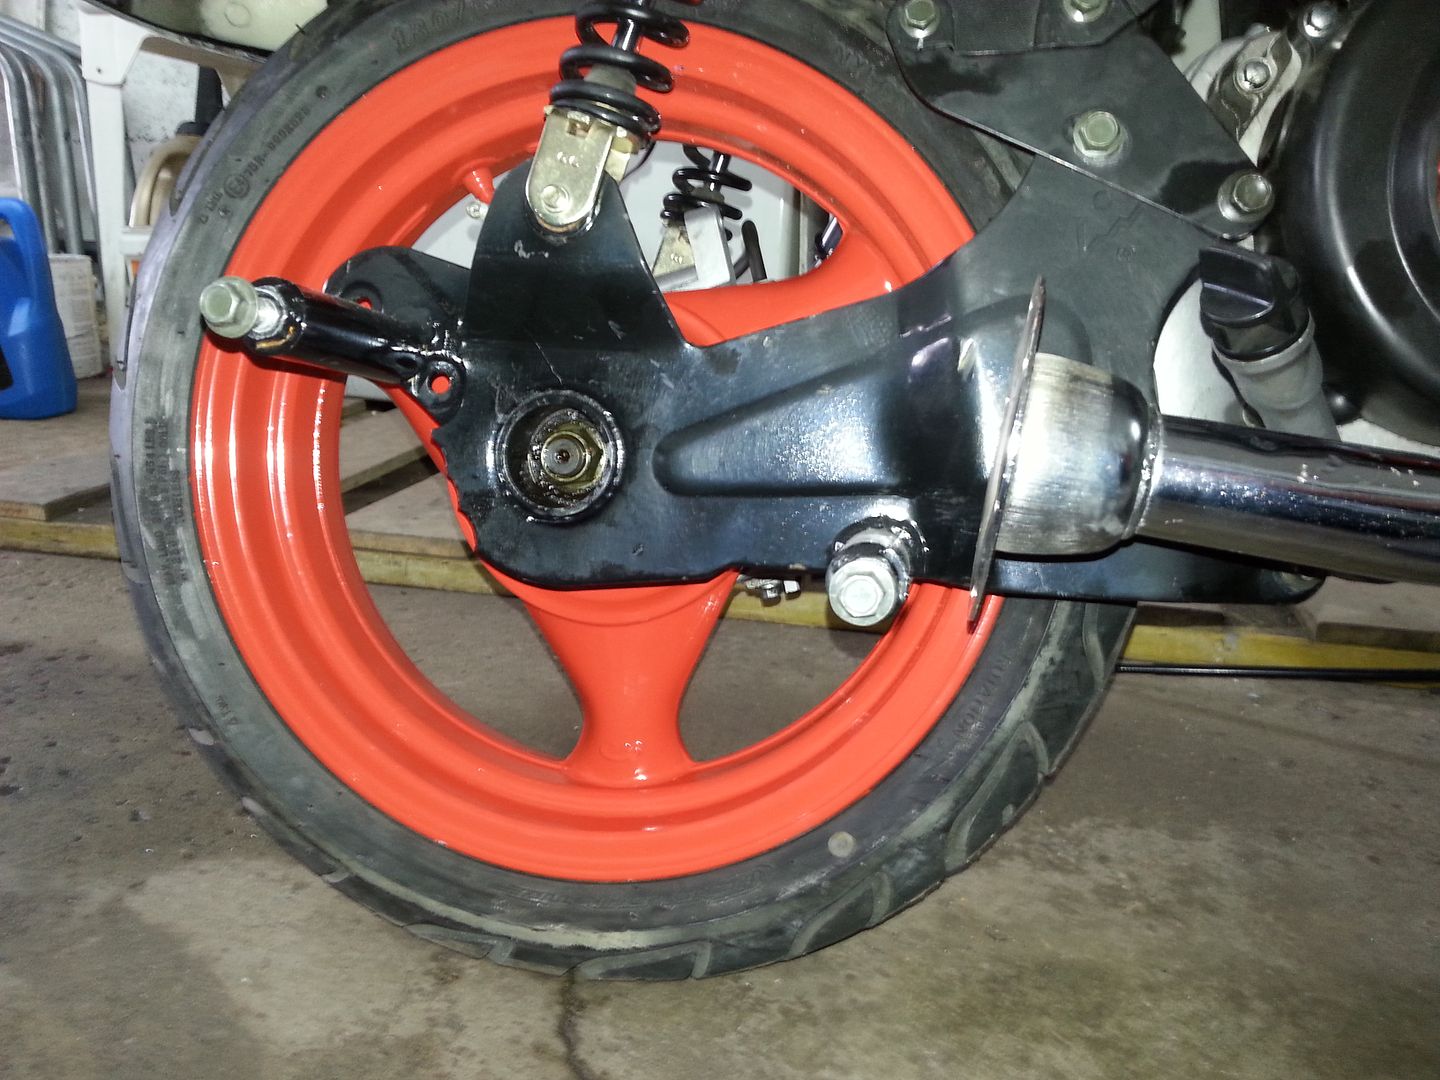
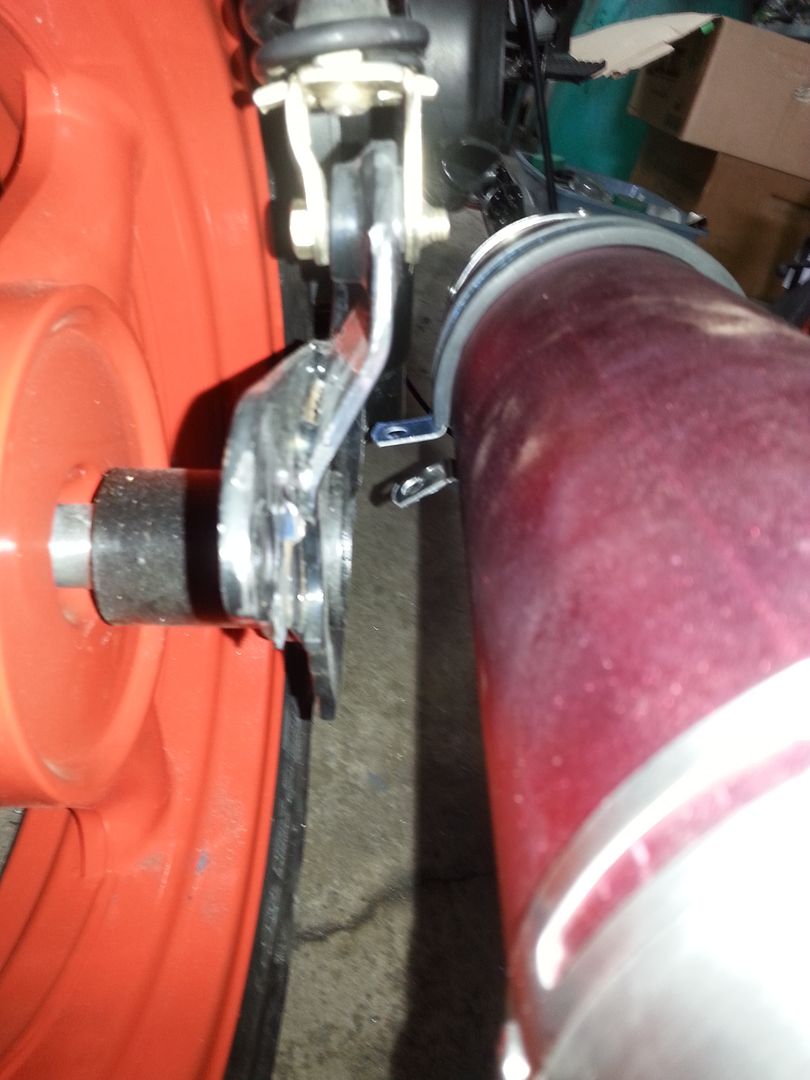
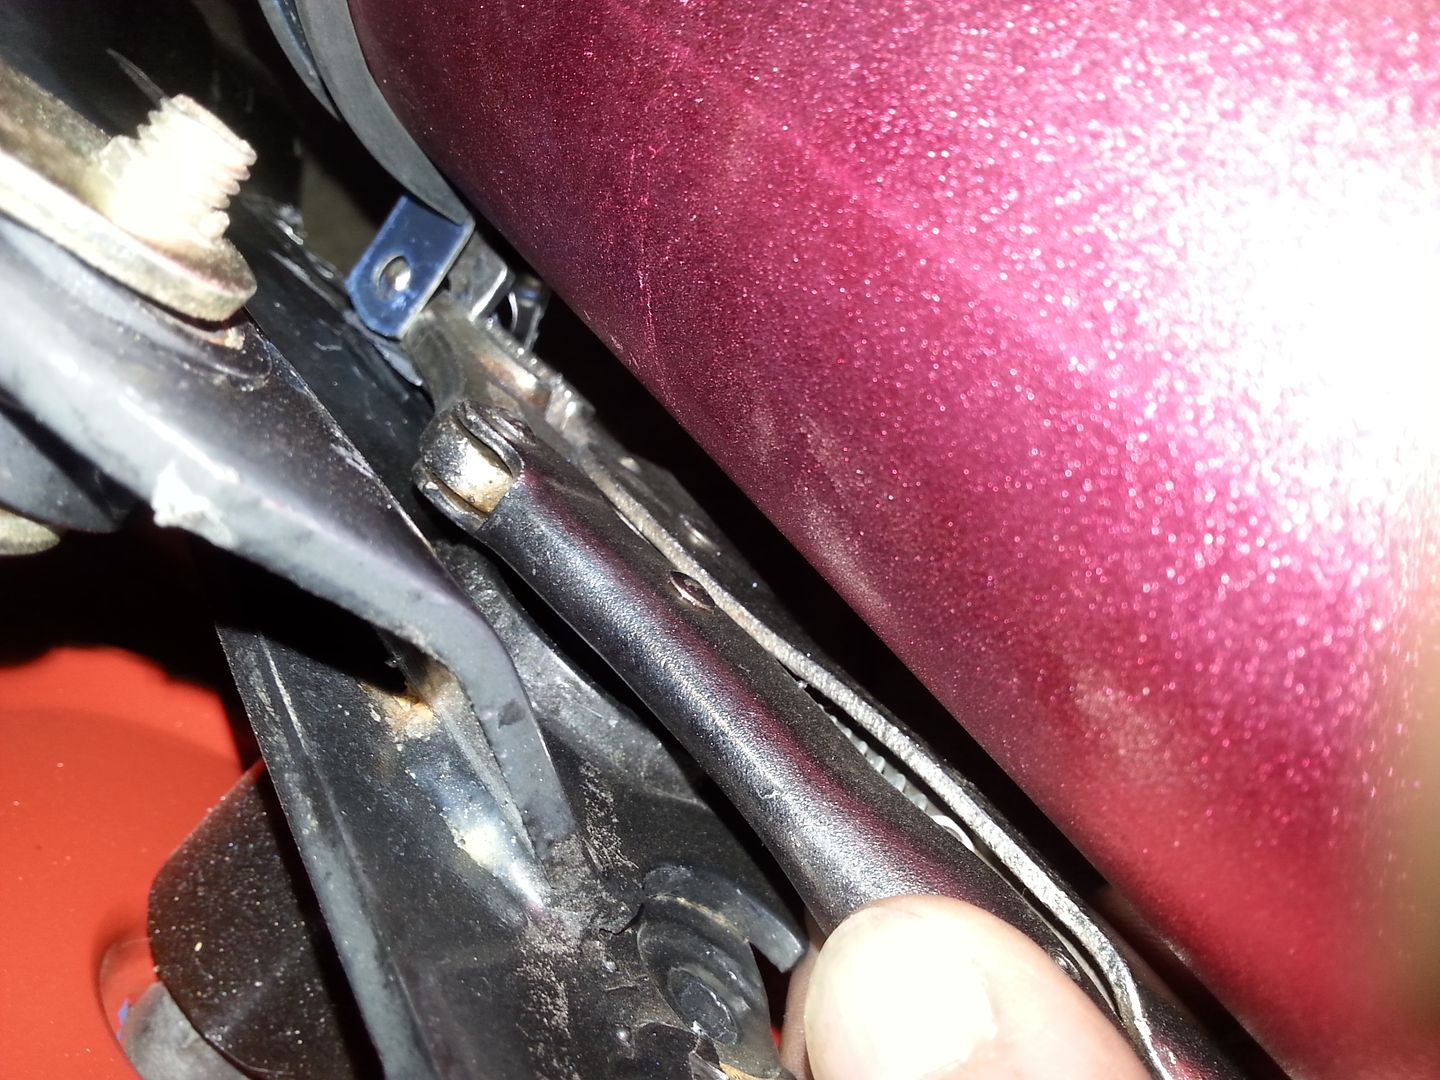
Here are a few more pictures of the front break mods.
As you can see (more like picture), that little retaining arm will not be going anywhere.
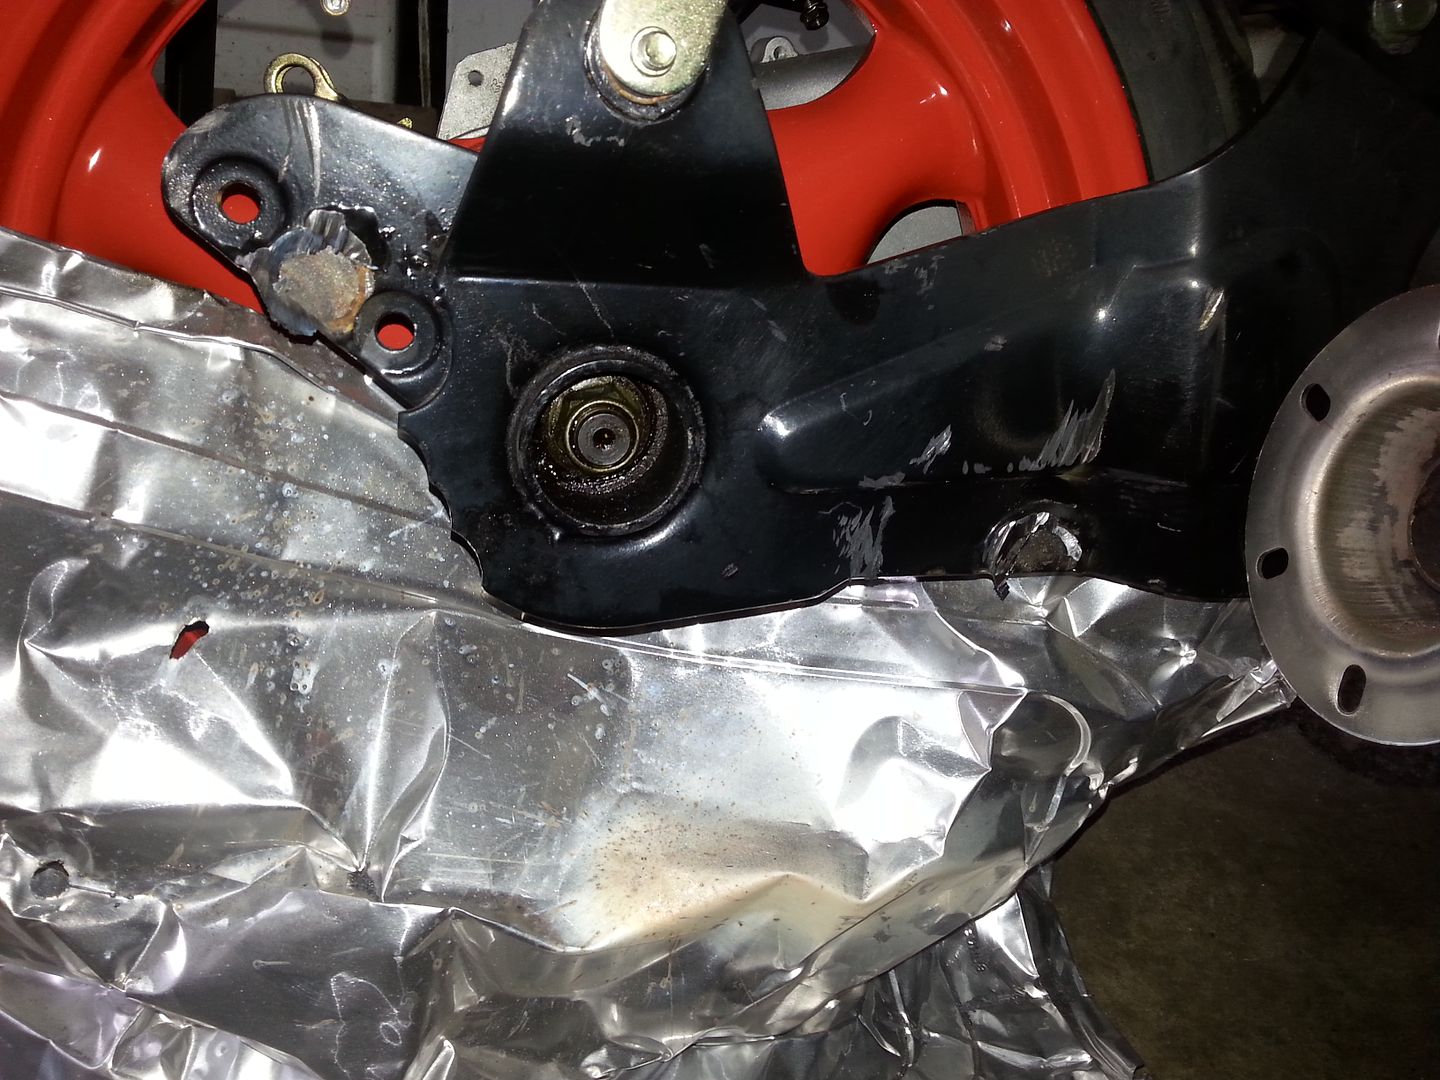
More pixturez.
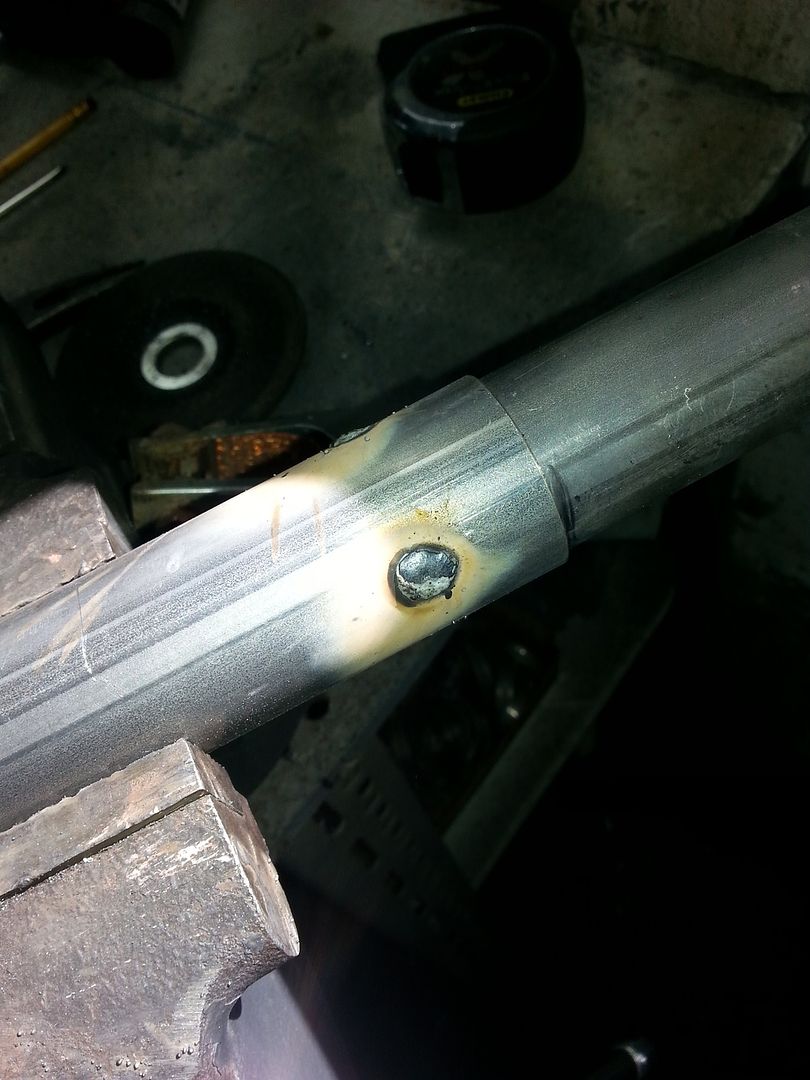
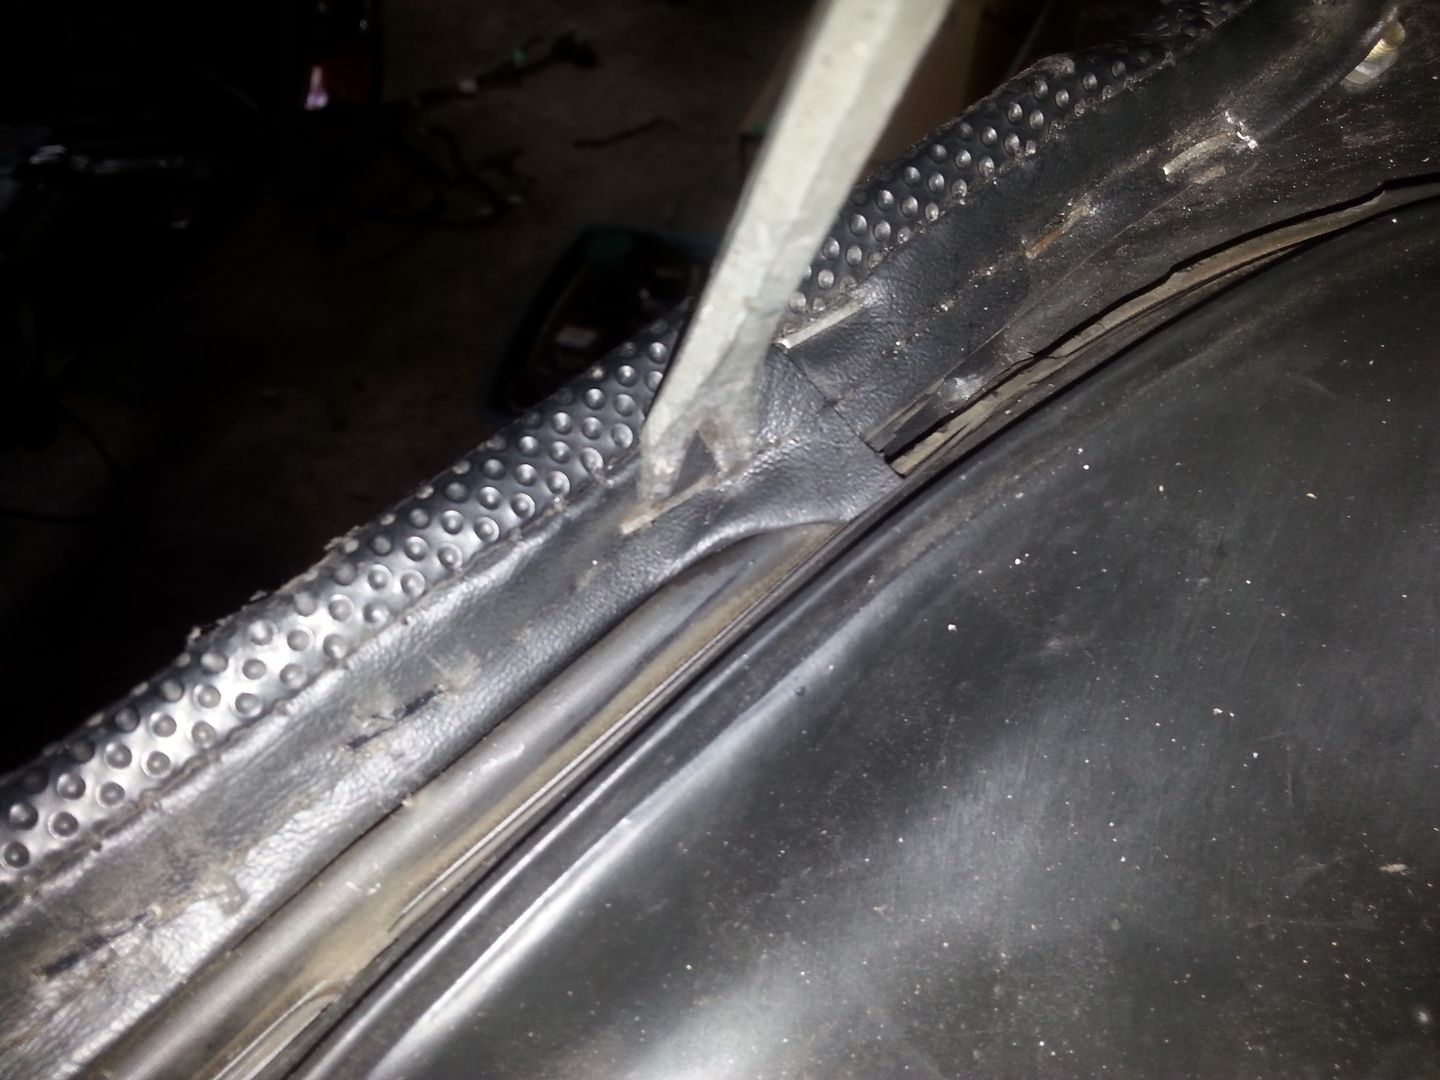
Needed a way to secure the inner pipe to the outer one, so i used a method i saw when i was working in a scaffolding shop. You drill a hole in the outside pipe, and weld the inner one to it by filling the hole.
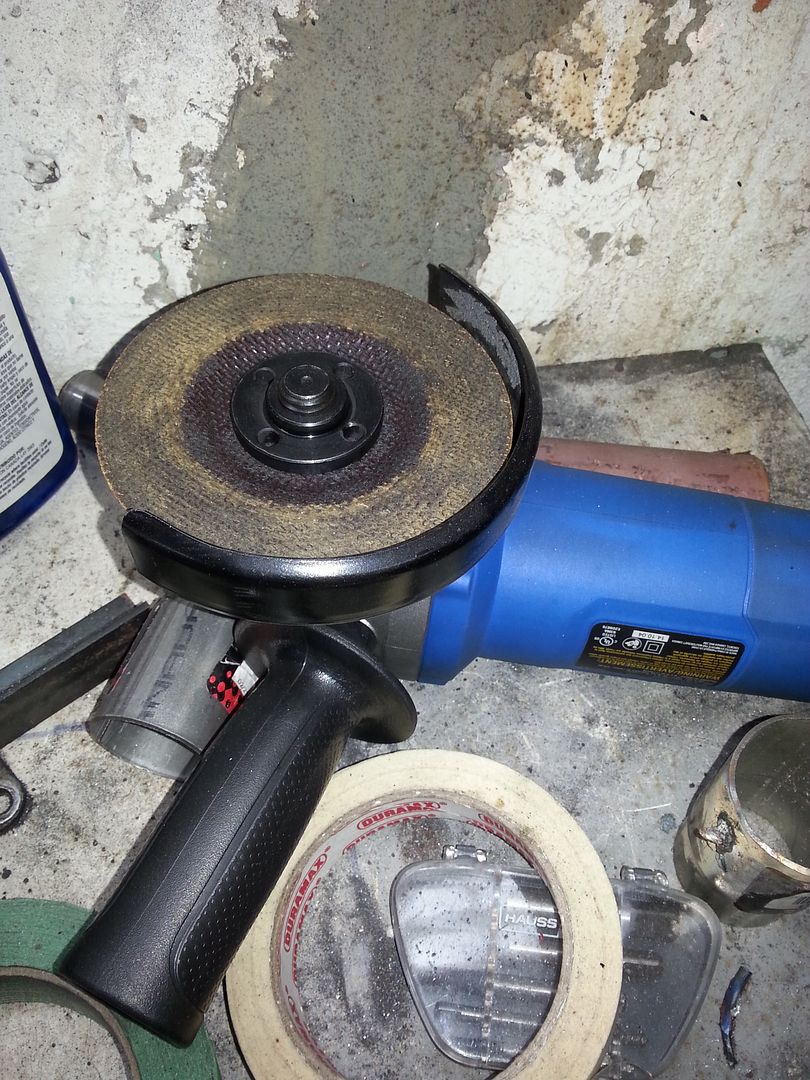
And then Murphy had to borrow my grinder for 5 mins. I swear im gonna kill that guy.
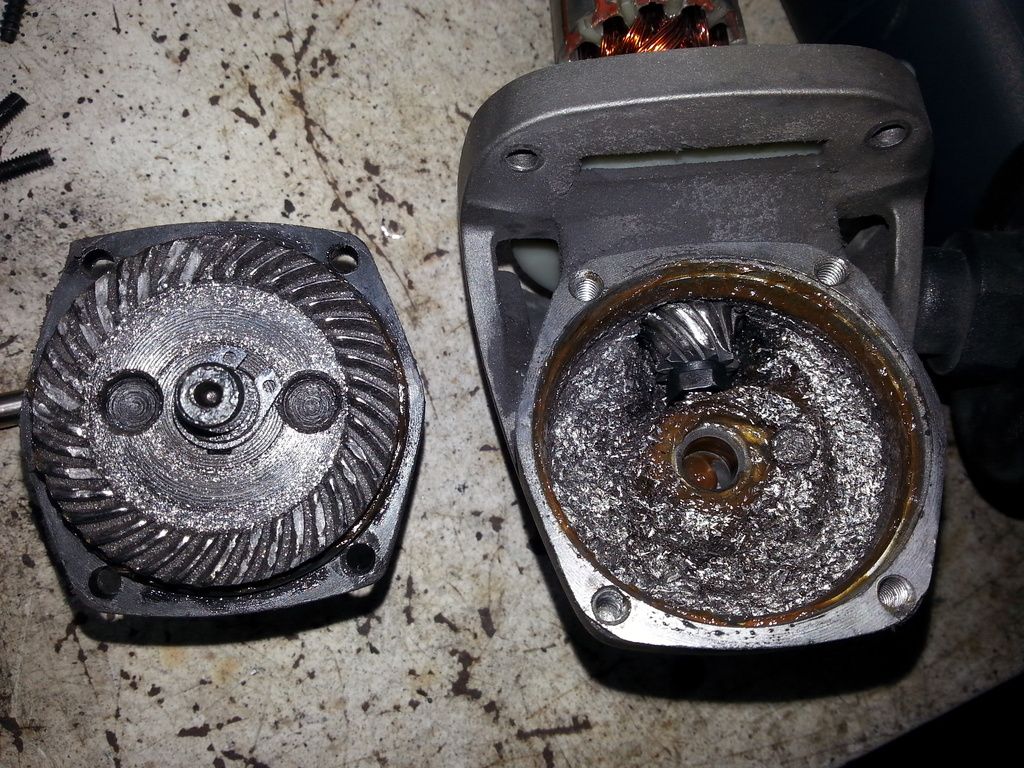
So after a quick trip to Canadian Tire, it was back to prepping the frame.
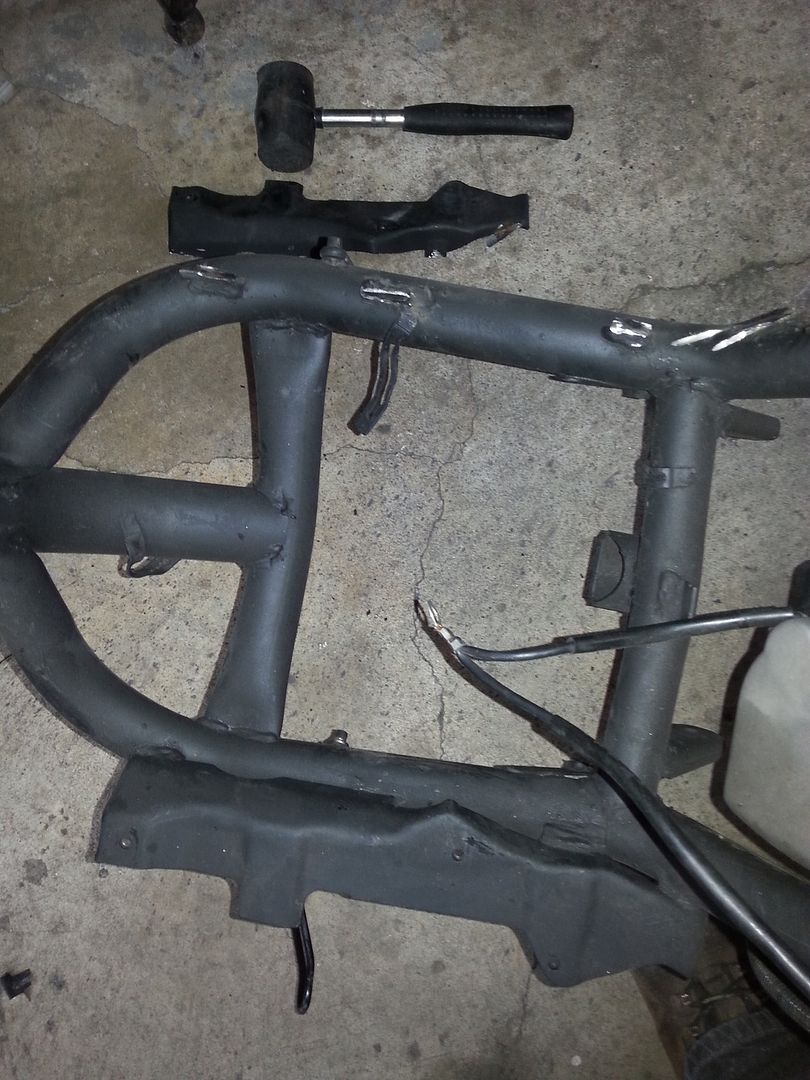
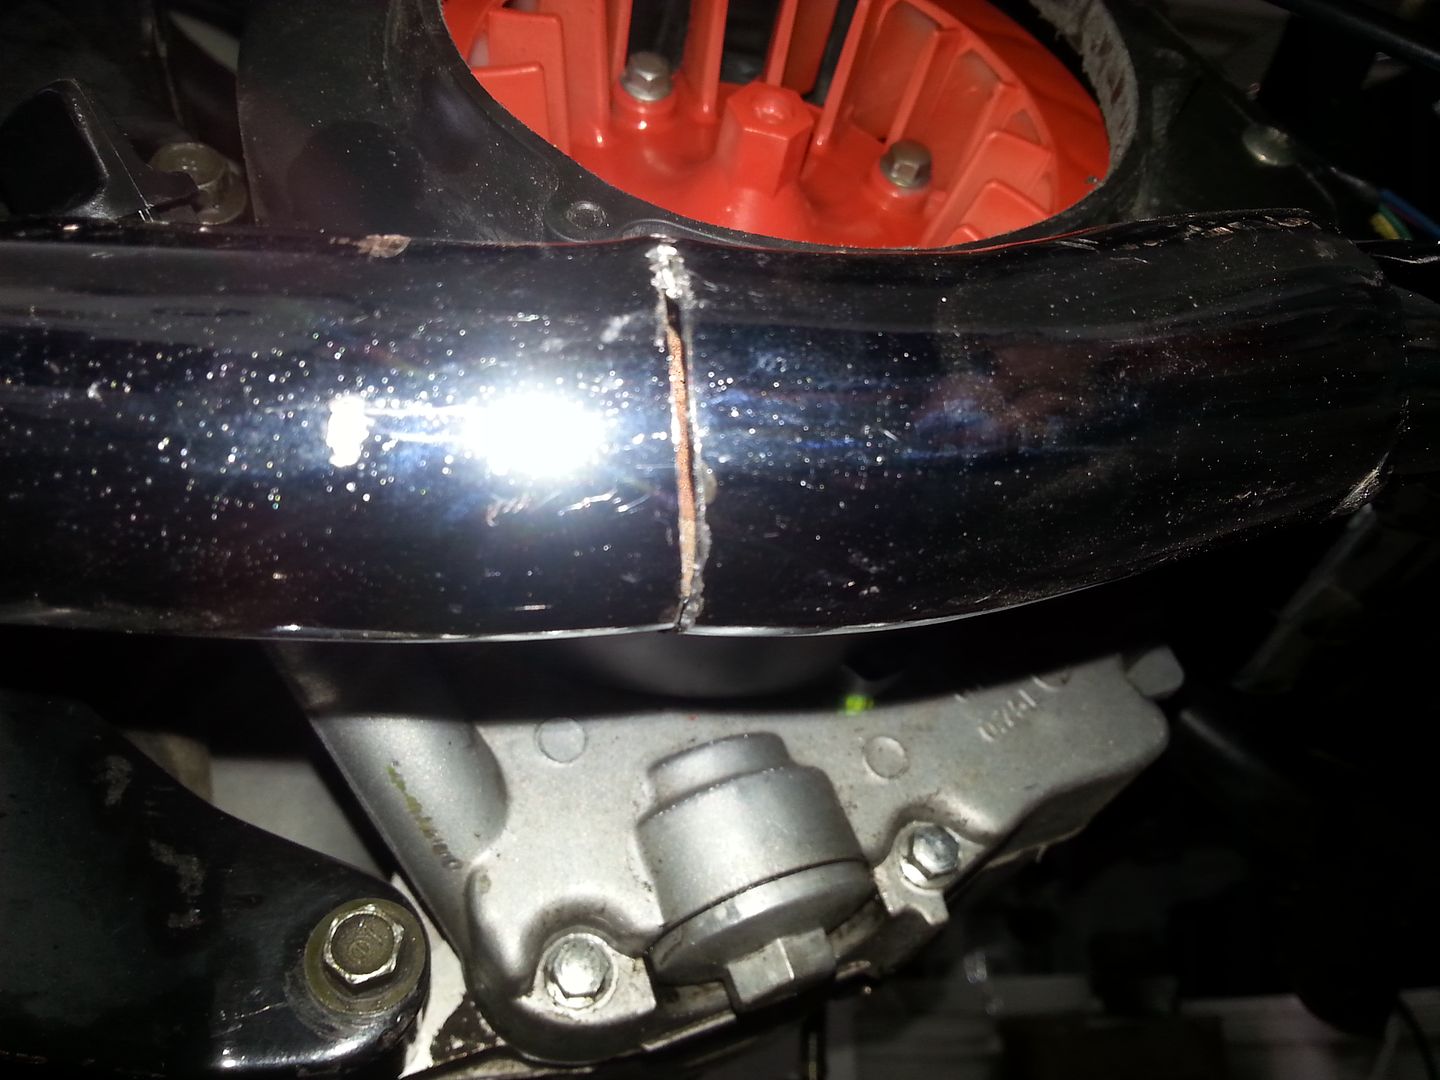
The next pictures containts violence, mature viewers only!!!!
It was a tight fit but buy using a a binder i was able to set it back together.
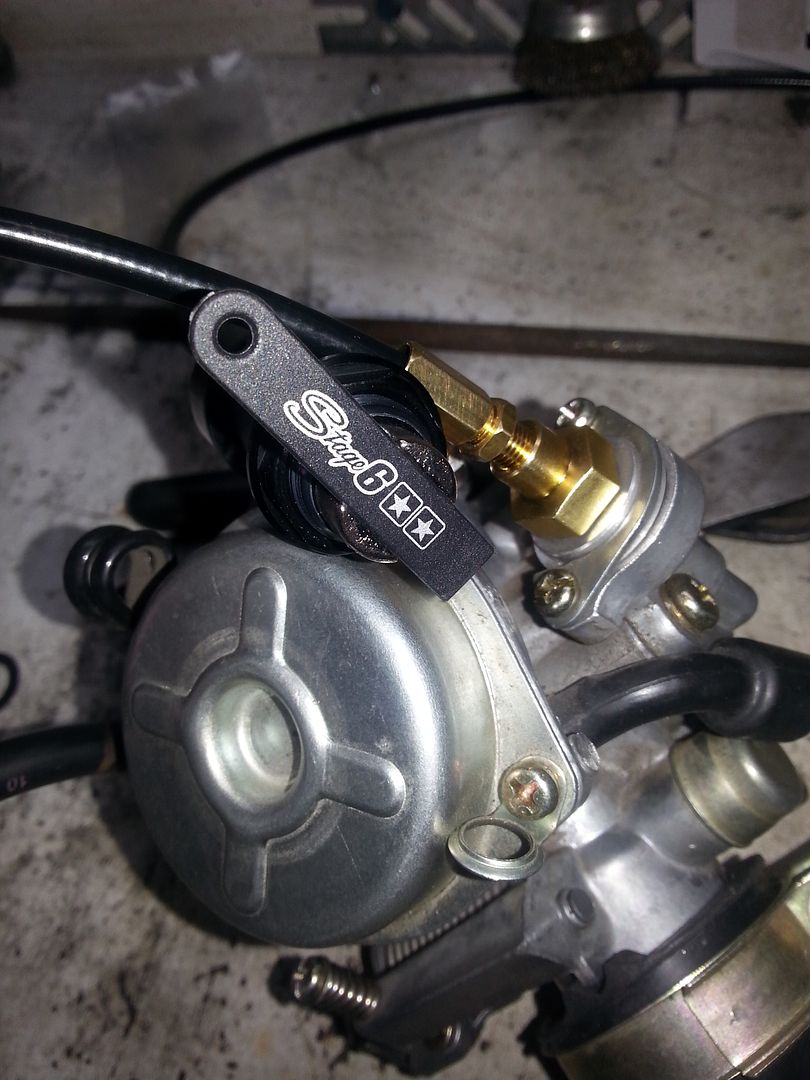
Did some more work on the frame and installed the manual choke on the carb.
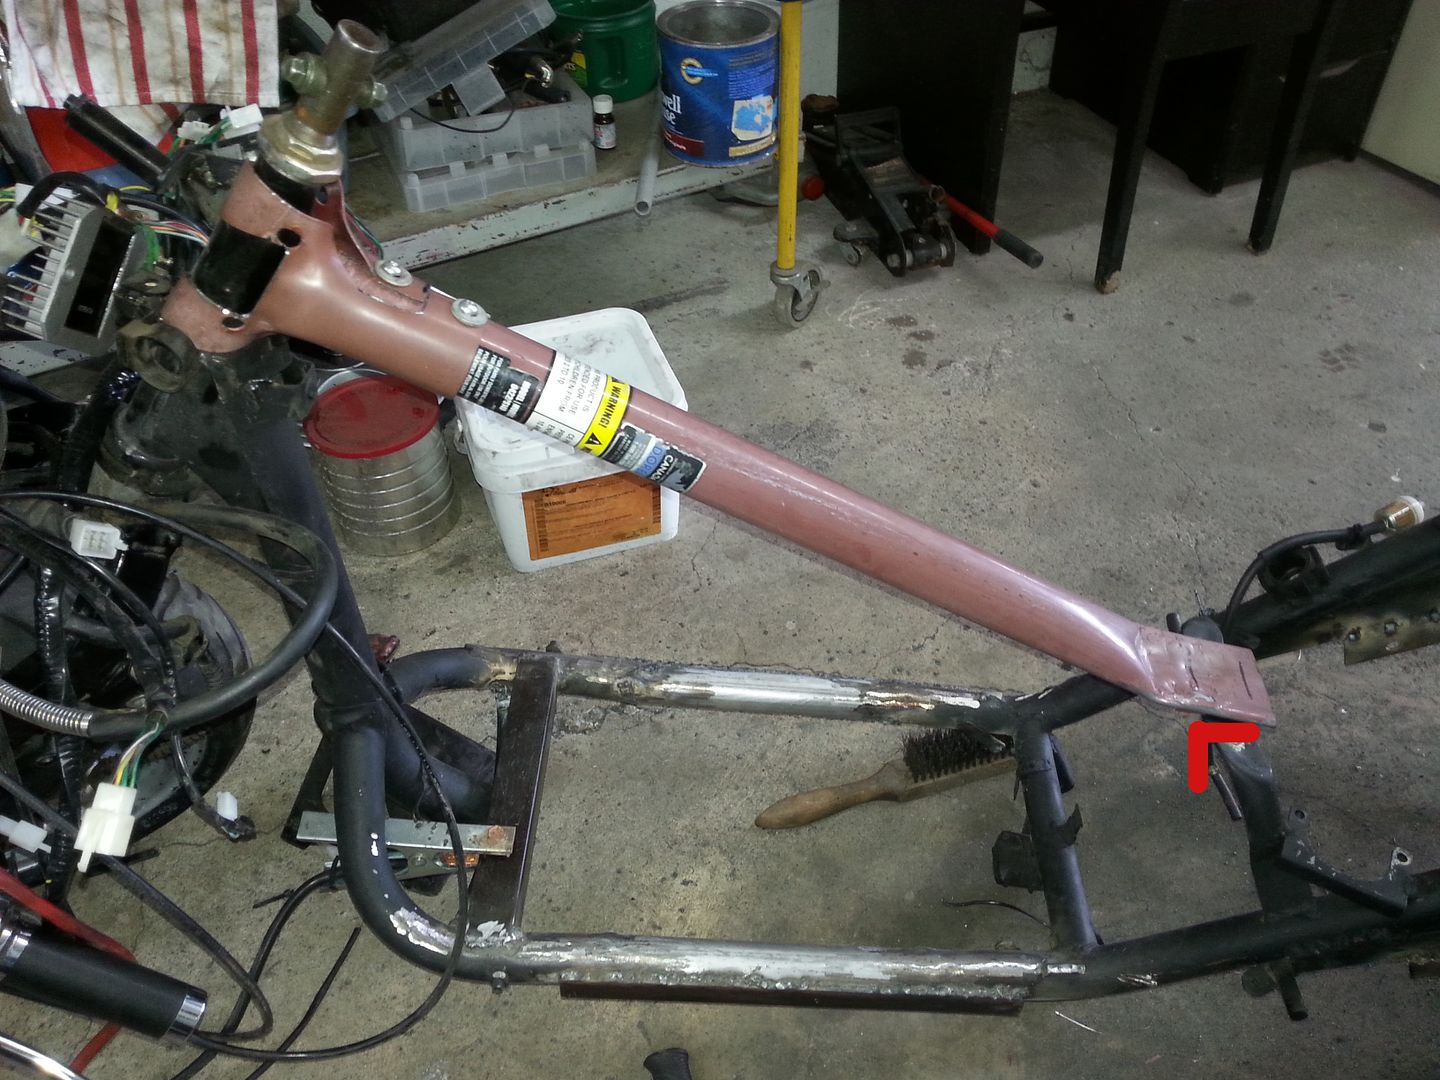
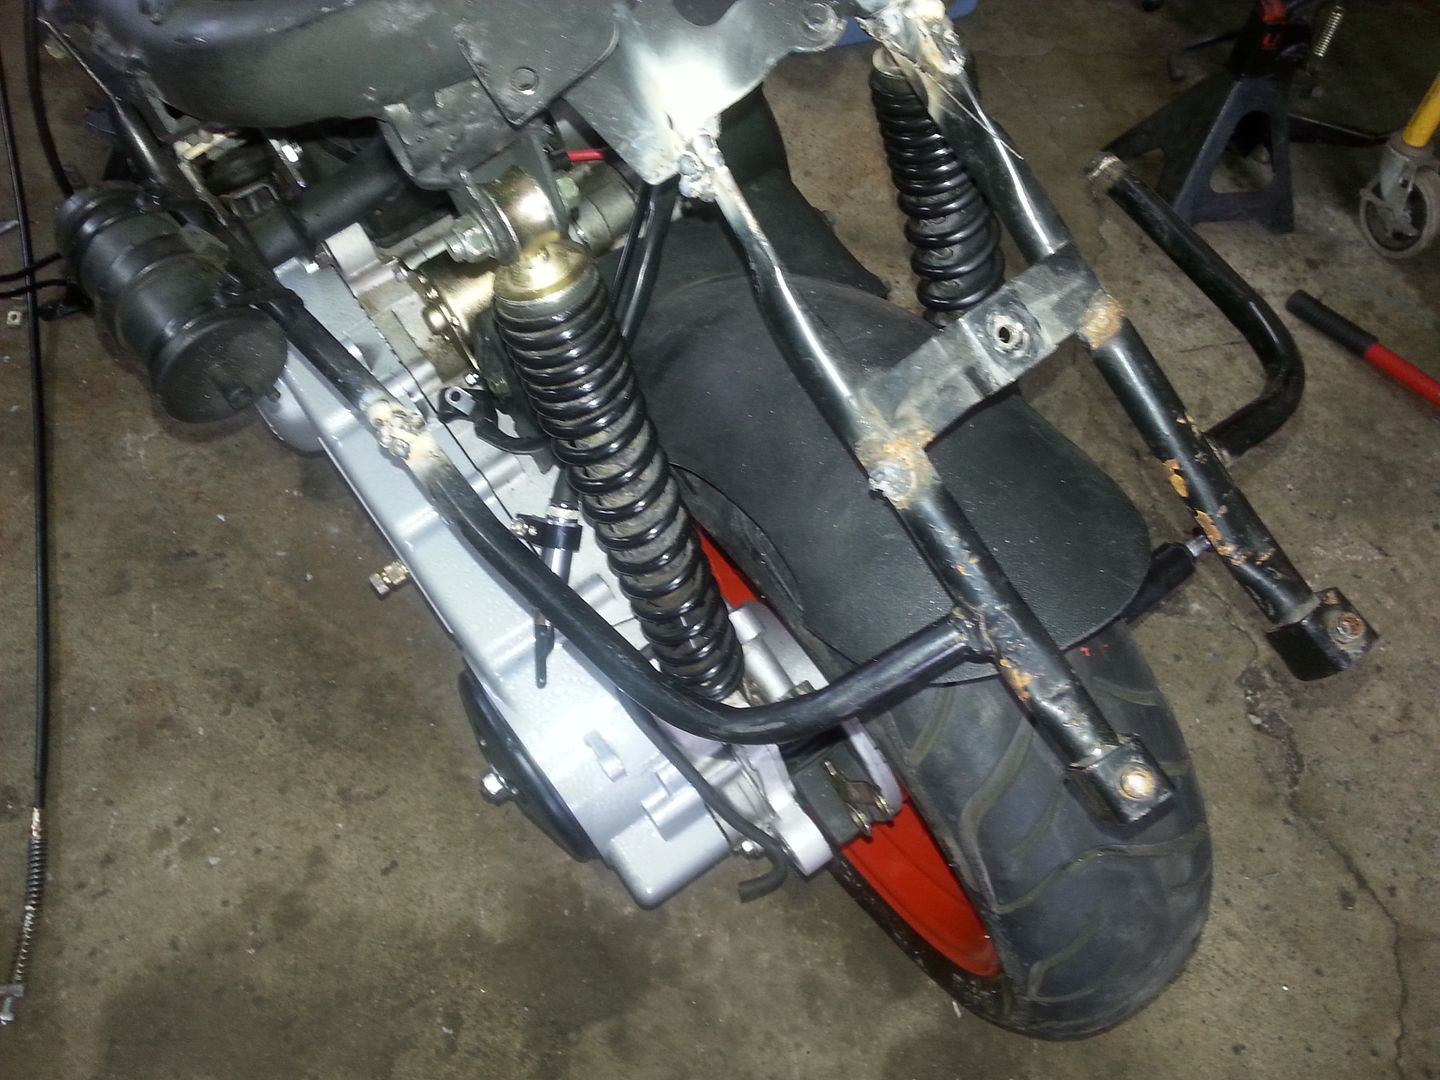
The frame was reinforced with some of my epic BED FRAME STEEL FROM HELL!!! Its a bit overkill but my butt will be on that scooter for my summer scamping trip.
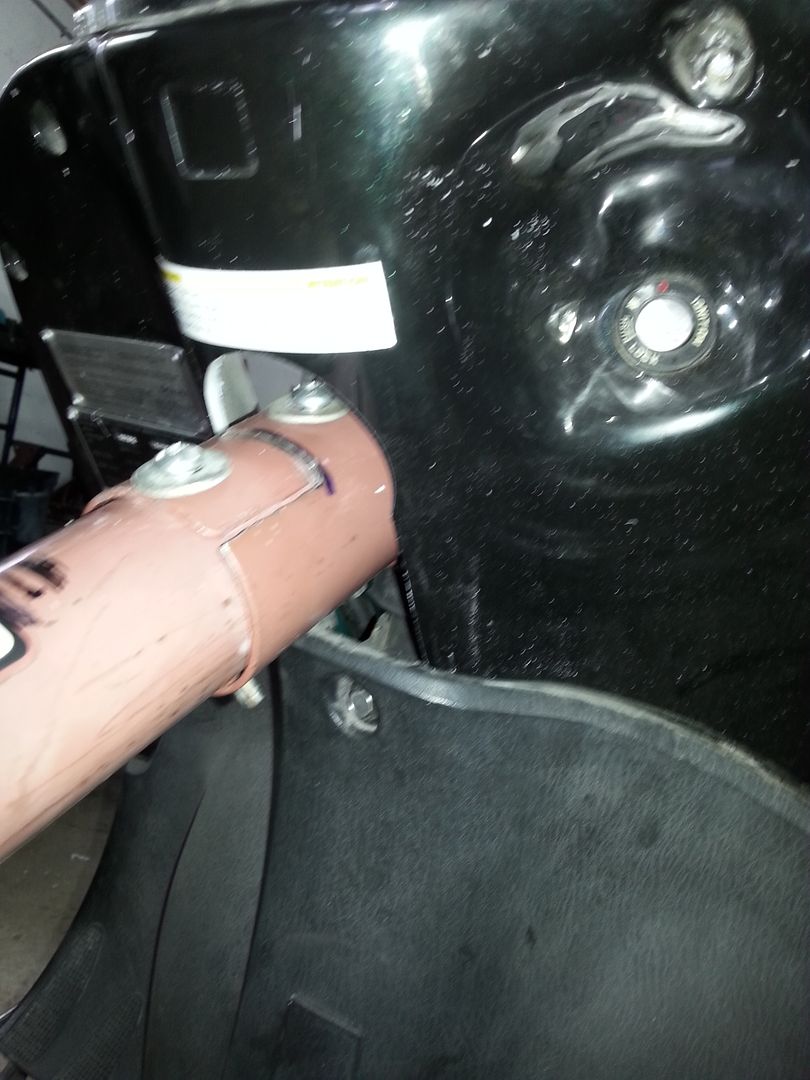
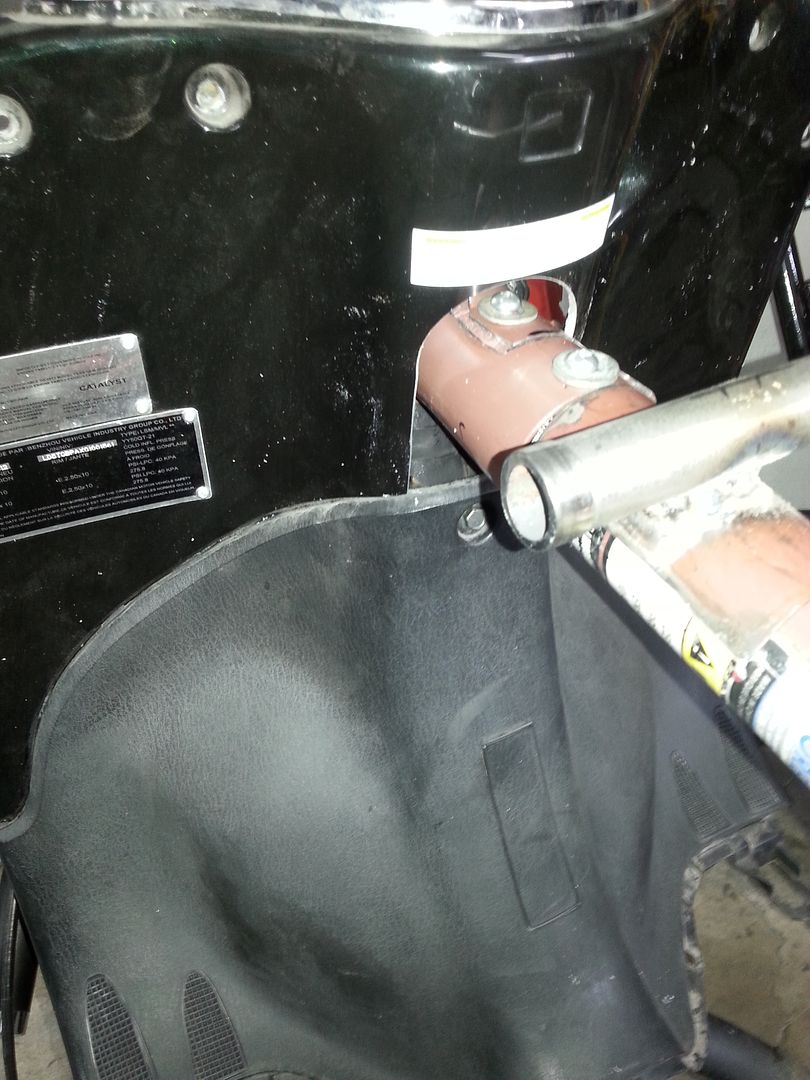
The center bar is pretty much in its final stage of fabrication, only needs some good clamping devices in the front and a flat plate to bolt it to the frame where the seat will be.
For the front clamps, i was thinking of some muffler clamps if i can find the right size. Once that's done, it will be an angle bar welded to the other end, with holes to matching those 2 on the frame.
The problem with the engine being too close to the front was also fixed. I just moved the 2 bracket about 1/2 inch back.
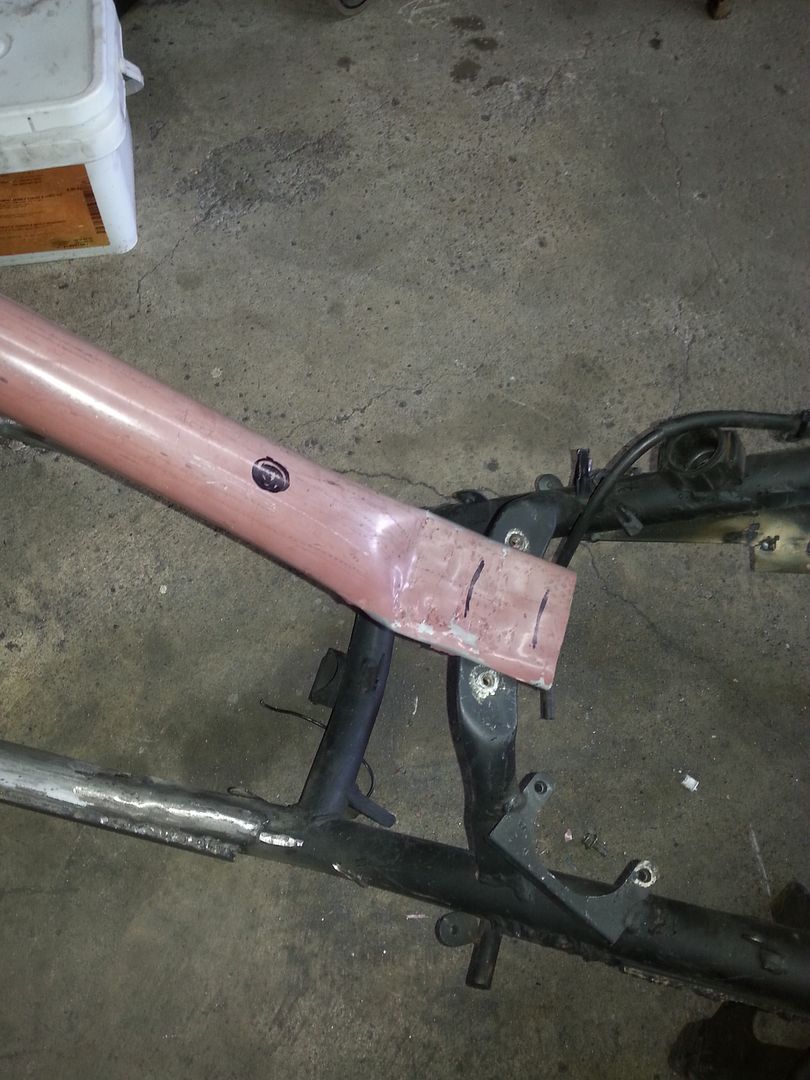
Where the muffler clamps will go:
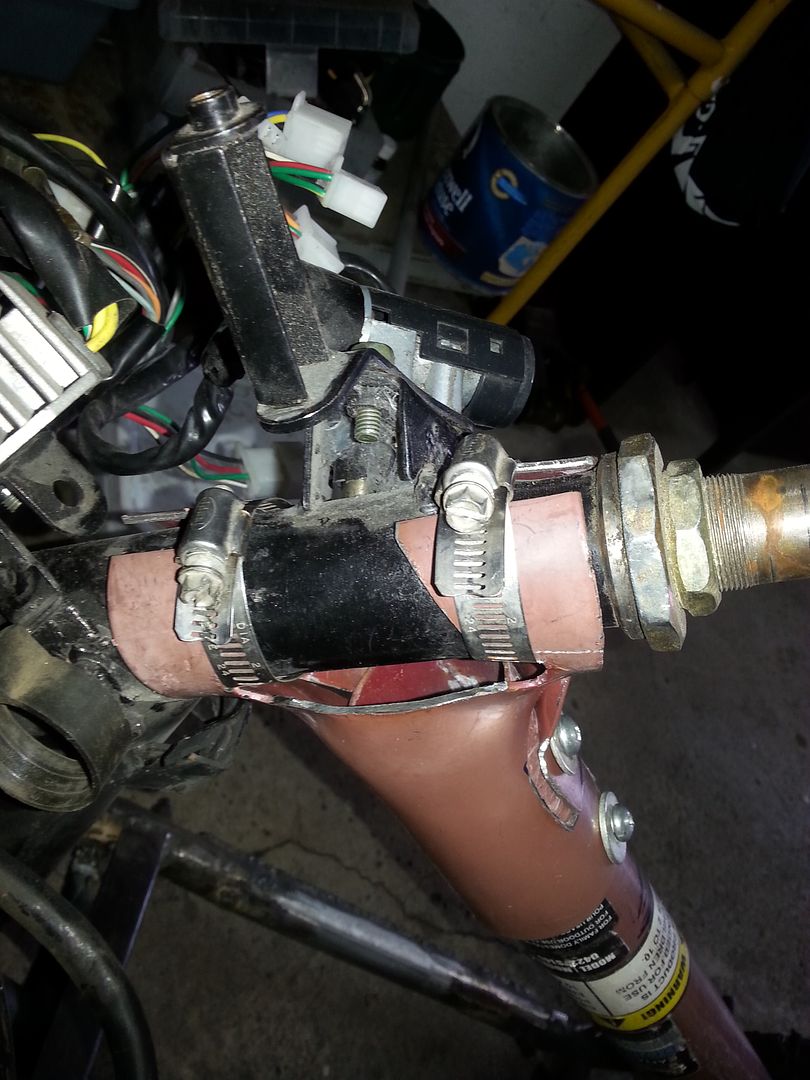
The manual choke was a bit tricky to install. I had to modify the stock holding bracket because the one that came with the kit would not get the choke assembly to rest properly in its housing. So i filled the holding bracket of the electrical choke until it was a perfect fit. Otherwise, this kit is pretty simple to install, but some instructions will probably come with them soon.

thing i was looking foward to was to build my own pipe but time is ticking away pretty fast now. I want this build done by mid june. I'm gonna be riding it to Perce QC. A 2500 km round trip.
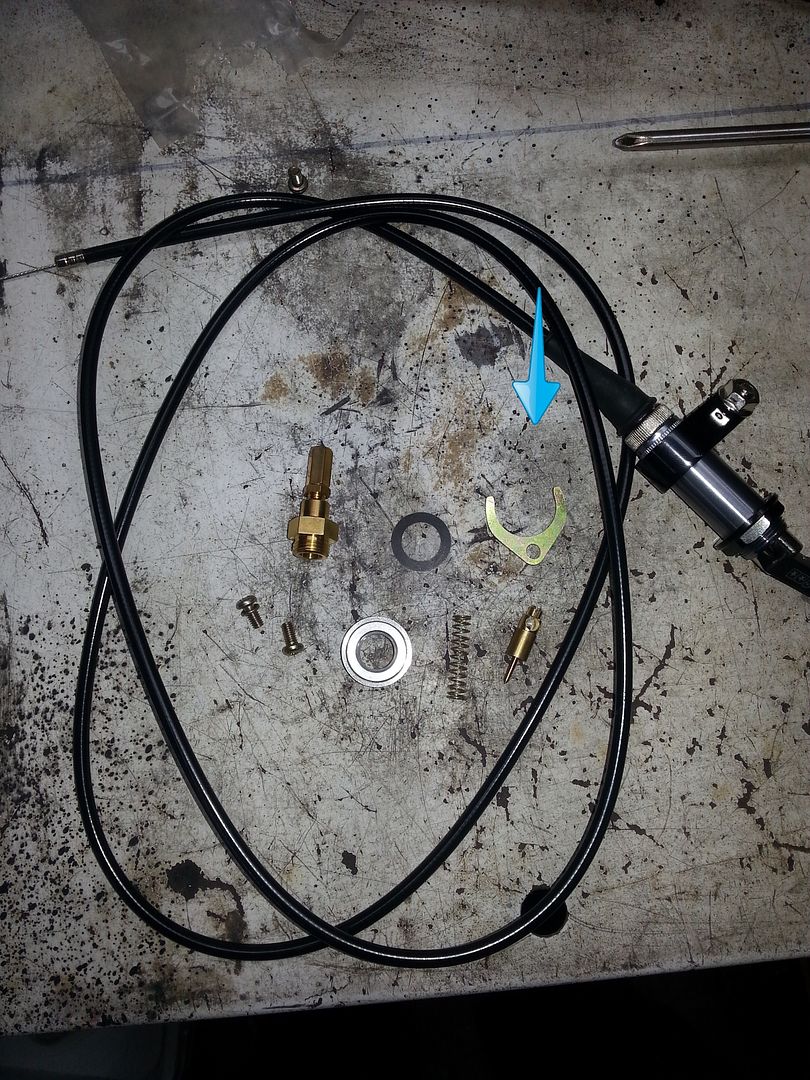
So i ordered a few parts that i'll have to fiddle with.
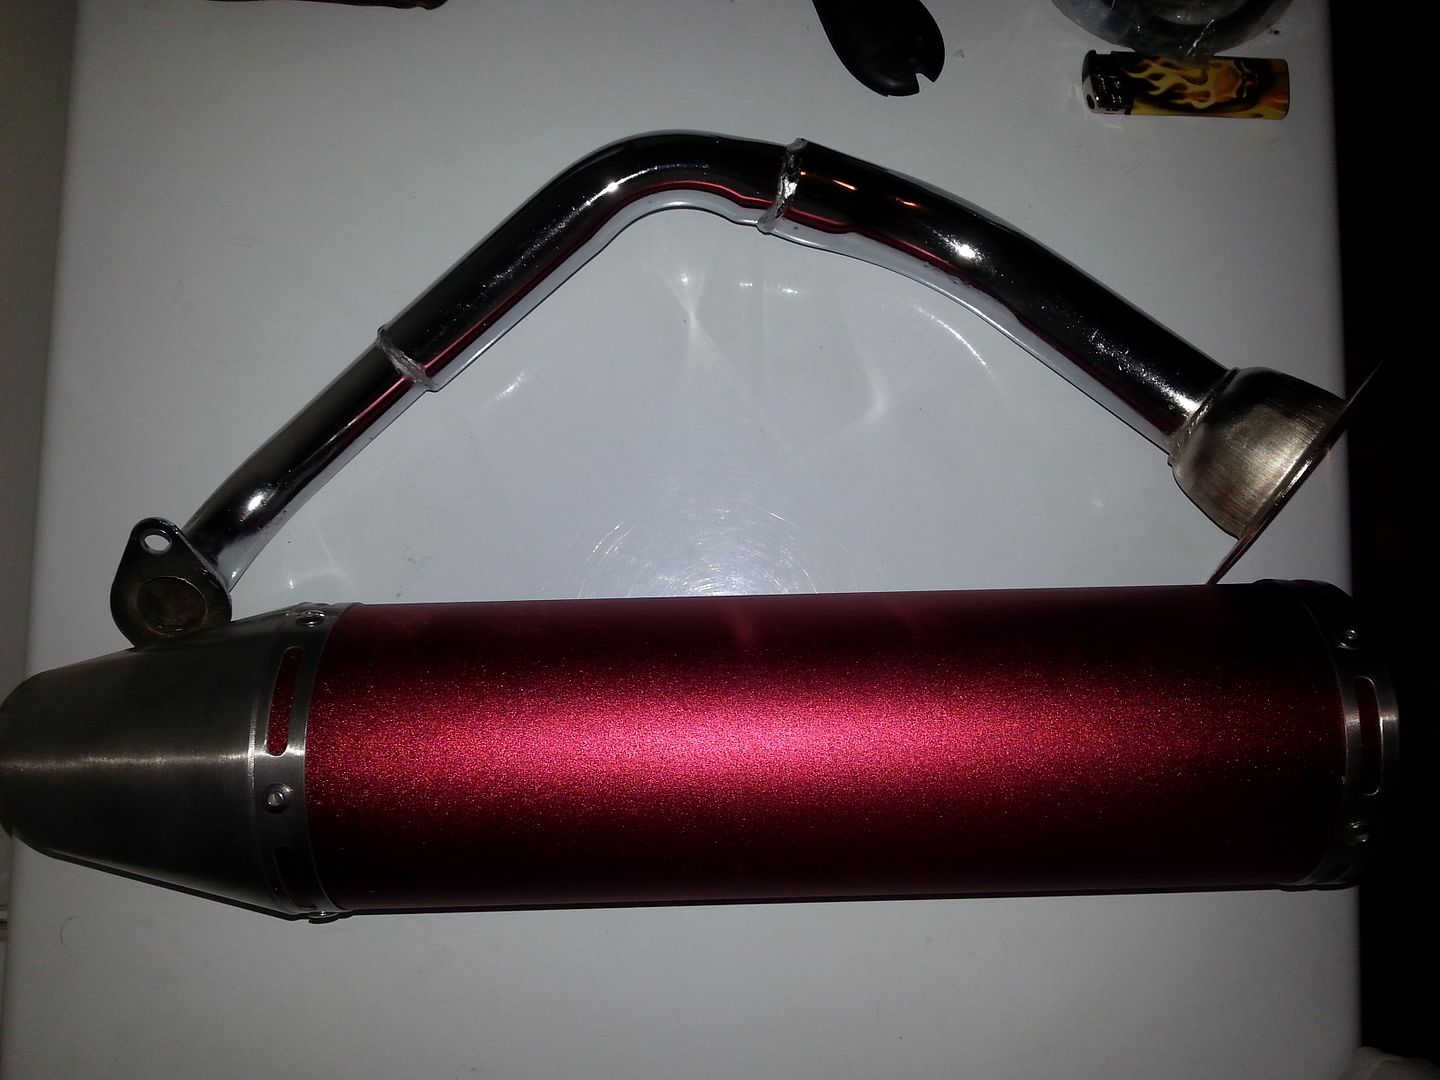
The pipe will be the red one with the cone tip.
www.aliexpress.com/item/Universal-GY6-scooter-JOG-RSZ-engine-exhaust-pipe-muffler-pipe-alloy-alluminium-gold-blue-black-accessories/1903052191.html
Header pipe witch will have to be cut and welded to fit my body panel.
www.aliexpress.com/item/Universal-GY6-50cc-125cc-150cc-scooter-JOG-RSZ-engine-exhaust-pipe-muffler-pipe-accessories-Free-Shipping/1903067293.html
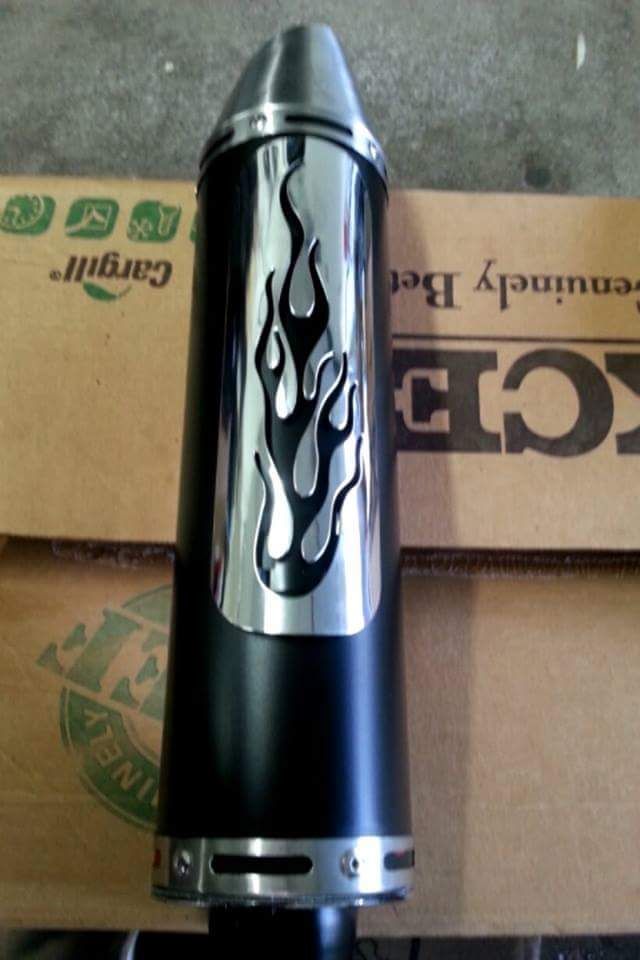
The muffler guard, for the look and its mandtory up here even if not to many have one.
www.aliexpress.com/item/New-Chrome-metal-steel-motorcycle-hollow-flame-exhaust-muffler-heat-shield-cover-heel-guard-9-exhaust/1595636592.html
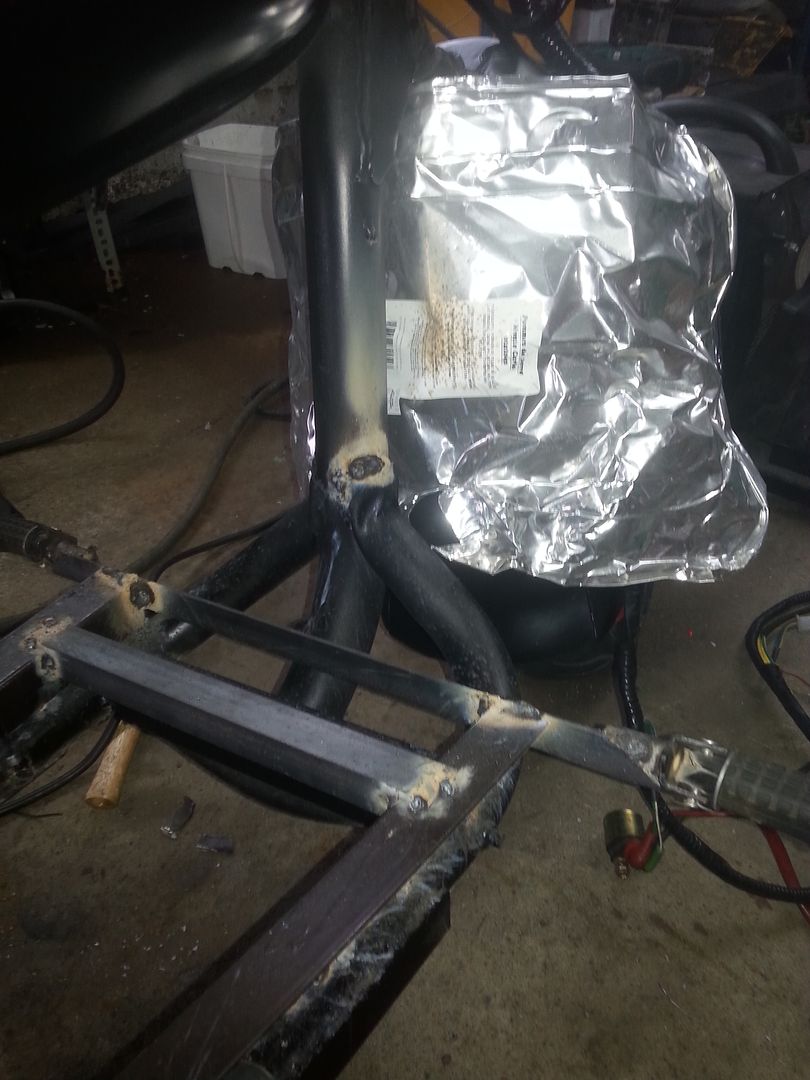
Since you all could witness my amazing welding talent, i ordered some header wrap. Please notice that it says "TURBO". I expect about 7 HP more with that on the scoot.::lol2::" style="max-width:100%;"]
www.aliexpress.com/item/5M-Exhaust-Turbo-Manifold-Header-Heat-Wrap-Front-Pipe-Turbo-Insulating-Tape-Free-shipping/32230327127.html
Some riding googles:
www.aliexpress.com/item/Hot-trend-Outdoor-Motorcycle-Goggles-Windproof-Glasses-Safety-Sport-Glass-Smoke-Lens-Free-shipping-HS0289/889992381.html
A scoop for the fan.
www.aliexpress.com/item/High-Performance-Chrome-Fan-Cover-Air-Scoop-Cap-Gy6-125cc-150cc-Chinese-Scooter-Jonway-Znen-Tank/2045513720.html
And last, a solar charger for my phone.
www.ebay.ca/itm/311305450896?_trksid=p2057872.m2749.l2649&var=610415927580&ssPageName=STRK%3AMEBIDX%3AIT
I'll be making a scamping thread with a link to a photobucket album to share this little trek with you guys.
Now im off to bed, another crazy day is waiting for me tomorrow.
Still waiting for the parts to come in, but i finally got busy on it.
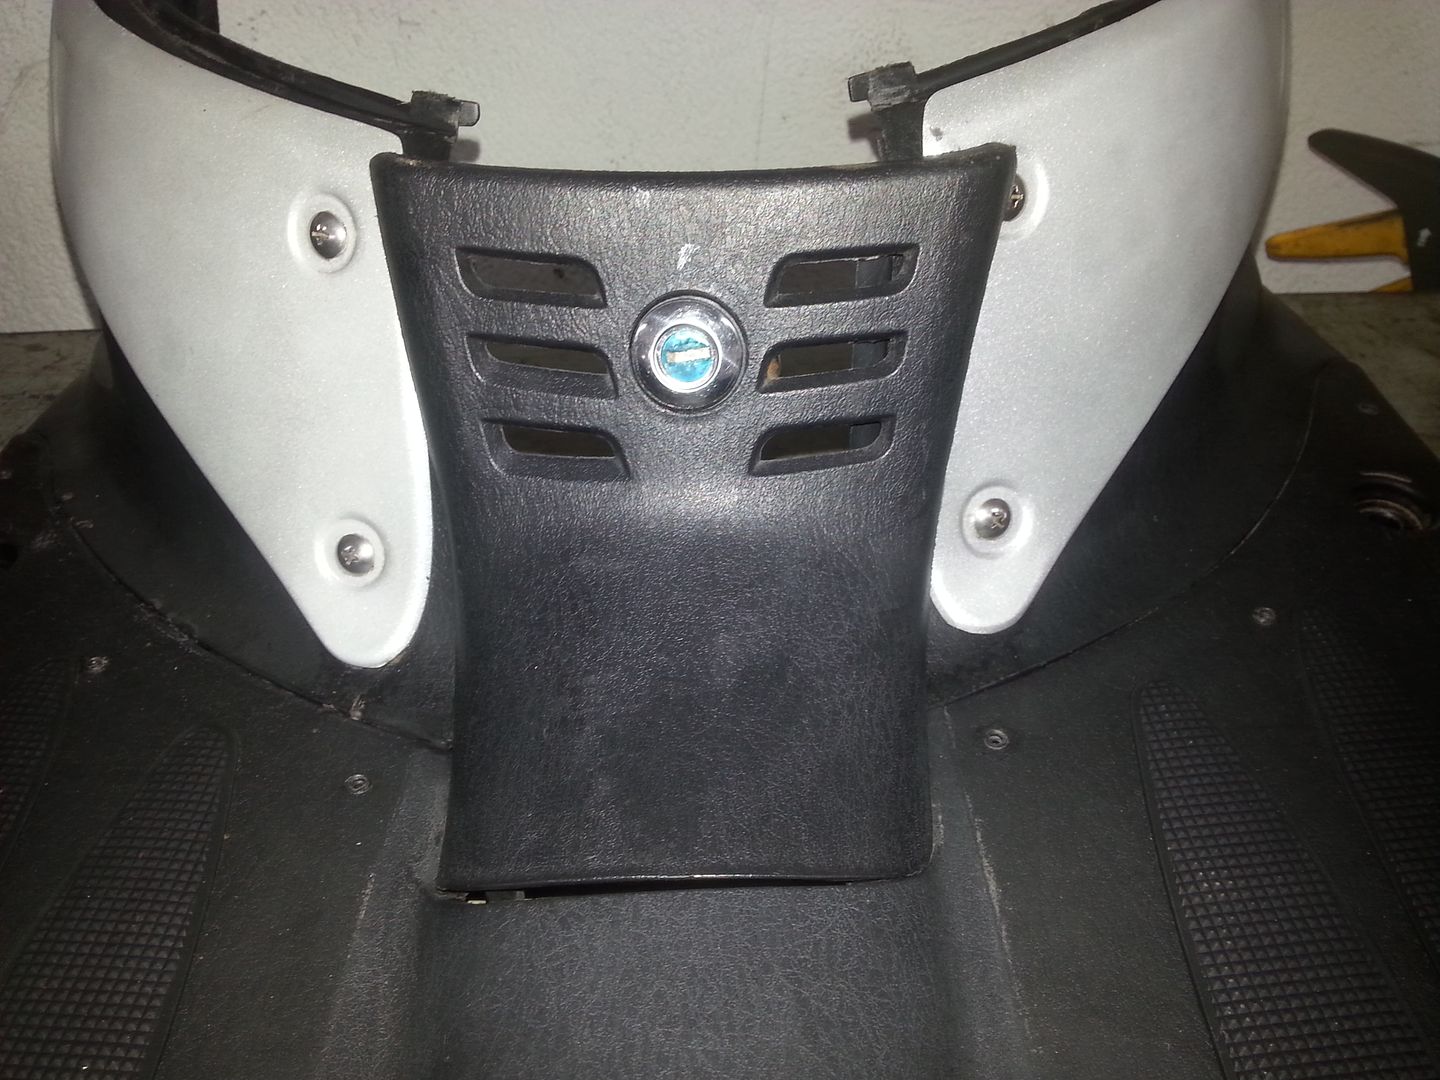
Got the plastic fitted for the center bar, used a jigsaw and a hole-saw and some files to get a clean result. That part will be pretty much hidden by the gas tank, so i dont mind if the opening is a bit big.
Then i fabricated the tank mount. I used 1/2 of the same pipe i used for the bar and welded a perpendicular tube on it. Pictures tells it better. Then i welded that piece to the center bar. Perfect fit.

The edges of the gas tank mounting tube were wrap in self-adhesive rubber both ont the edges and at the end to prevent vibration from going trough the side of the tank. Gave the center bar a coat of that famous black powdercoat look-a-like BBQ paint. I like the finish of it, not too flat, but not to glossy either. The scoot will be painted that exact same color.
After that it was BRAAMM time.
I did a little mock-up to see and show you what it will look like. I will get more done pretty soon, i booked 1 week of vacation time next week to finish this build, so more pixturez are on the way.
::popcorn::" style="max-width:100%;"]

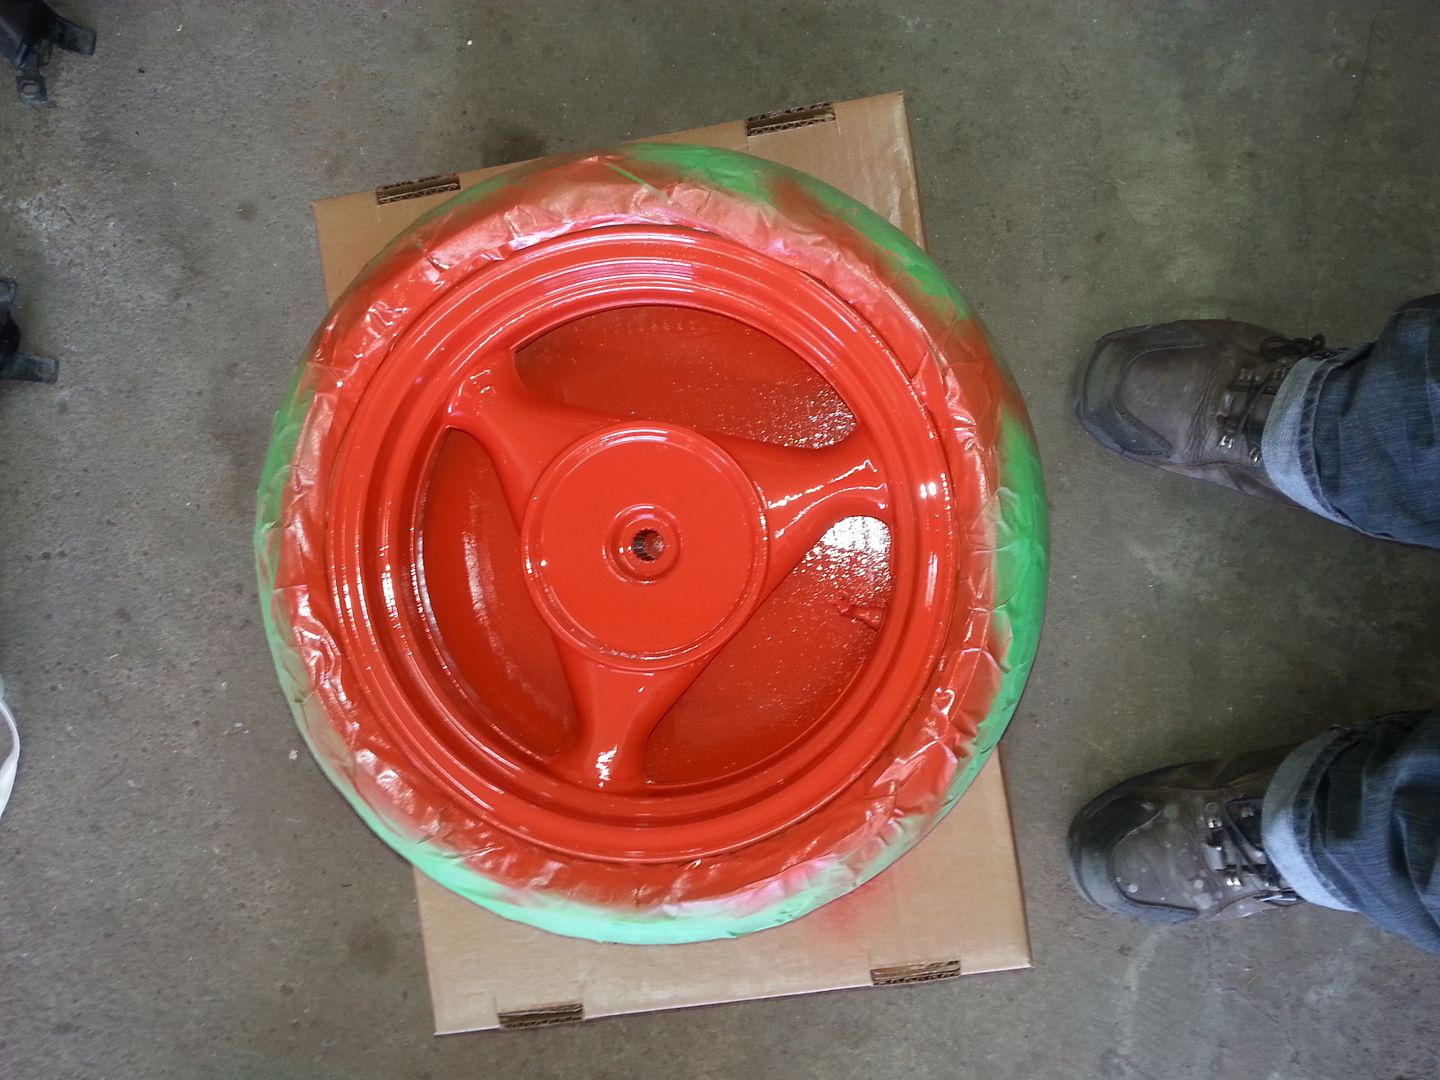
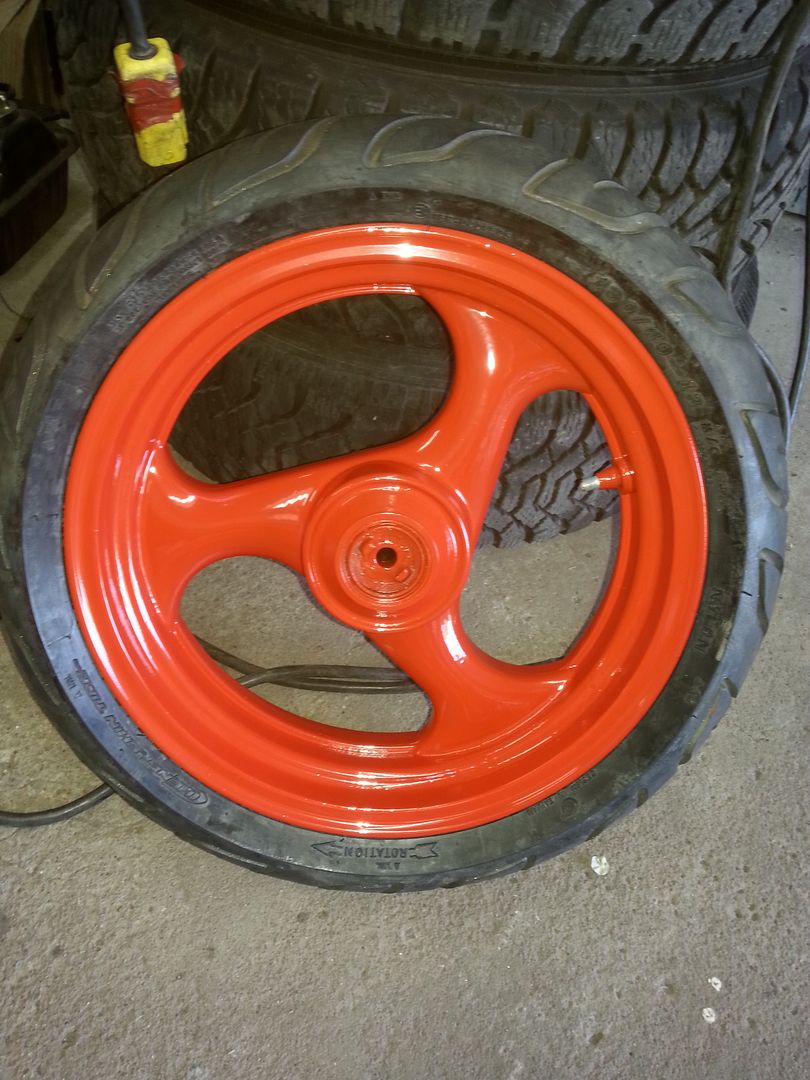
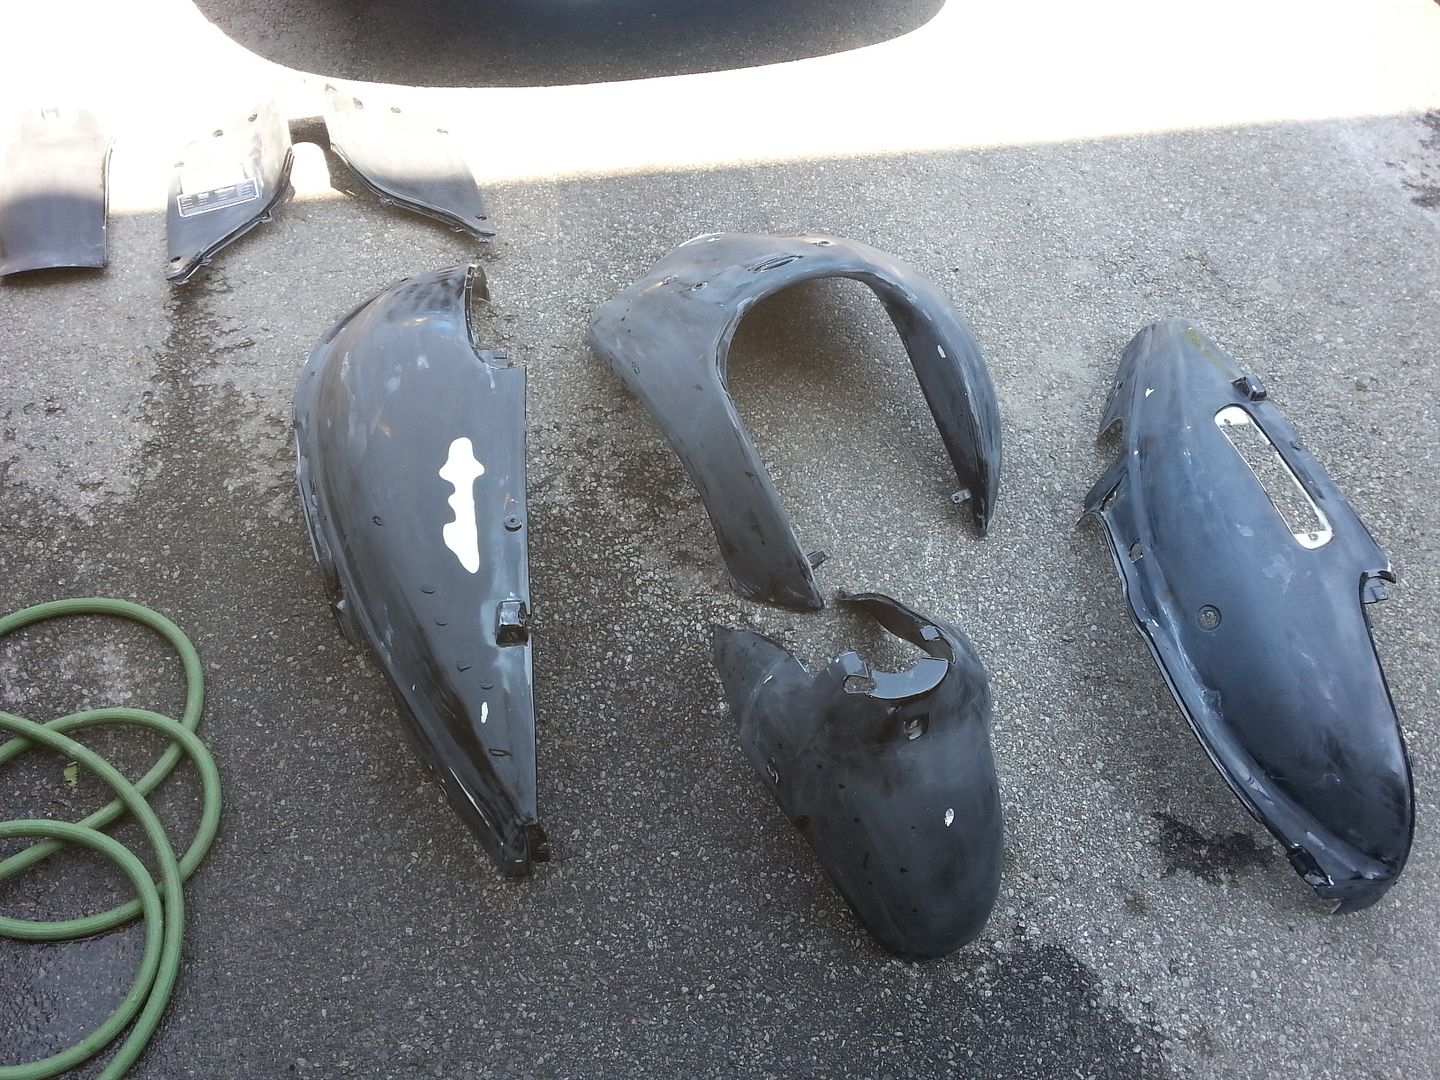
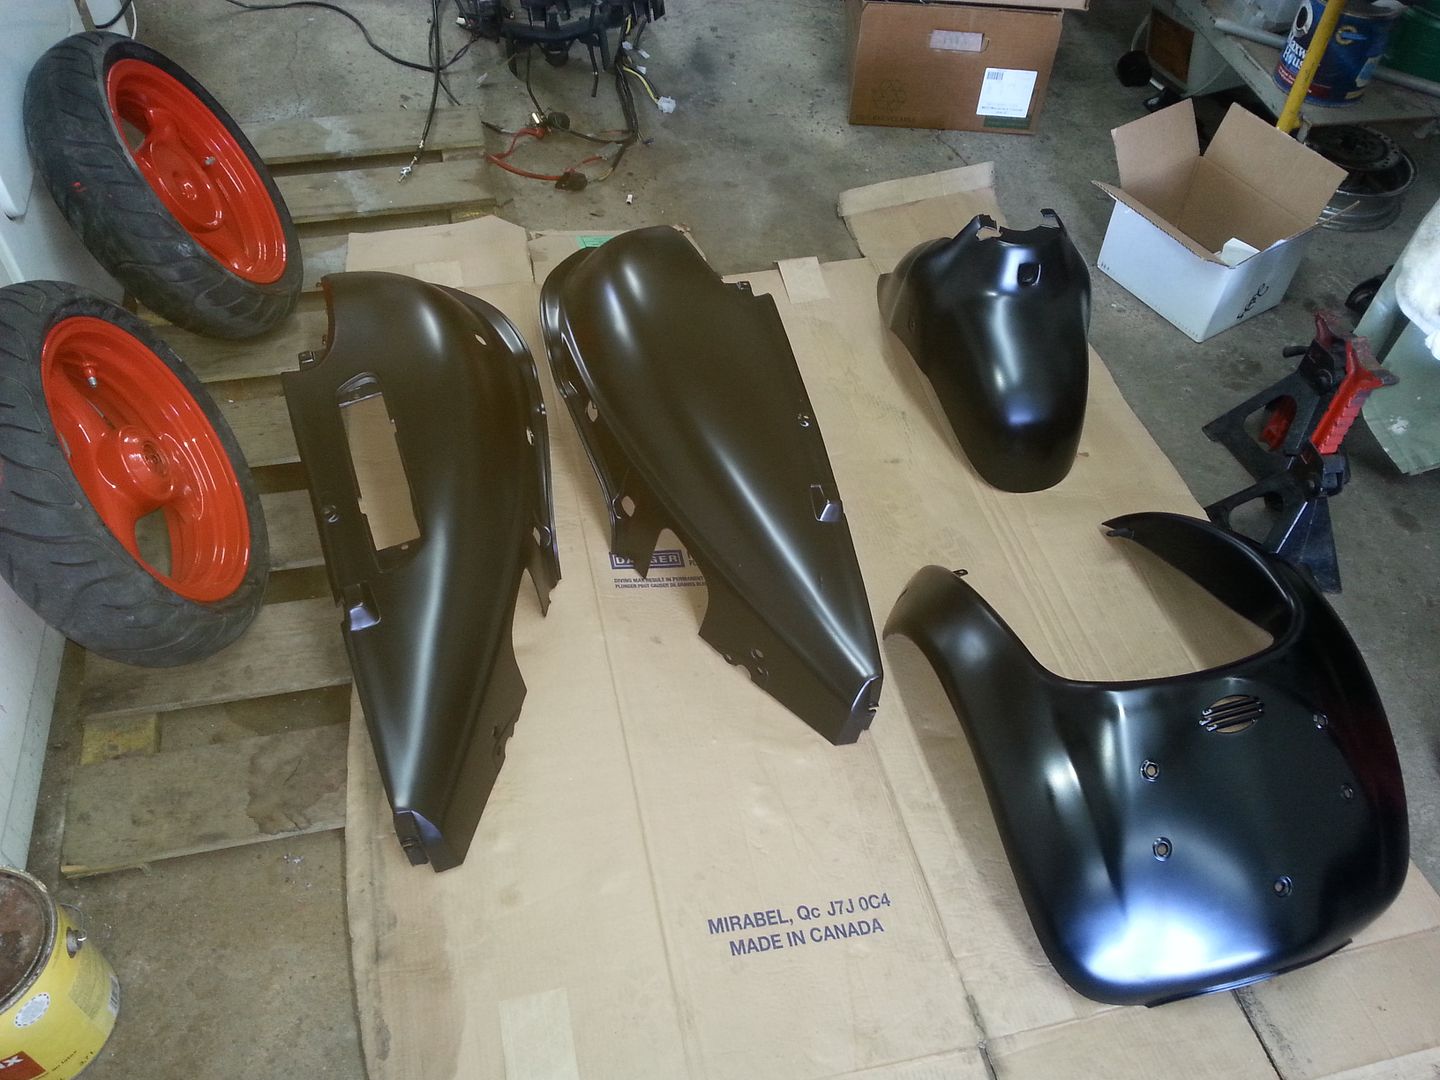
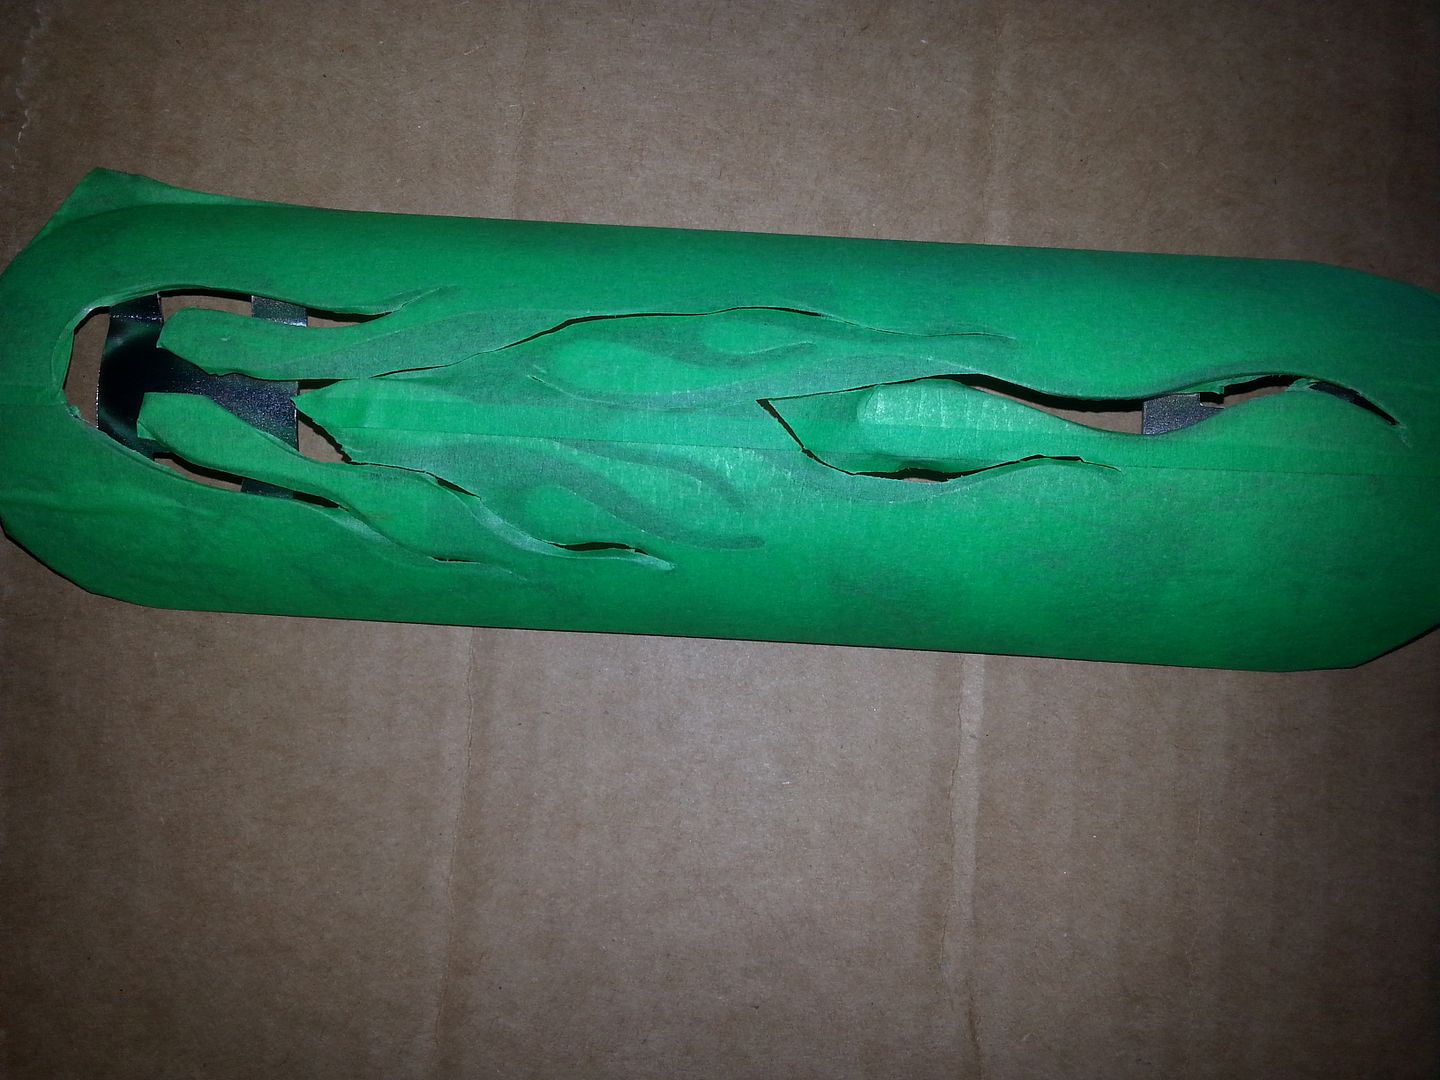
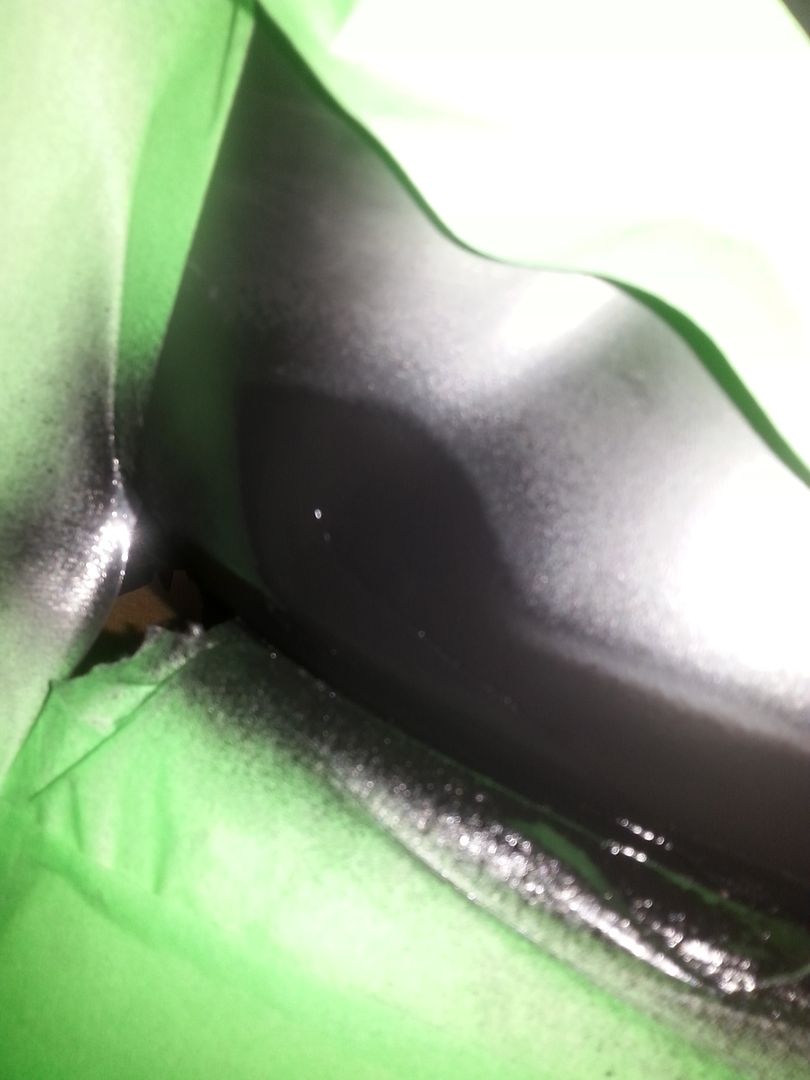
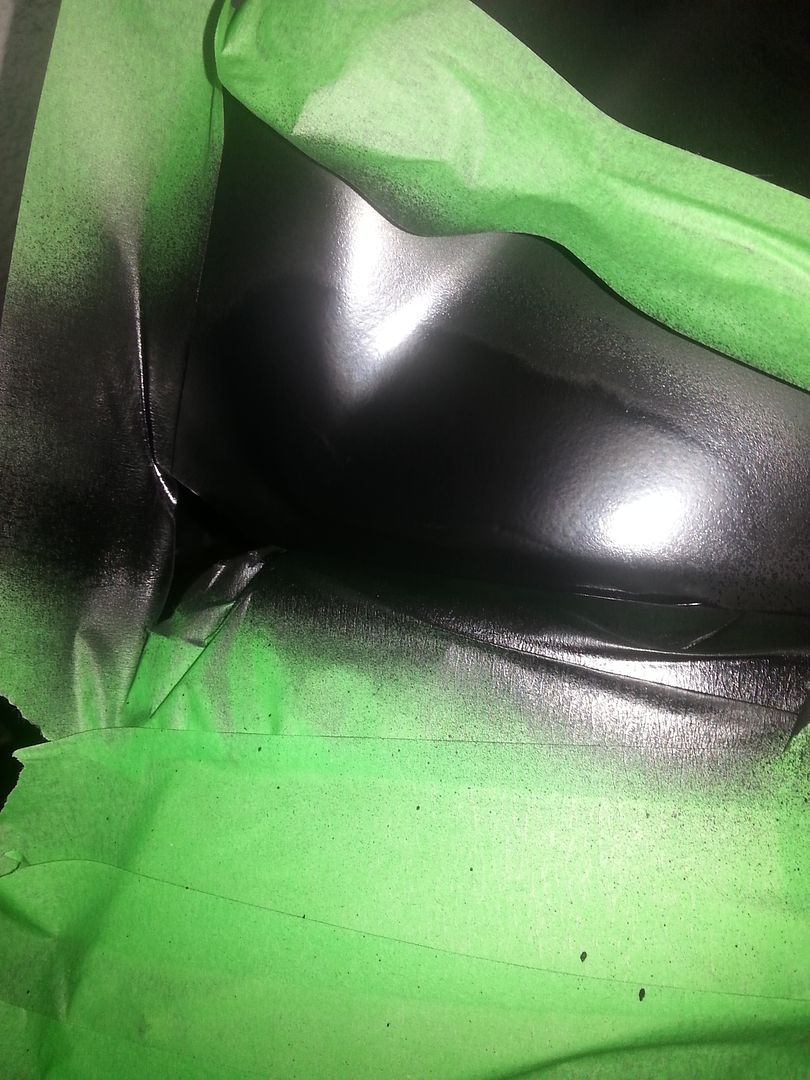
More stuff got done today. The wheels got preped and painted; the body panels got washed, wet sanded and painted and the muffler guard got taped and is ready to paint. I will be working on it all week since i took a one week vacation just for that.
The washing and sanding got done outside while drink cola, eating chips and having a few cigars. But most importantly, no kitten were hurt during the process.
Here are more pixturez.
That is the final color of the scooter. I used BBQ black paint (low gloss). Totally flat black is not ideal as it will grab dust and get greyish pretty fast. The other thing is: if you wash it and rub harder on some spots they will become somewhat glossy and look like them badass flat black 2001 4 door corolla with neon colored rims ricers.
A bit like this:
www.performanceprobe.com/forum/showthread.php?t=45717
::lol::
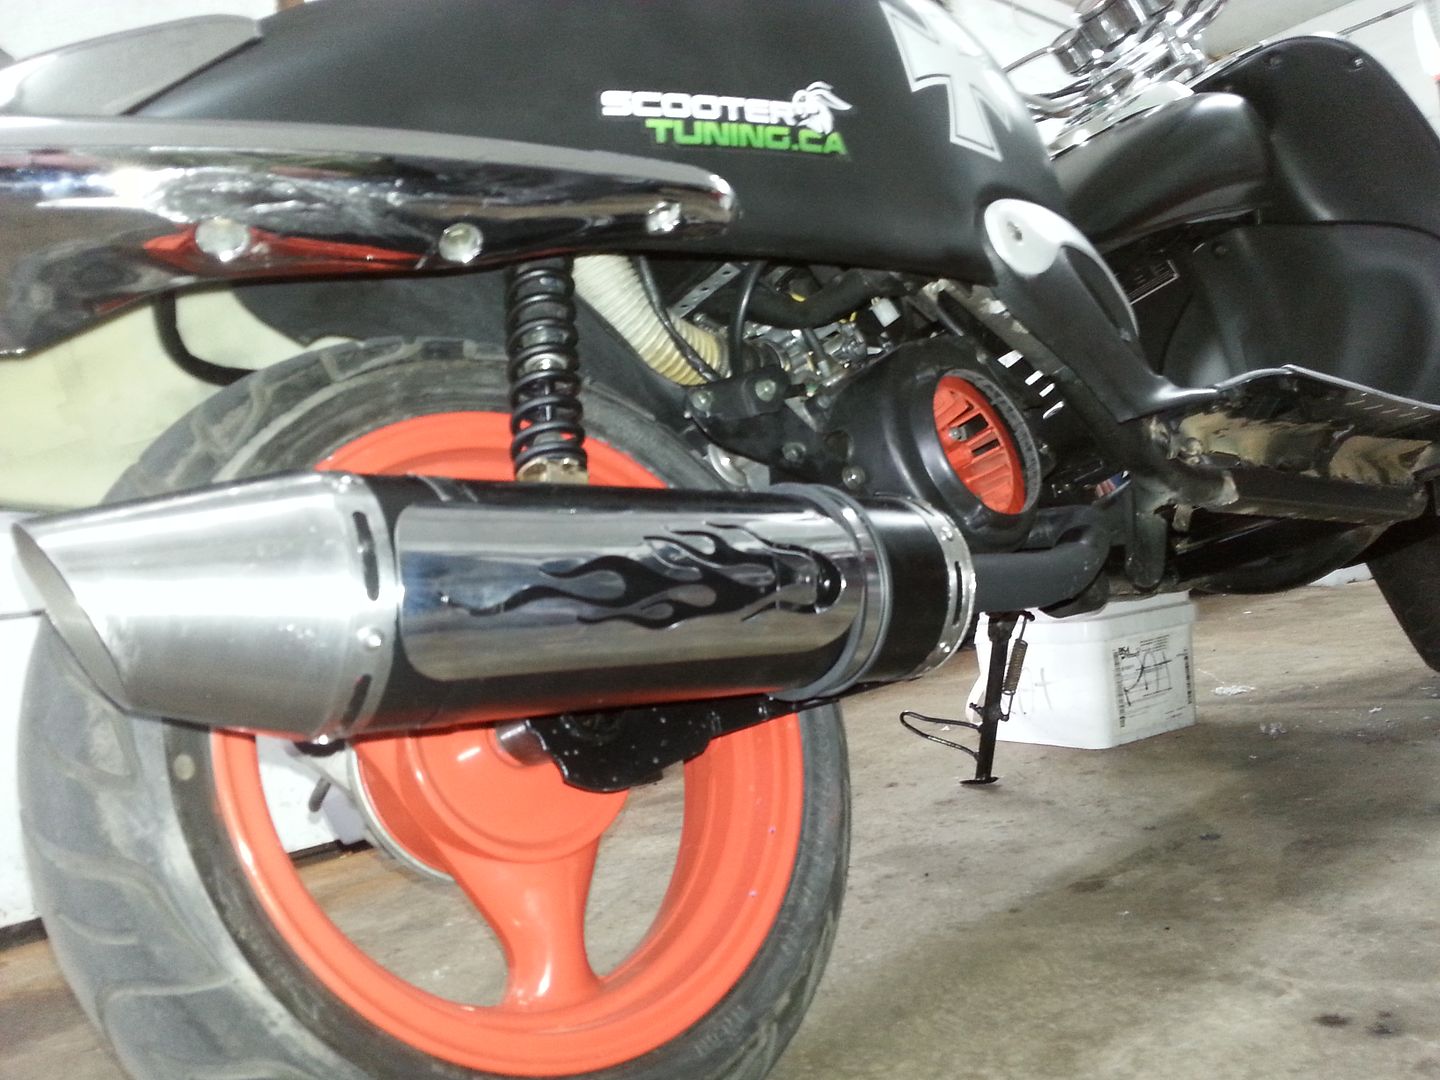
The exhaust i bought is red but it will be repainted the same color as the wheel. To make the muffler guard look like its floating i will paint the holding brakets the same color.
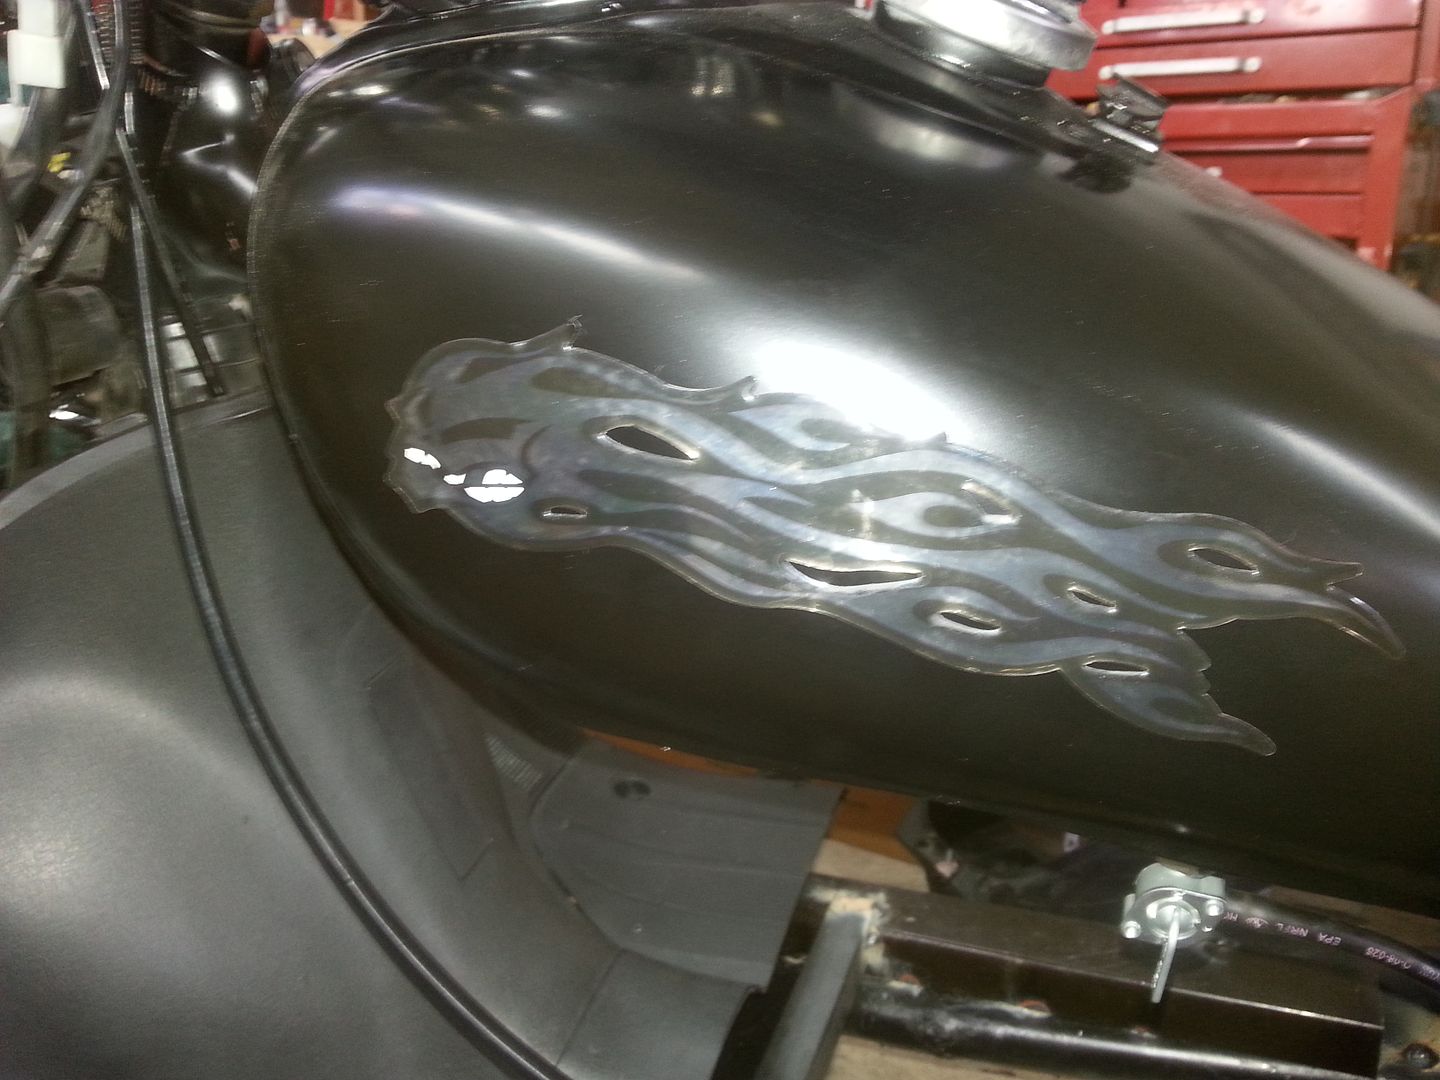
Here are some nice decals i got for the rear body panels.

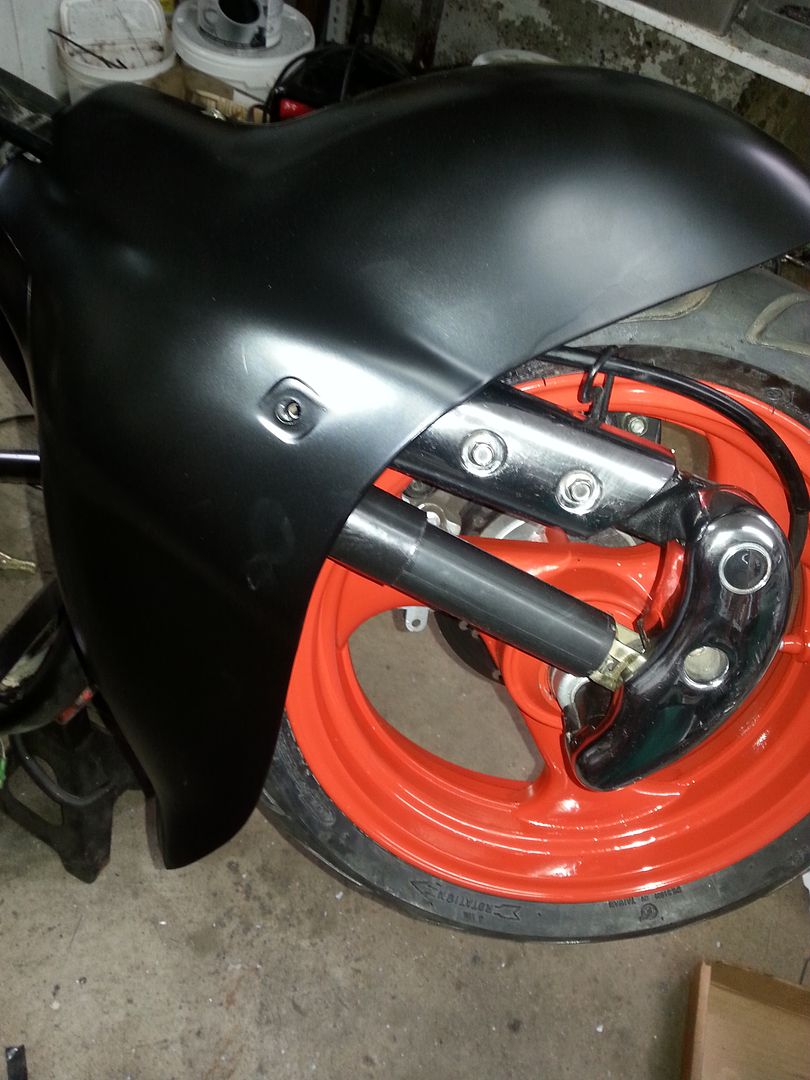
Today i got the front wheel back on the forks, as well as the mud guard. The new rear brake cable got installed, the rear wheel got back on the base, the mounting brackets for the fuel tank got welded on, made me a "high performance-racing-torbo charged-air ramming oversize" fan.
Just before i screwed back the orange cateyes on both side. Want to keep it street legal.::angelgrin::
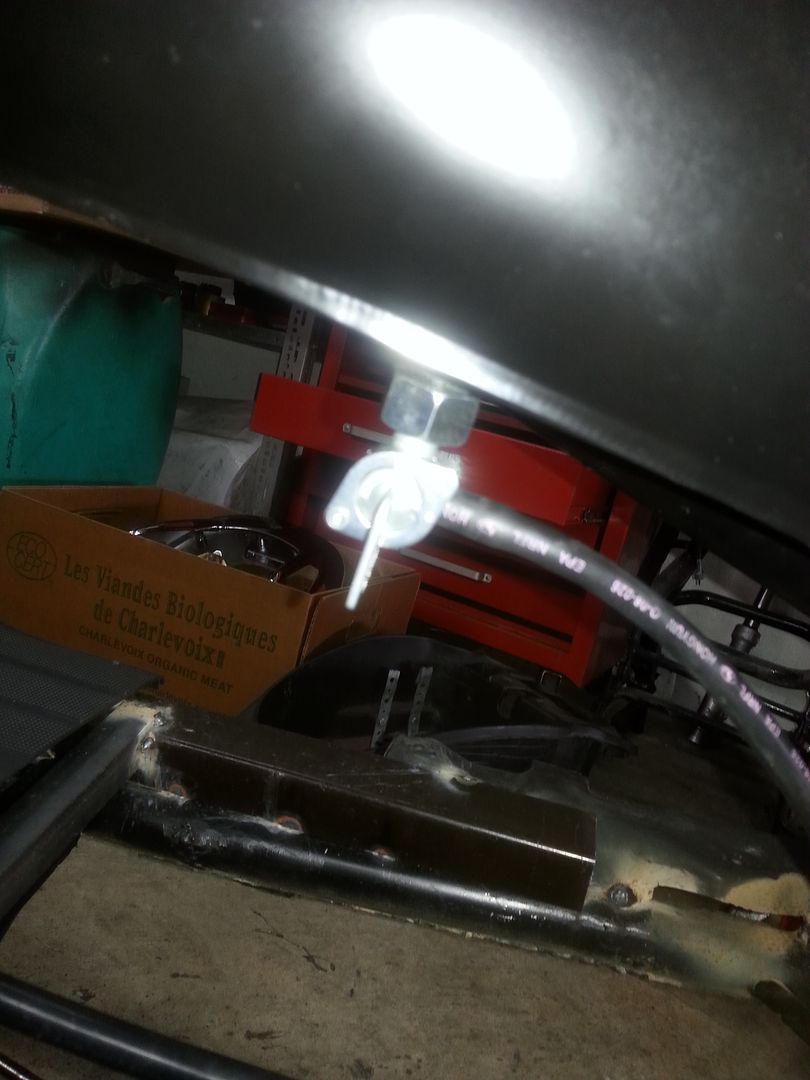
In order to weld the brackets back i had to know where to put them, so i bolted them to the tank and VOILA!!!
The tank was emptied, washed twice with soapy water and was full of it when i welded the brackets back. I might be dumb, but not THAT dumb. ::lol::
Did a bunch of welding too where the floor board is gonna go. I was originally thinking about buying a second board, and use the 2 to make a long one.
That wont be the case:
1- 1 more floor board wont be enough.
2- At $40 a pop for 1 board, buying 2 is not an option.
So i guess i'll be taking out the heat gun and will be molding one out of whatever i get my hands on.
Here is my revamped fan.
+9.7 HP now!!!
::wheelie::" style="max-width:100%;"] ::checkered::
Part 3 of my Build-a-thon[/b]
Been busy today, finished putting the engine together, the engine got back on the scooter, worked on the floor board a bit, fixed a panel that needed repainting, got the back part of the body assembled, broke it, fixed it, then called it a day.
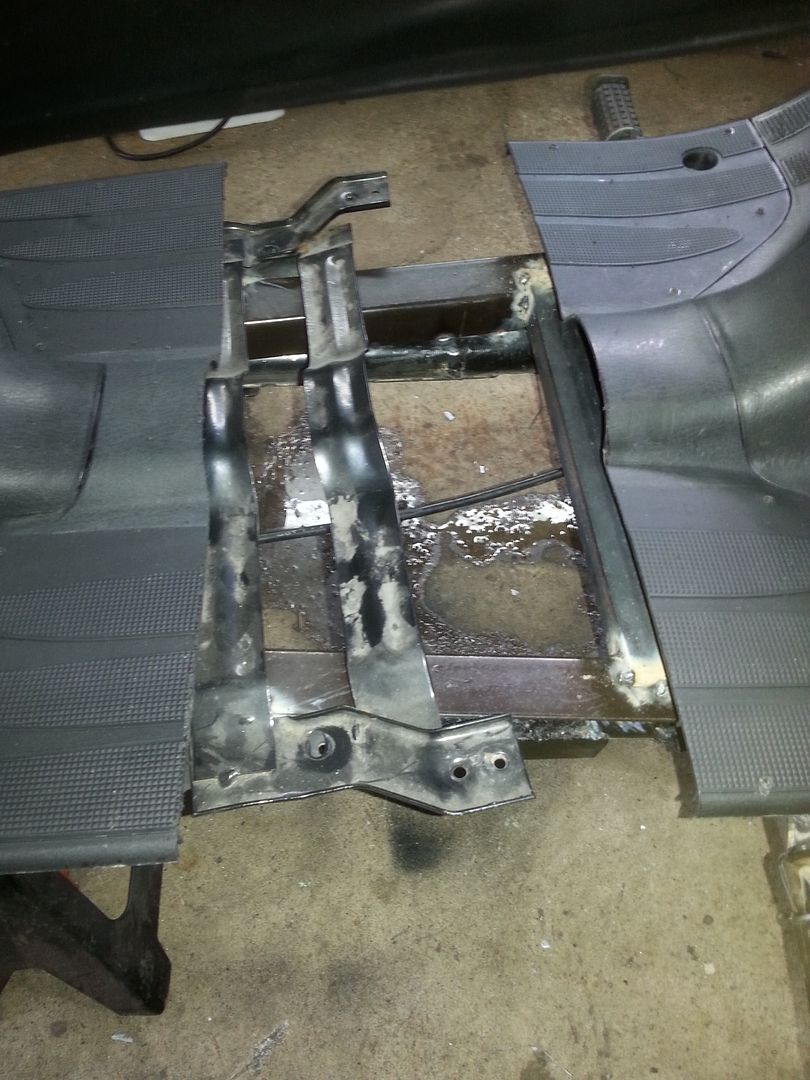
Here is how the frame will be under the floor board. I just hope that with all that extra metal i added to this ride that i'll still be able to take of on red lights.
These are the supports for the floor with the peg extensions. I made the extensions so that in case the rub on the road, they will fold backward.
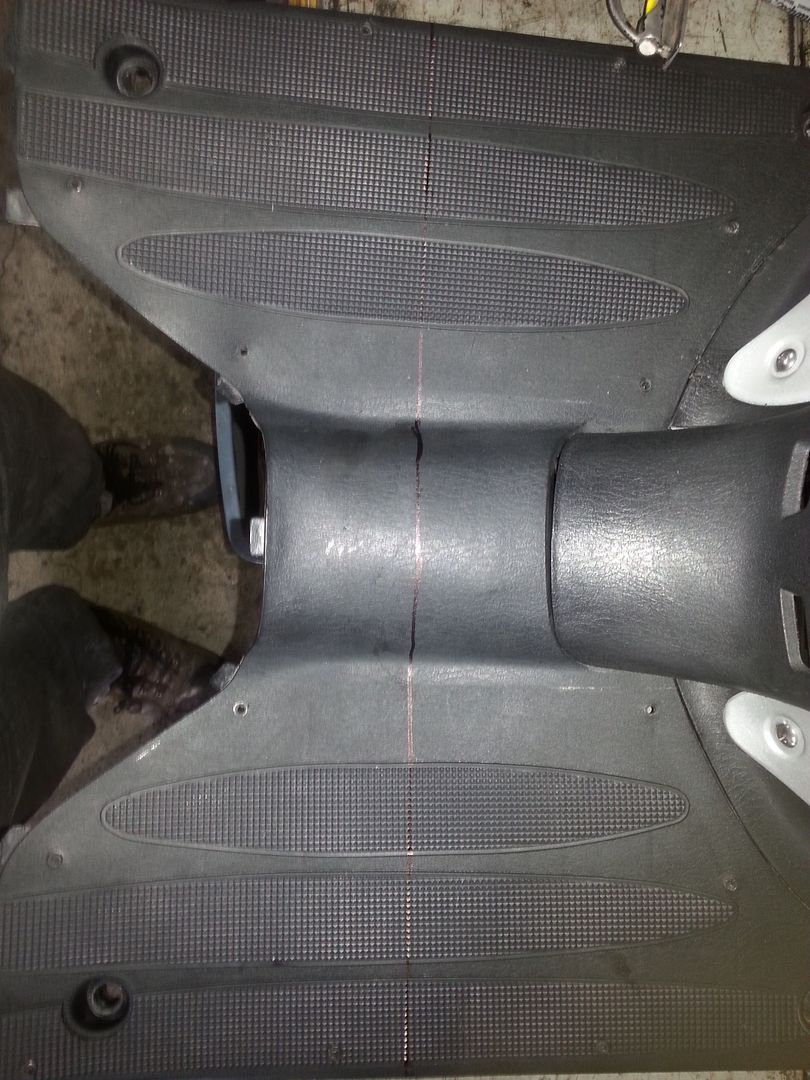
Here is the floor board:
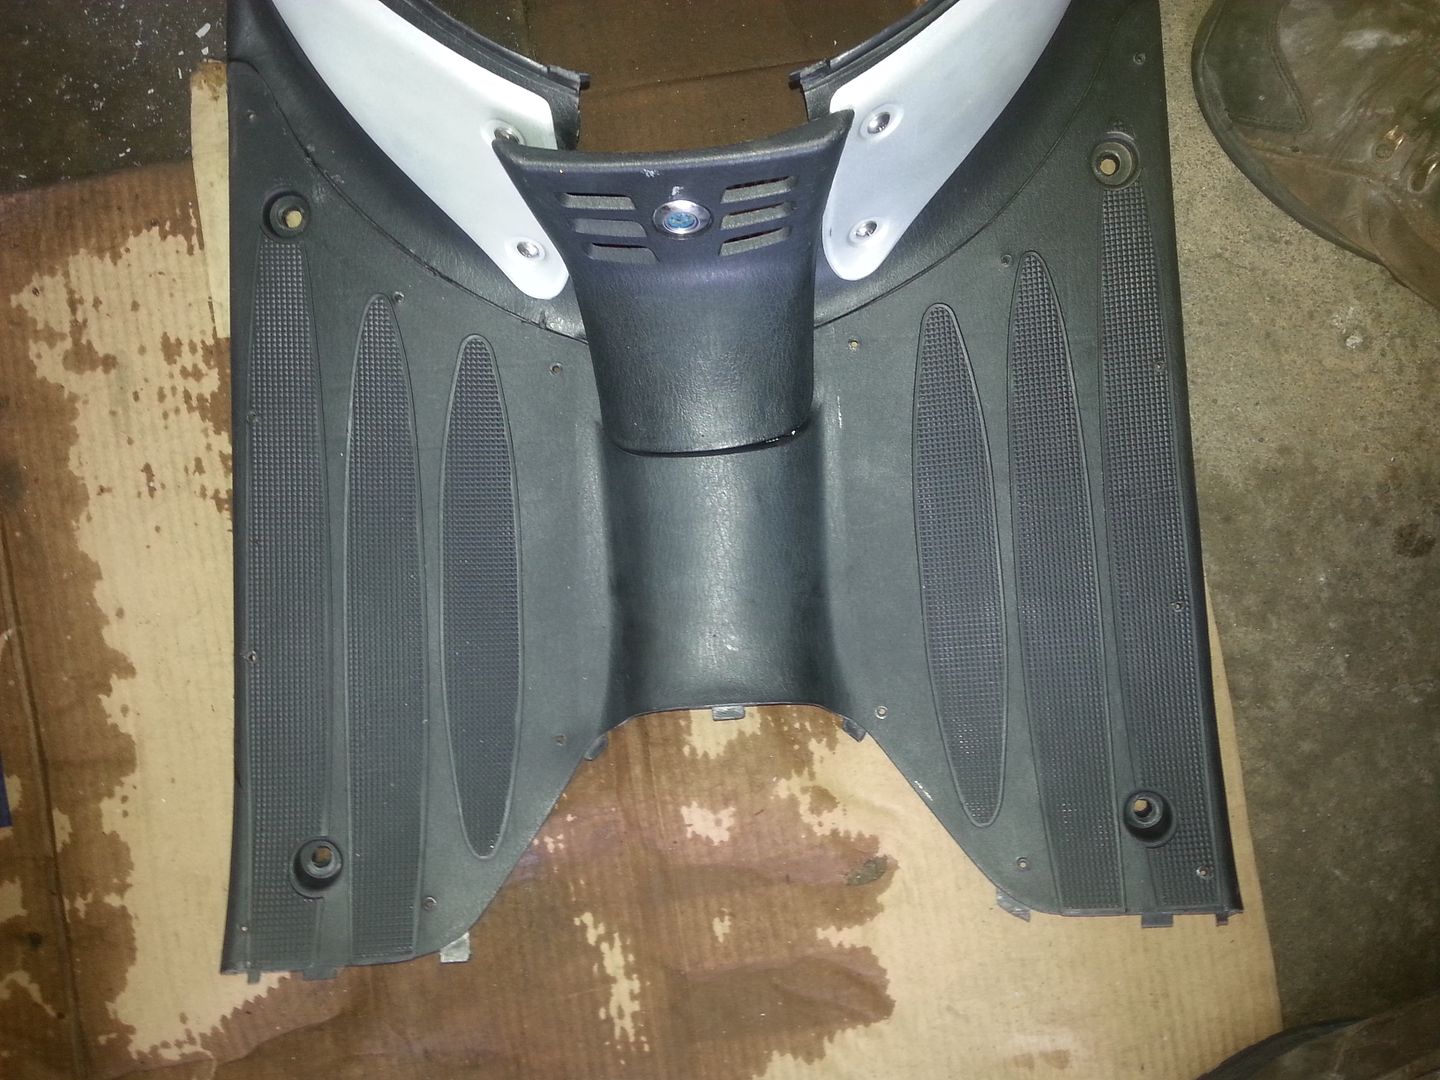
There is no way im gonna try to extend that part:
Same with this one:
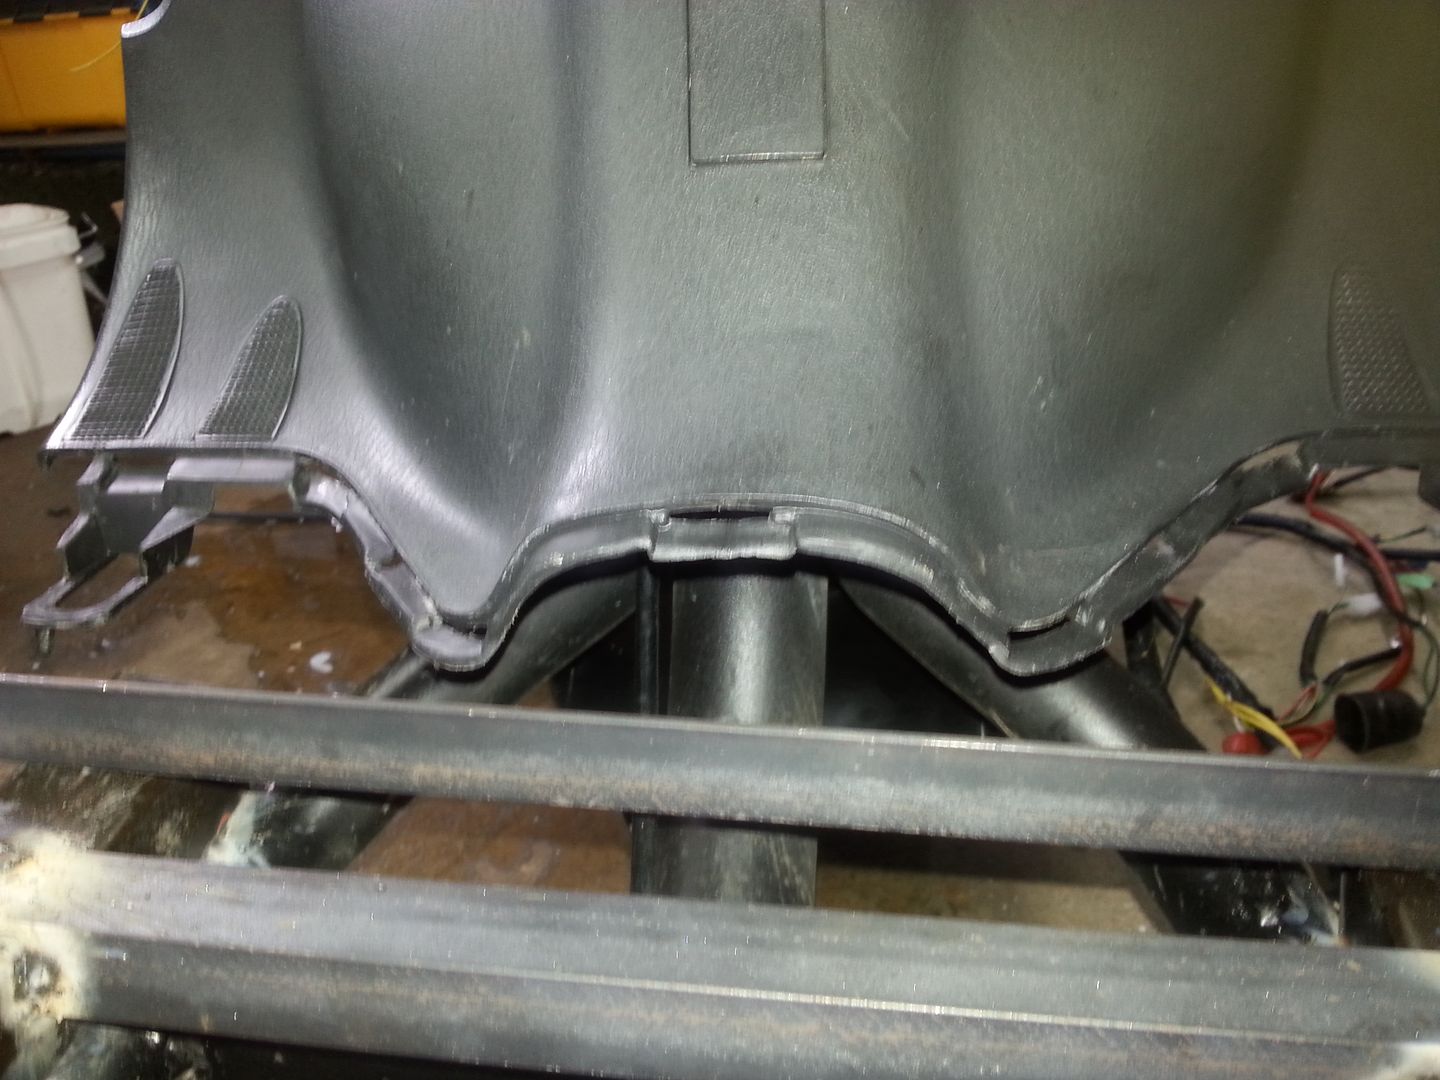
So the best i could think of was: If not the front or the back, lets stretch it in the middle!!! ::idea::" style="max-width:100%;"]
Straight lines, square part, just need to make that hump in the middle.
With the engine on:
The little grill in front of the fan was broken, so i took it off. Im gonna have some kind of screen inside the scoop that will come in the mail someday.
This was still a problem even after i moved the motor mounting brackets on the frame. Taking it all apart again was not a tempting option, so i did the next best thing: I cutted the top of it.
I did that after mesuring the depth of the whole inside the breather tube to be sure i would not ruin it. I used one of them little straw you get when you buy a can of WD-40. Call me Mister-Hi-Tech. ::rockon::" style="max-width:100%;"]
Brand new rear brake cable was installed. No secrets or mystery about that.
Brand new fuel hoses all over the scooter:

This was previously on both sides of the rear body panels. I kept them to see how they would look on the tank. I'll be getting new ones tomorrow.
My little one was making "magic potion" out of dandelions, liquid soap and whatever else she could think of.

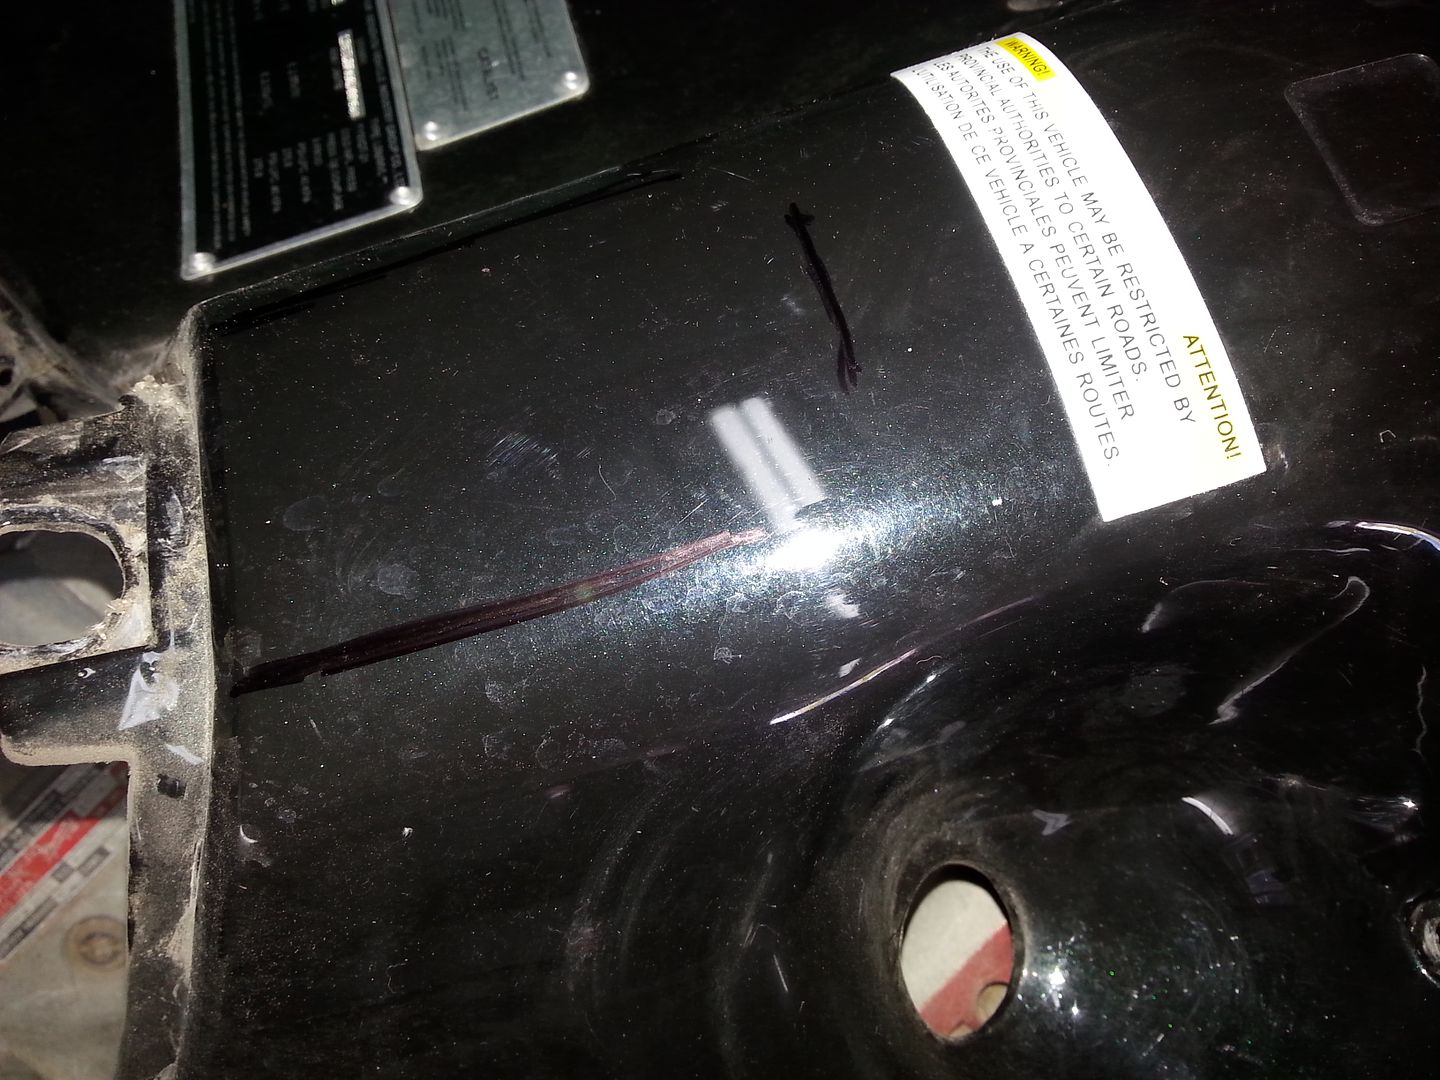
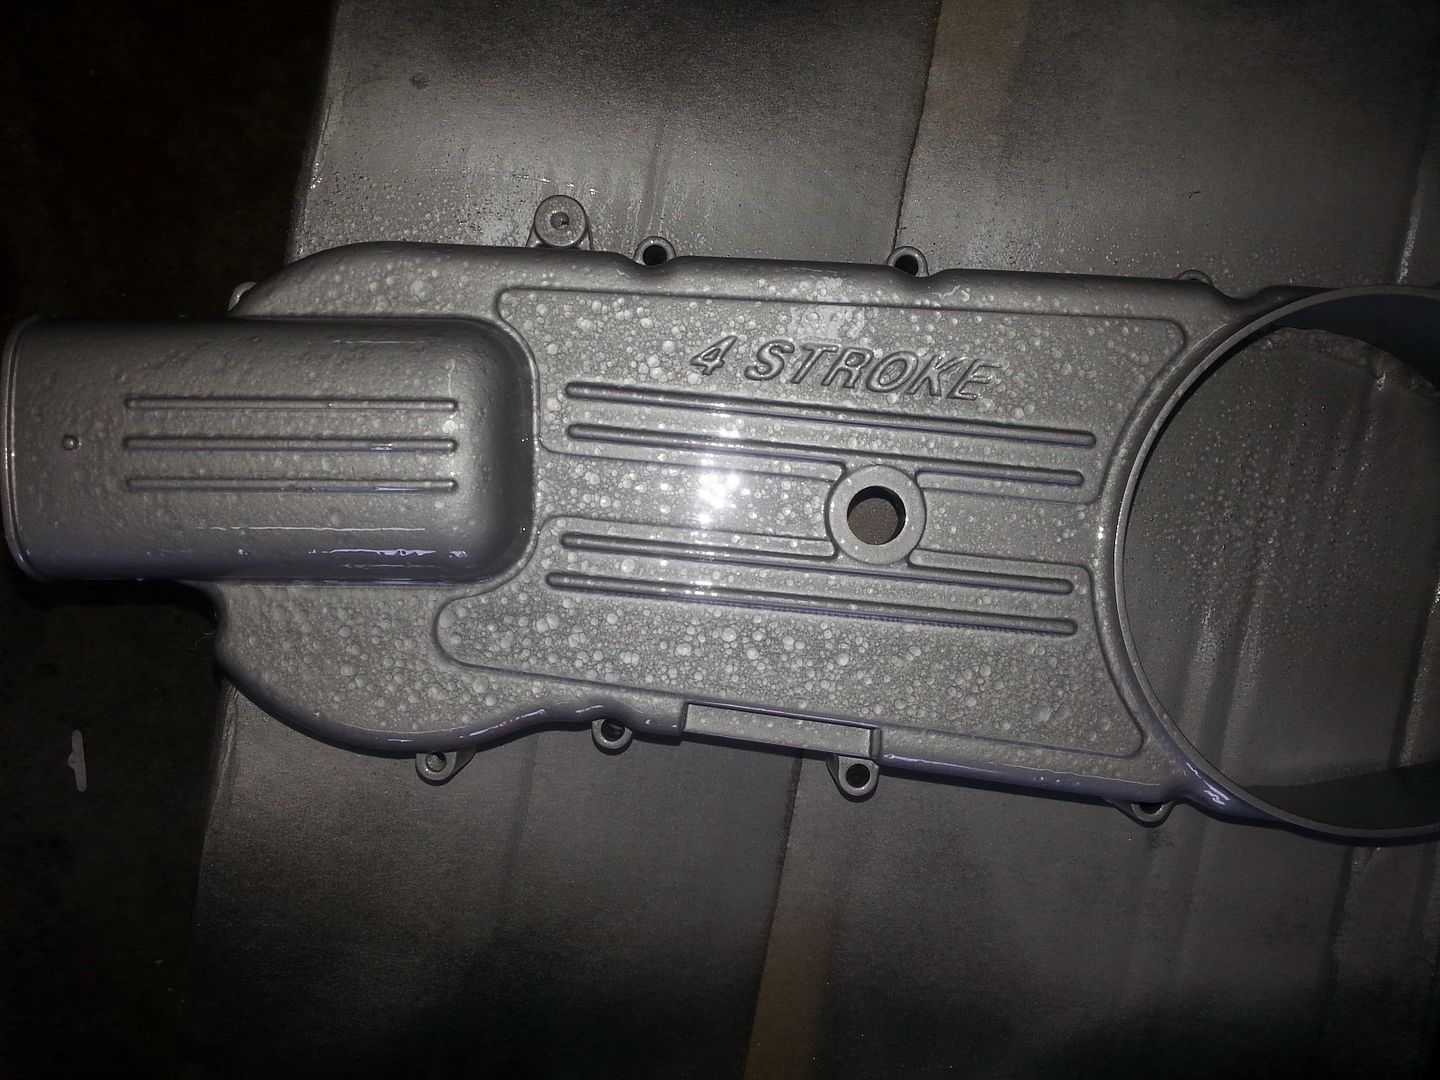
Repainted the CVT cover with some wannabe HAMMERED paint. I was more hammered by the result then the paint itself. Gonna have to try and fix that and make it come out right... or simply buy regular paint.
crap happens:
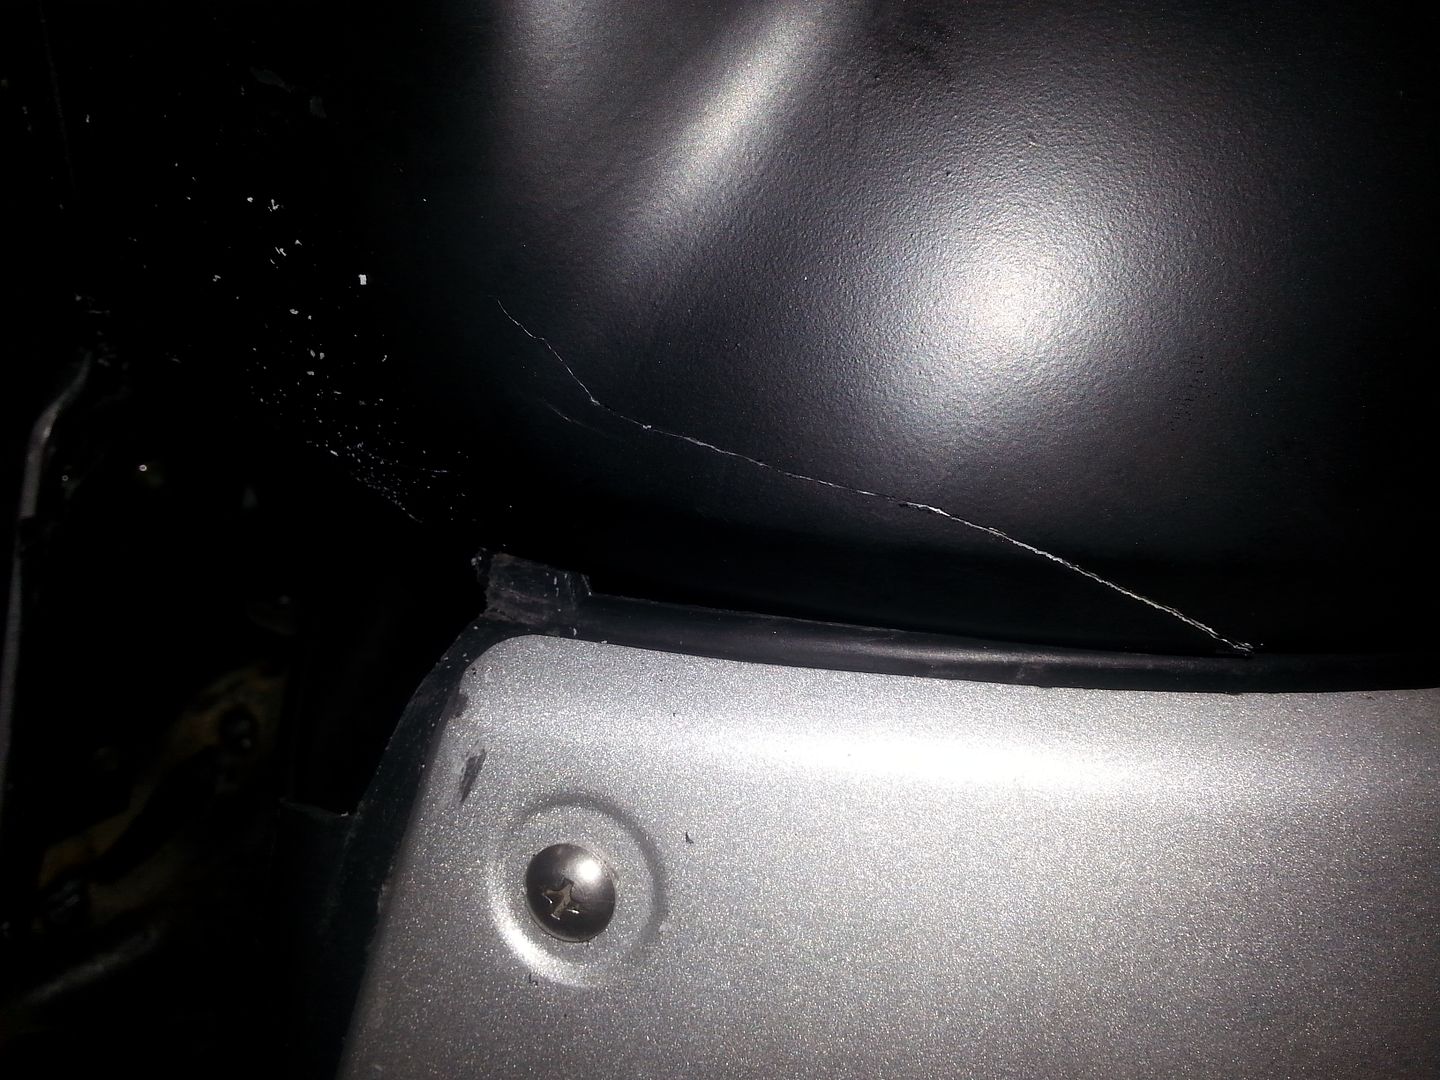
But if fixed it right away:
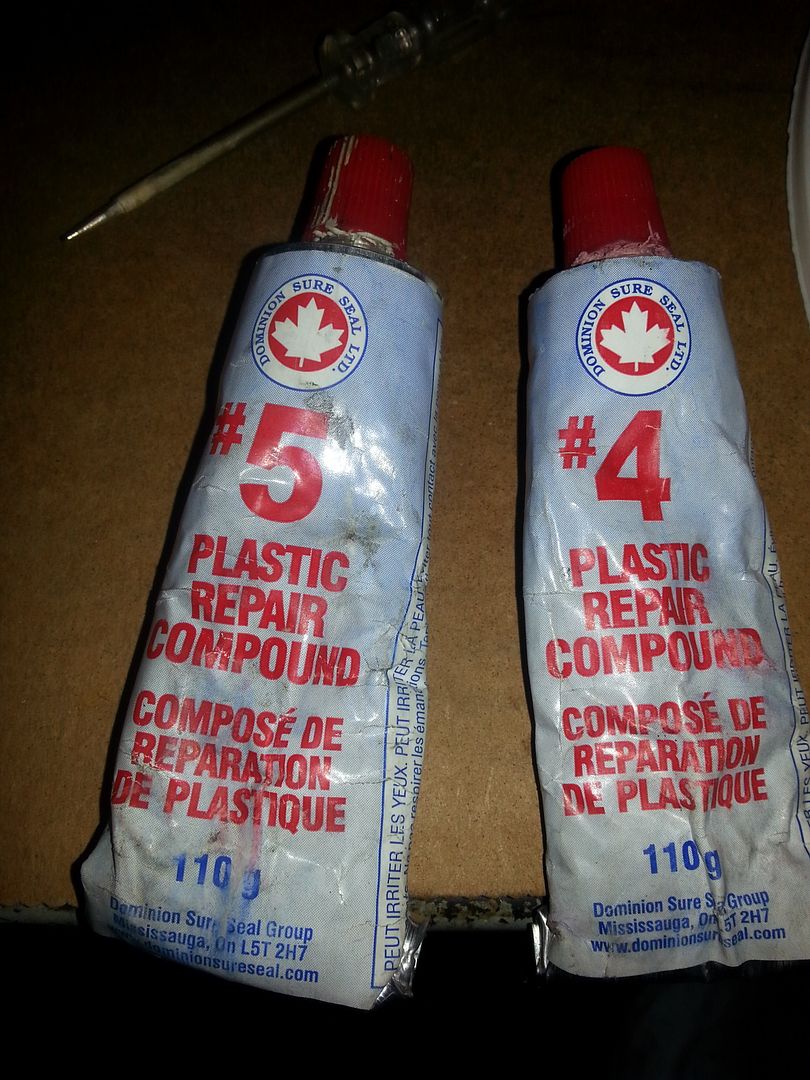
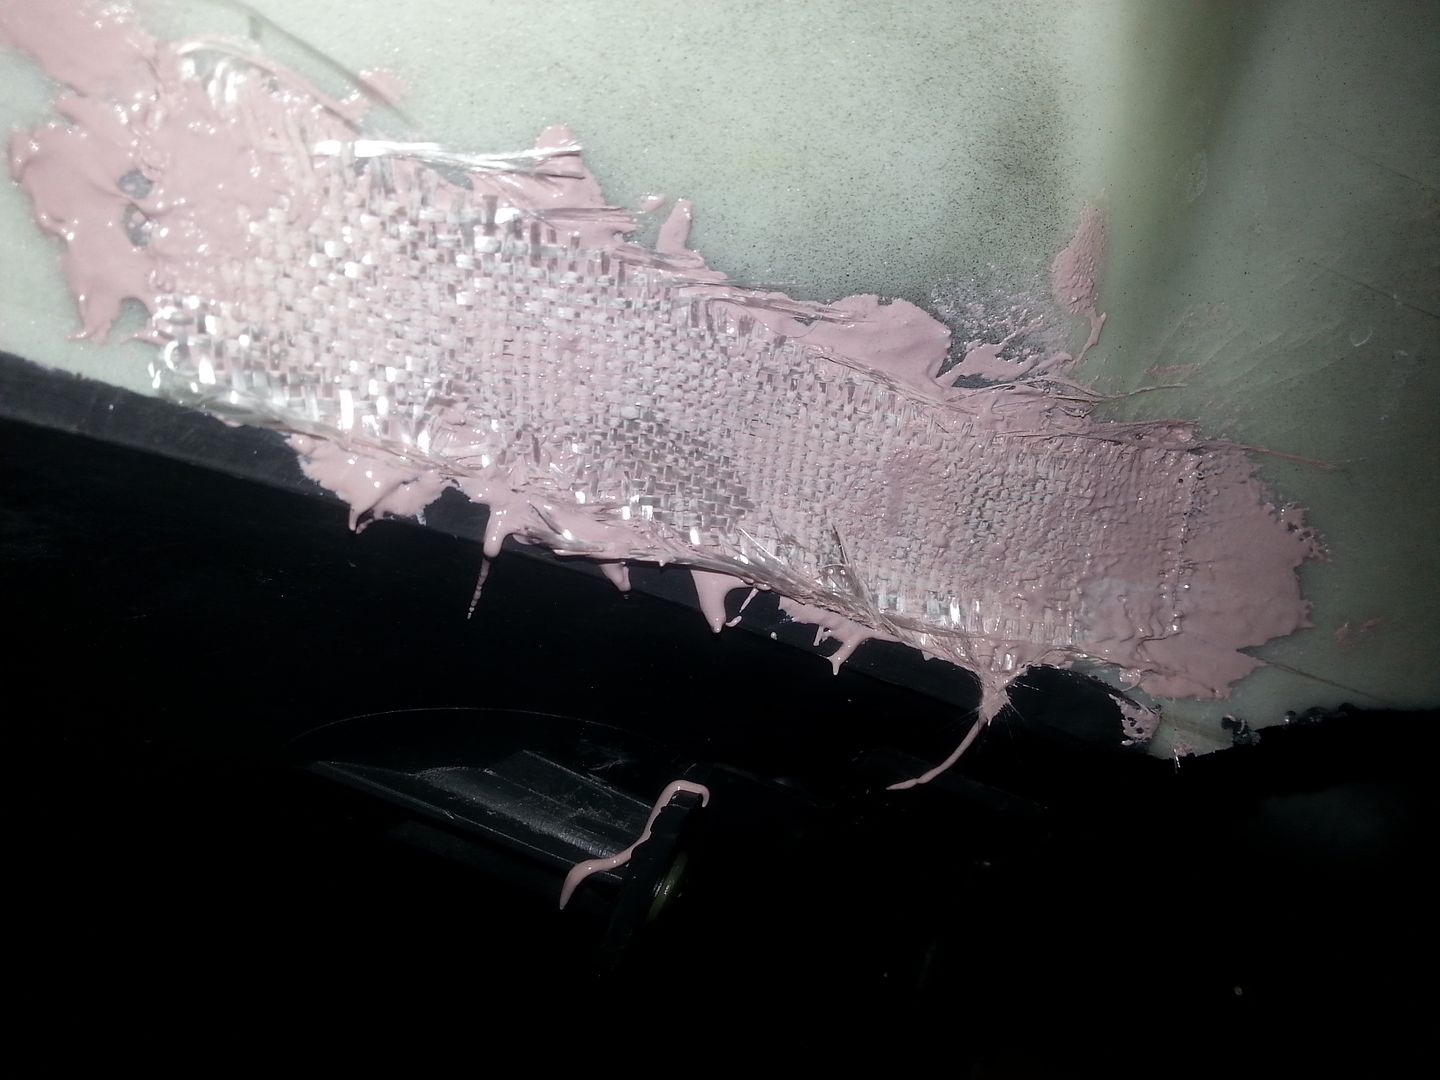
Mixed up some of that stuff, applied it very generously, wiggled the part where it was broken to get the /glue/putty/bondo thing in the crack, then added some fiberglass tape. 2 layers.

Tomorrow, i'll have to dissasemble the whole rear body part, sand it and repaint it. Sux but cant really do anything else about it.
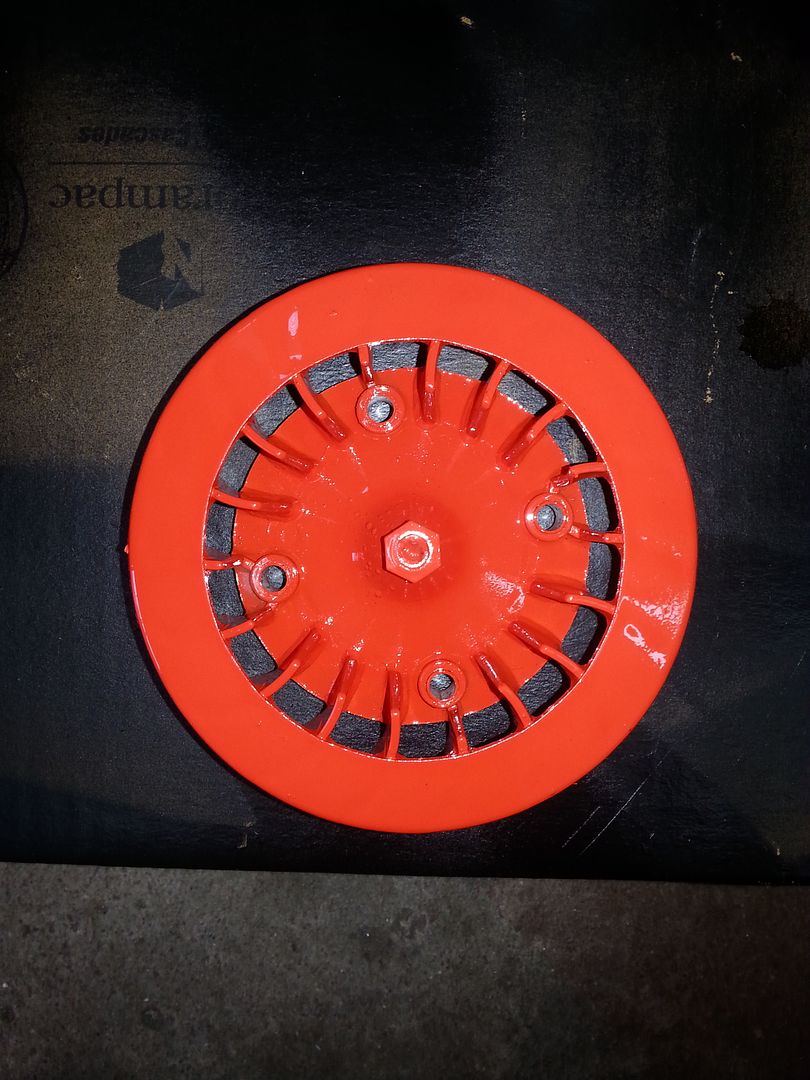
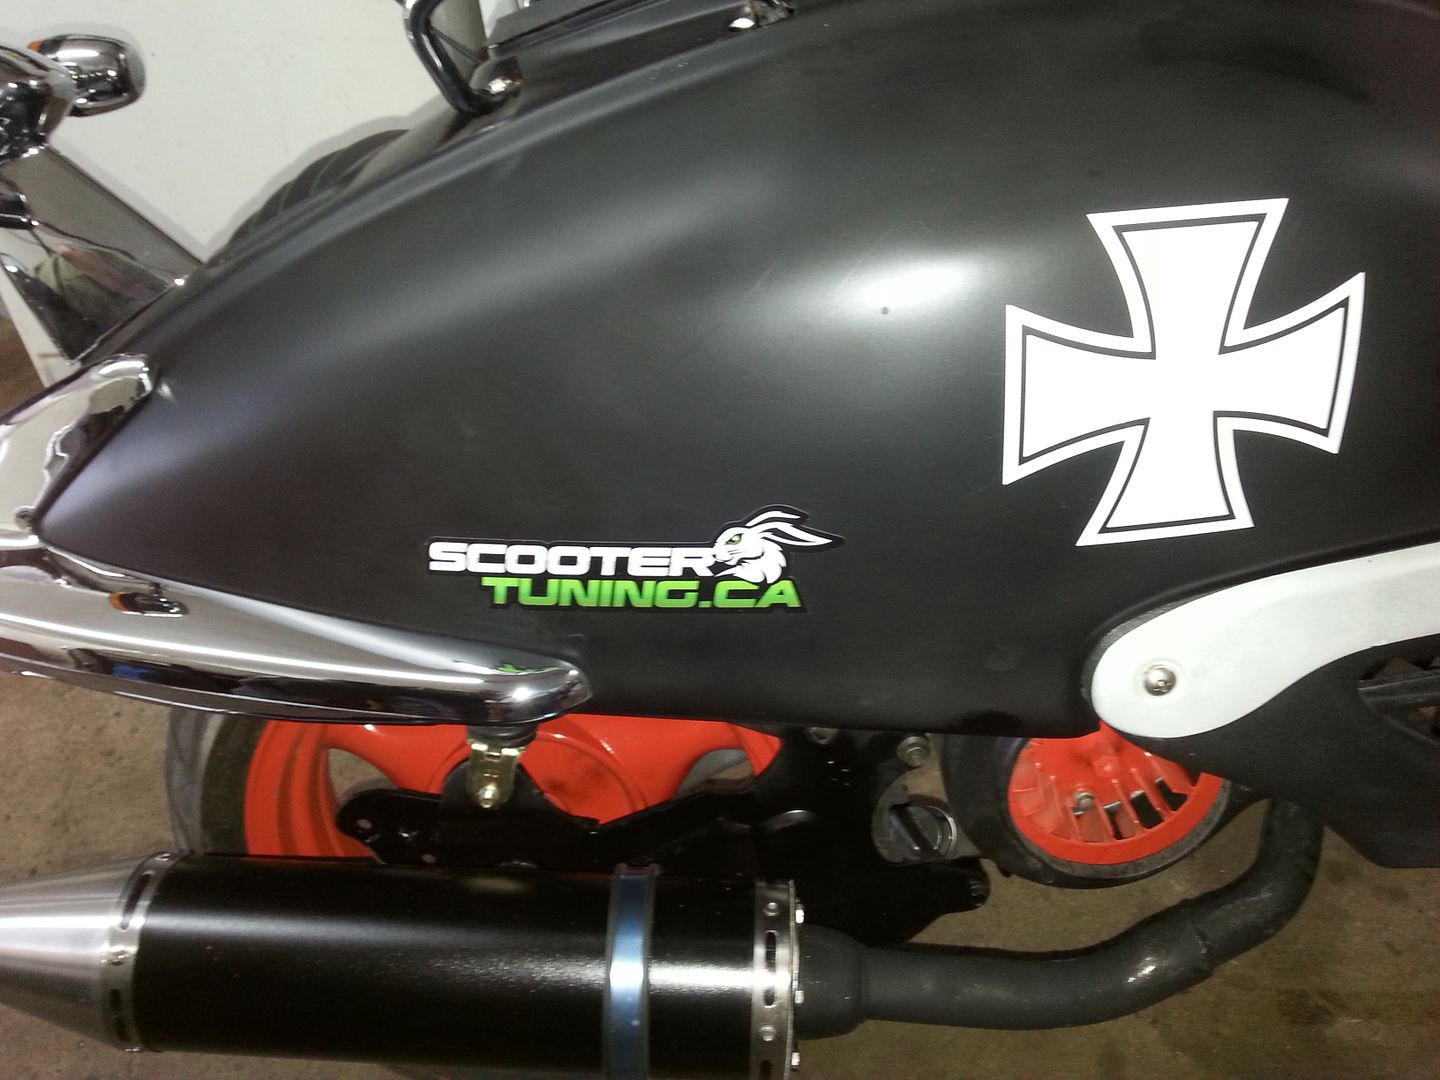
The color used for the wheels and fan is: Chevrolet engine bay orange. I'm trying to restraint myself from putting too much of that stuff everywhere.
::hmmm::" style="max-width:100%;"]
Another good day today, The crack in the body panel is almost invisible. Fixed the croocked kickstart. Fitted the rear body on the scoot. Worked on the "hood". The foot pegs got welded to the frame and i made me an expensive ashtray.
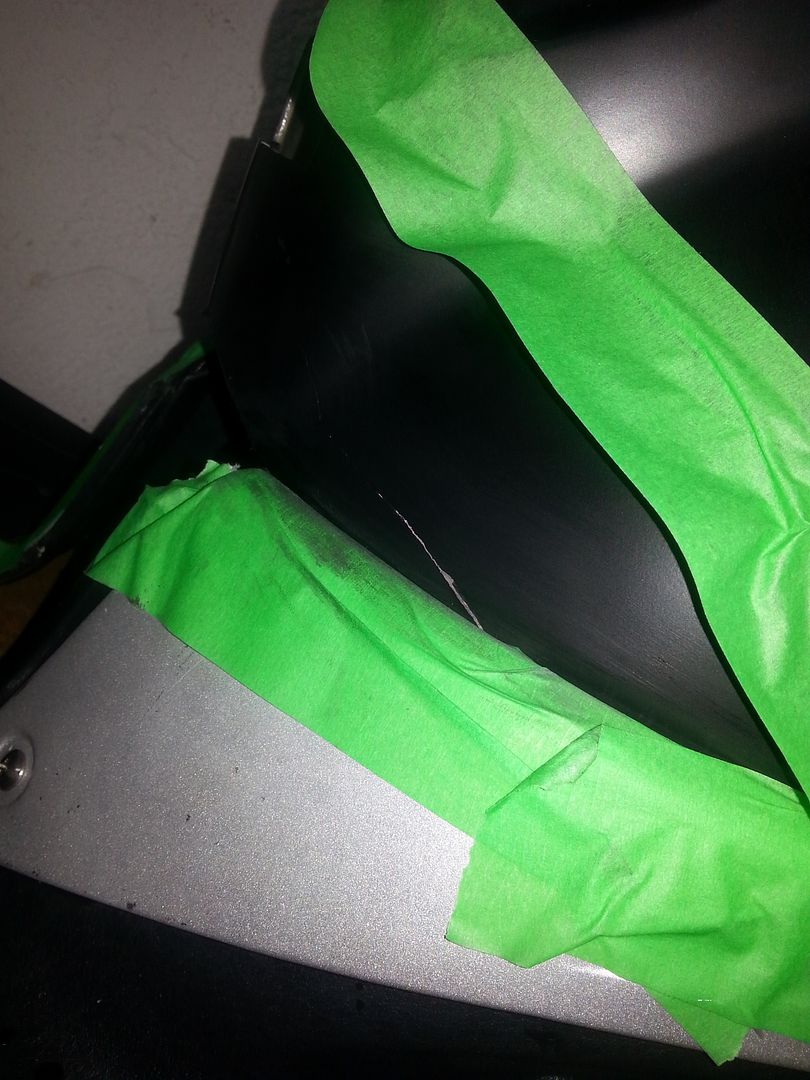
Here is the crack all prep up for the magic trick. Tape was apply that way to prevent over spray from going everywhere, but it was not full applied so that i would not get a tape line in the paint.
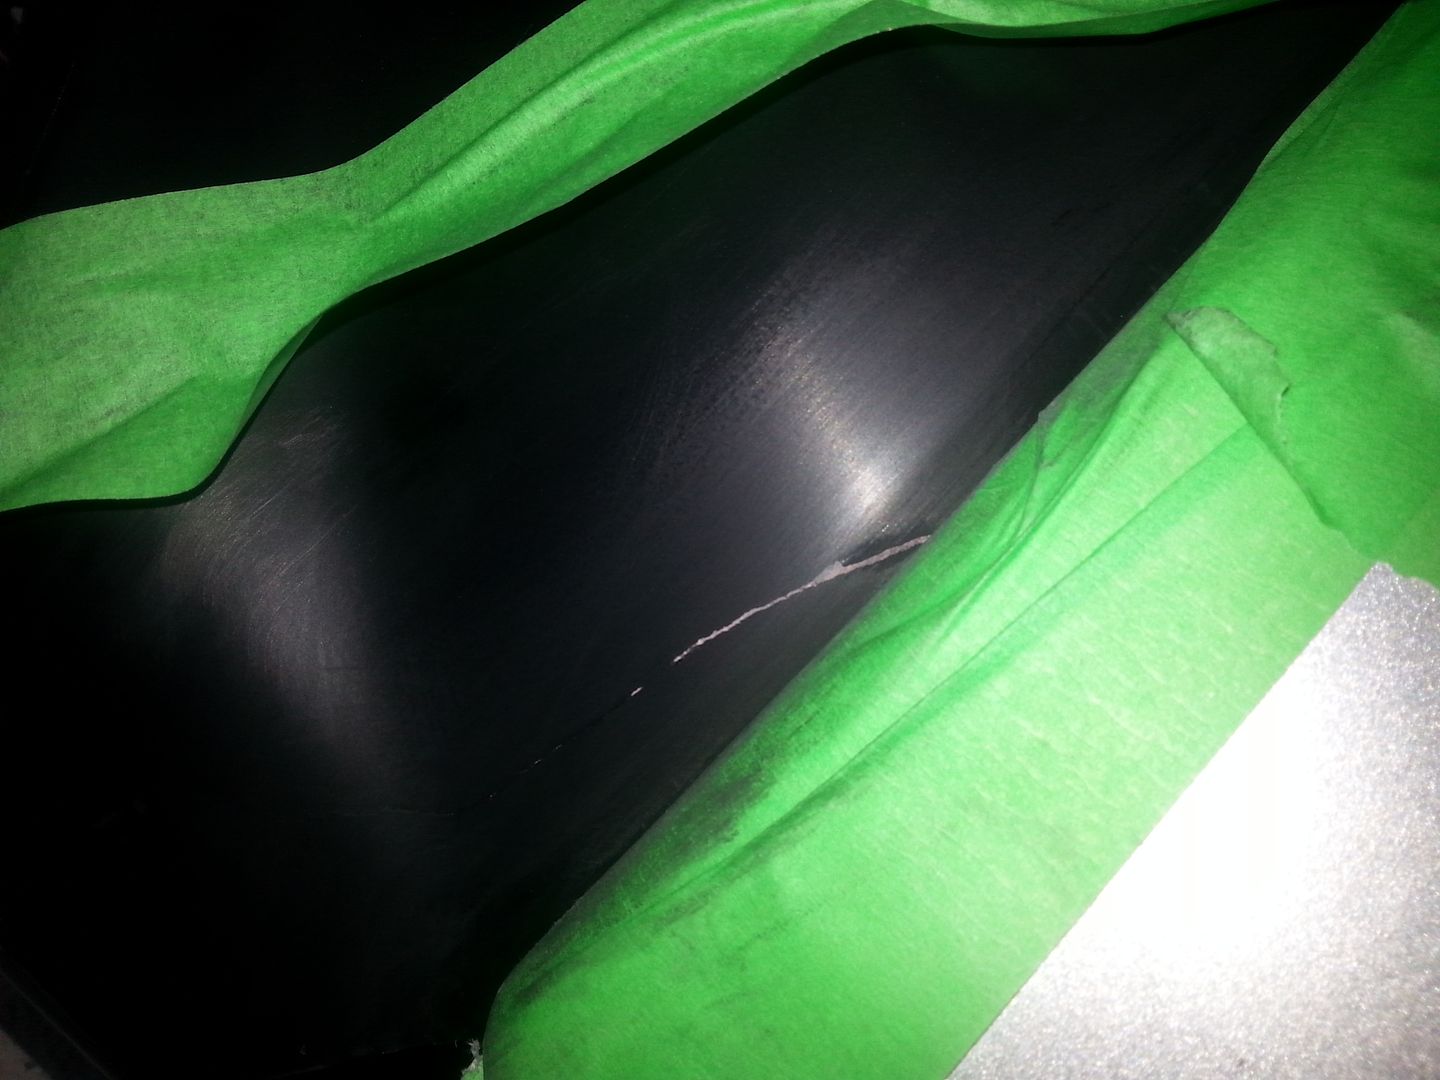
A few more coats were applied and the crack is now almost invisible.
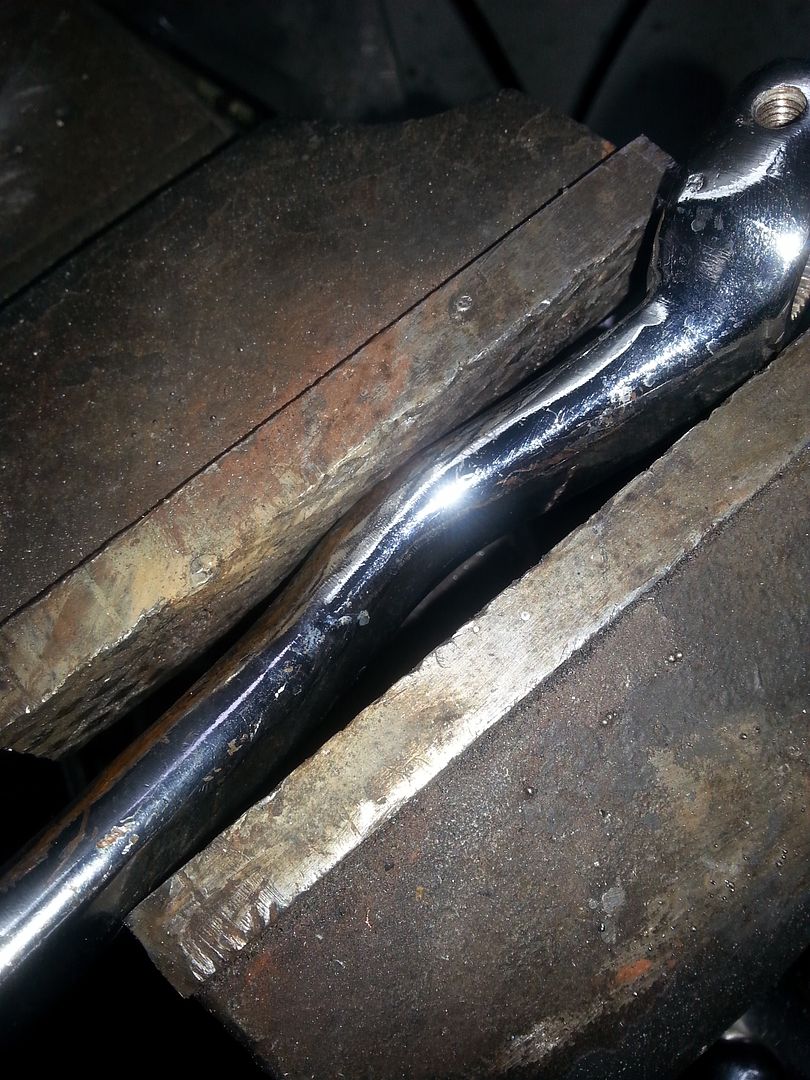
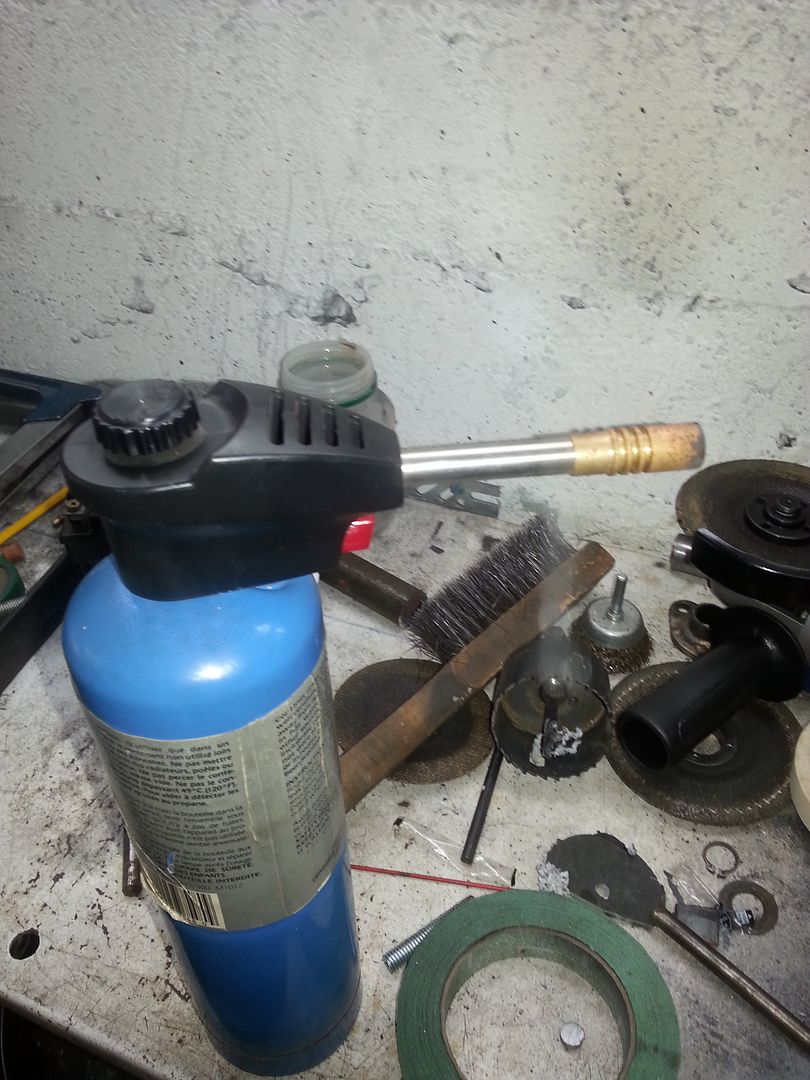
The kickstart lever was put in a vise and heated up. No secret here.
Some aluminum lid put to good use. I got a bout 4-5 of them with the pans that go with them. I use them as welding shield.
Think about it next turkey dinner.::nana2::
Applied the stickers to the back panels. These are of very good quality, are applied very easily and dont seem to want to peel off by themself. What else can you expect from stuff made in Canada.
I got them here:
www.ebay.ca/usr/rottenremains?_trksid=p2057872.m2749.l2754
They also have a website:
rottenremains.com/


I scavenged trough my recycle bin and found the old support for the back panels. Its not pretty but it will do the job.
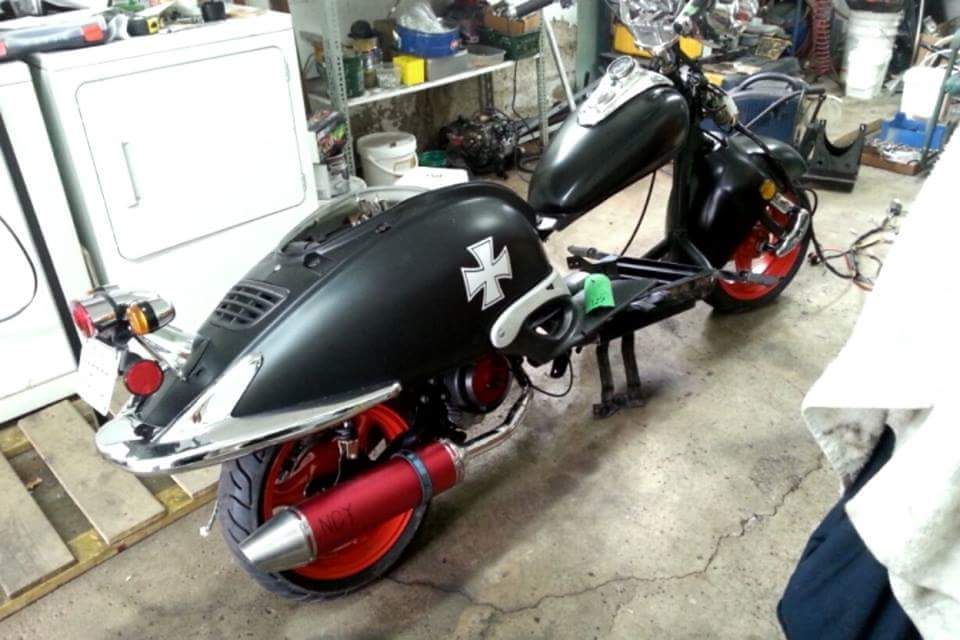
A more general idea of the final look.

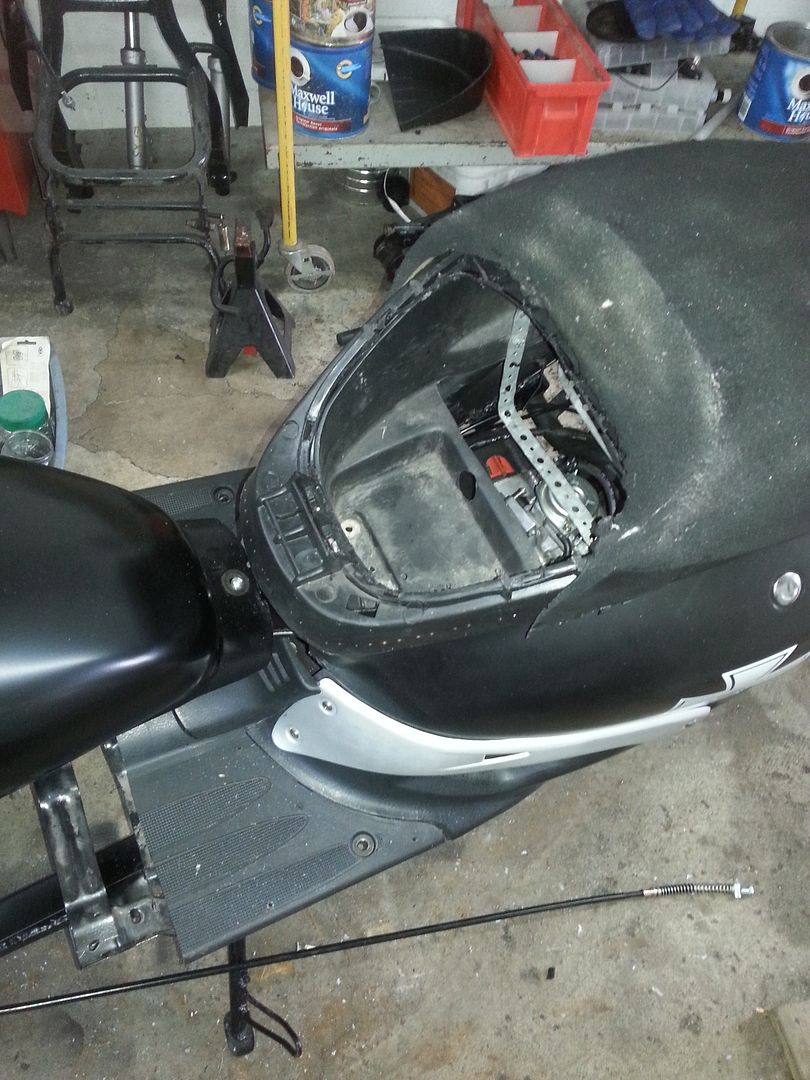
I want to get rid of the seat and turn it into a hood, so here we go!!!!
I know how i want it to look, but i have very little ideas on how to get there, so i went along with it and just did it as it came to me.
Removed the vinyl top. Roughly shaped the foam to what i wanted. Sanded it to a smooth finish.

One more try-on for size. The foam will serve as a base for the fiber glass hood. It will get a nice coat of ducktape, then the fiberglass will go on it.
A part of the seat frame was cut out to make room for a lower single seat.... witch is currently still roaming around in my brain.
By then it was time to join her, i needed it. Its been near the 30c with lots of humidity here today.
Mailman came by this morning and i got my pipe. I be going shopping today for a new battery and hopefully it will go BRAAAAM BRAAAAM today.
I got the pipe off Aliexpress and from looking at it, its of as good quality as anything you can find on eBay or on the web, but at a fraction of the cost. Just dont be in a hurry or order your part way in advance from them. It was ordered on May 6.
I think it crossed the Pacific in a row boat.
Went shopping today, needed a new battery. Bought a small cheap one that you have to put the acid yourself in it. Filled it, charged it and it make the engine turn so it was a good deal at $40.
While i was at Canadian tire, i looked up the fiberglass stuff to make the "hood" a bit expensive, so this gets a nice spot on the side burner.
Worked on the pipe. The header i ordered is made for a sporty looking scooter. mine is retro style so the pipe gets shot up in the body panel. Fixed it:
This is the pipe compared to a 50cc "El Cheapo" free flow exhaust.


First problem:
Second problem:
The solution:
I used a cutting disc to slice the header, but not all the way, just enough so i could give it the desired bent. Welded it, a little bit of grinding and VOILA!!!
DOH!!!... naaah
Now i needed something to hold the muffler:
Took a piece of scrap angle bar and done this.
Final result:
When i ordered the pipe, i wanted a black one but they were out of stock. No problem, i still had some of that satin black BBQ paint.
Fiddled a bit with ideas for the hood. All i could come up with as a fast short term solution was this:

This is VERY temporary until i get some $ for fiber glass of if i came come up with some other out-of-the-box idea. I just wanted to put it a side a bit and work on the seat. Once the seat is done I'll clean the tank, finish the wiring, and take it out for a spin. Most probably on saturday.
I cant wait to eat flies!!!
Last day of my "vacation" week.[/i][/b]
Today i wanted to ride it. I've been at it for 7 days including today, so i wanted to get my butt on it and feel it. So last night i plugged back everything, got it all cleaned up with zip ties. Engine turns over great; the pipe sings this lovely song: WOOOP!!! WOOOP!! WOOOP!!!
Nothing....
Its got gas, compression... no spark. ::no::
So i take out the plug, replace it, no spark. I unplugged the 2 wires going to the coil and put my test plunger to them. Nothing. So maybe its the stator or some wires. Checked them all out. Nope not there. Only other thing i had to check was the CDI. But it was good when i tried it on the mystery engine. Plunged the tester about everywhere i could think, and everything seemed fine. So i started to look for another CDI. There should be one lying around somewhere if my maths skills are are to date.
Found nothing, but then the garage is a very well organized mess.
This morning i went out and bought a new stock one. Its rev limited but i need one. $40.
Slapped it on and...
BRAAMMM!!!!
::nana2::
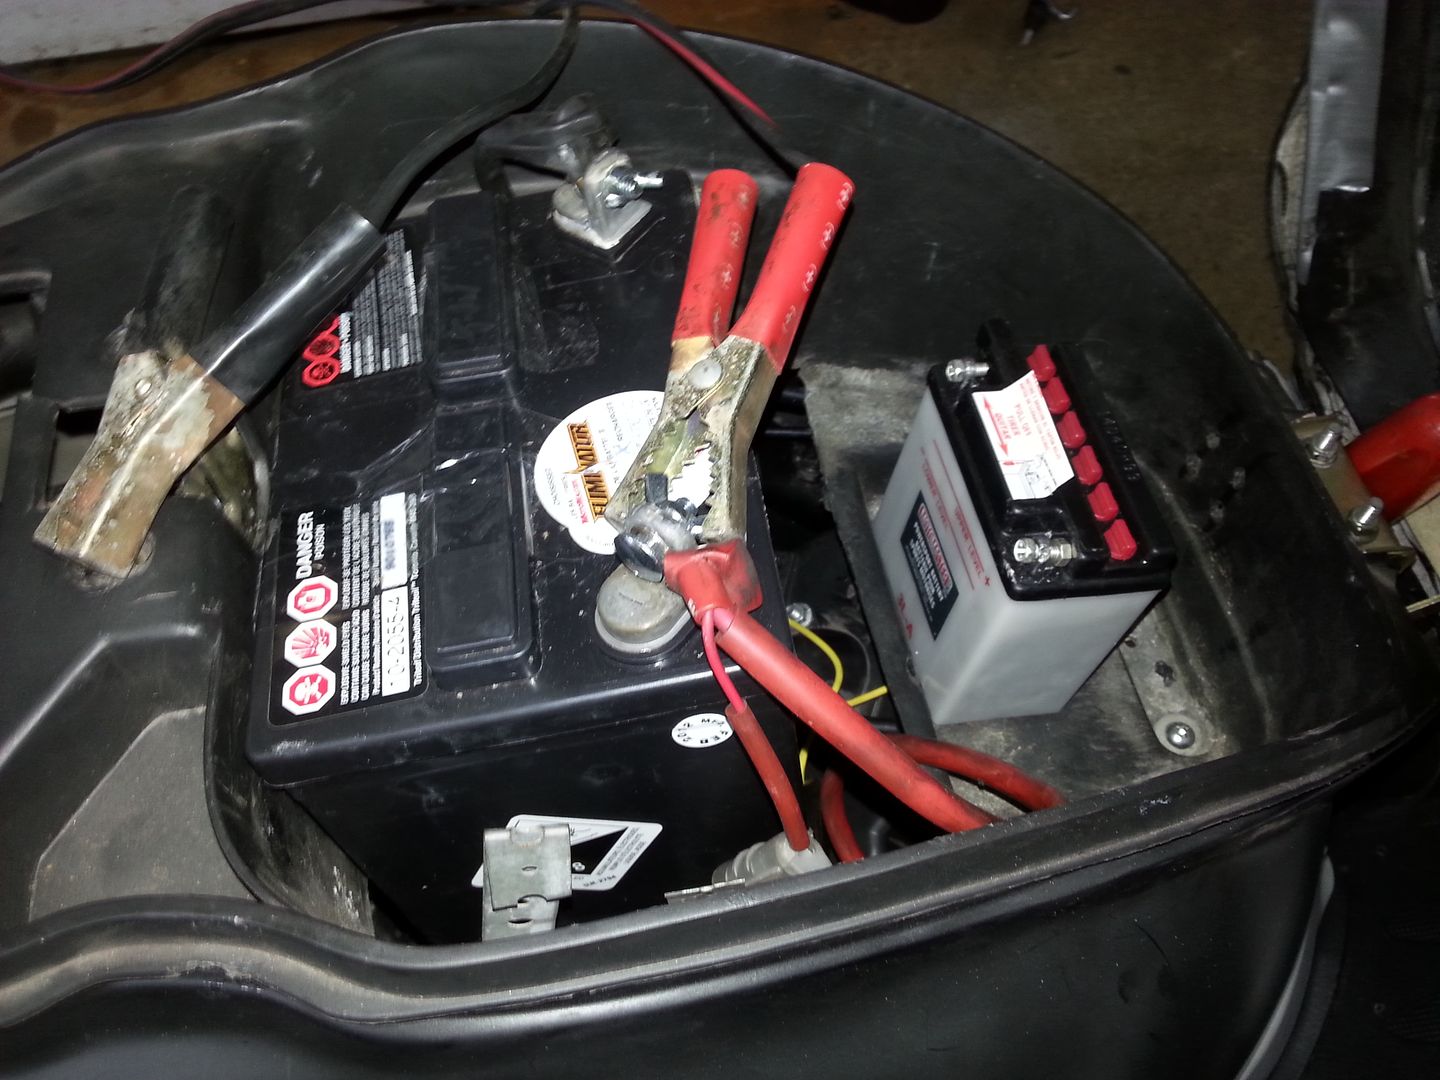
Took out some zip ties and replace everything nice and tidy. Got the little wussy battery attached. Tried again and the battery wouldn't turn the starter. Ok, going back to what worked before. I went out and bought another lawn mower trackor battery. Overkill? Maybe, but it works.
itstalled the choke enricher lever on the knee panel. 1 hole.
Took it outside and made the first video. Went for a stroll. Came back and checked the plug. Its was a nice coffee color. problem is: that plug was black as coal befor i went out.
Forgot to put on the High Performance Racing Air Filter i bought on eBay for $5. Its attached to about 18 inches of pool hose, witch is plugged in the carb intake. Crappy, ugly but i just love my redneck contraption.
Went out for another stroll, and all was fine.
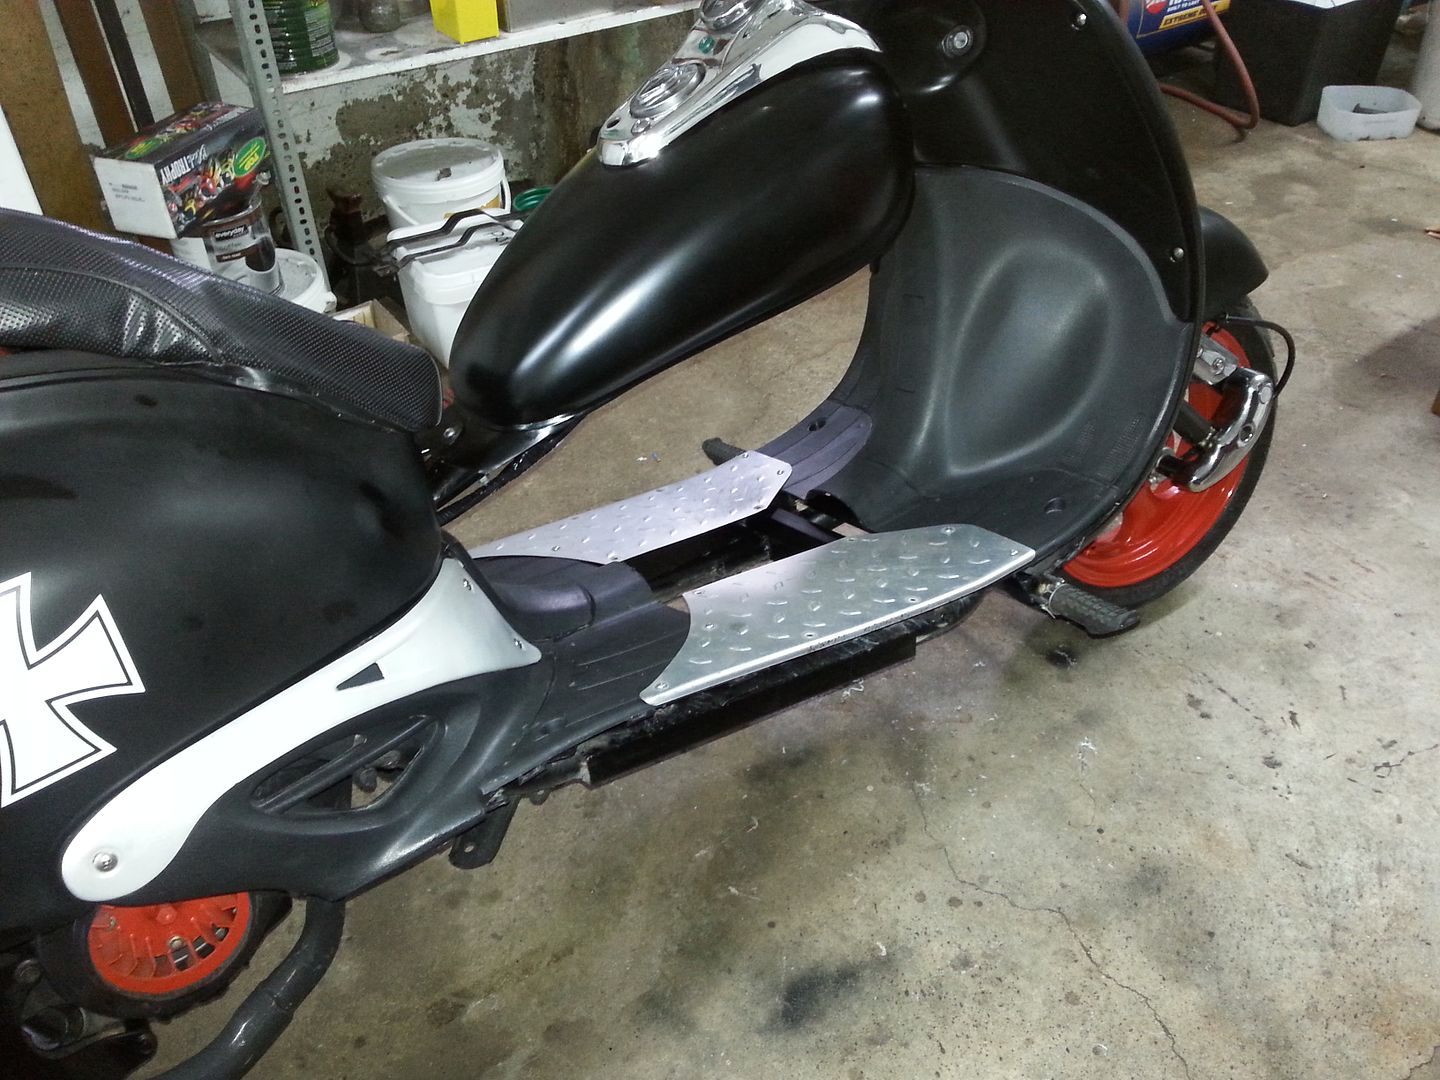
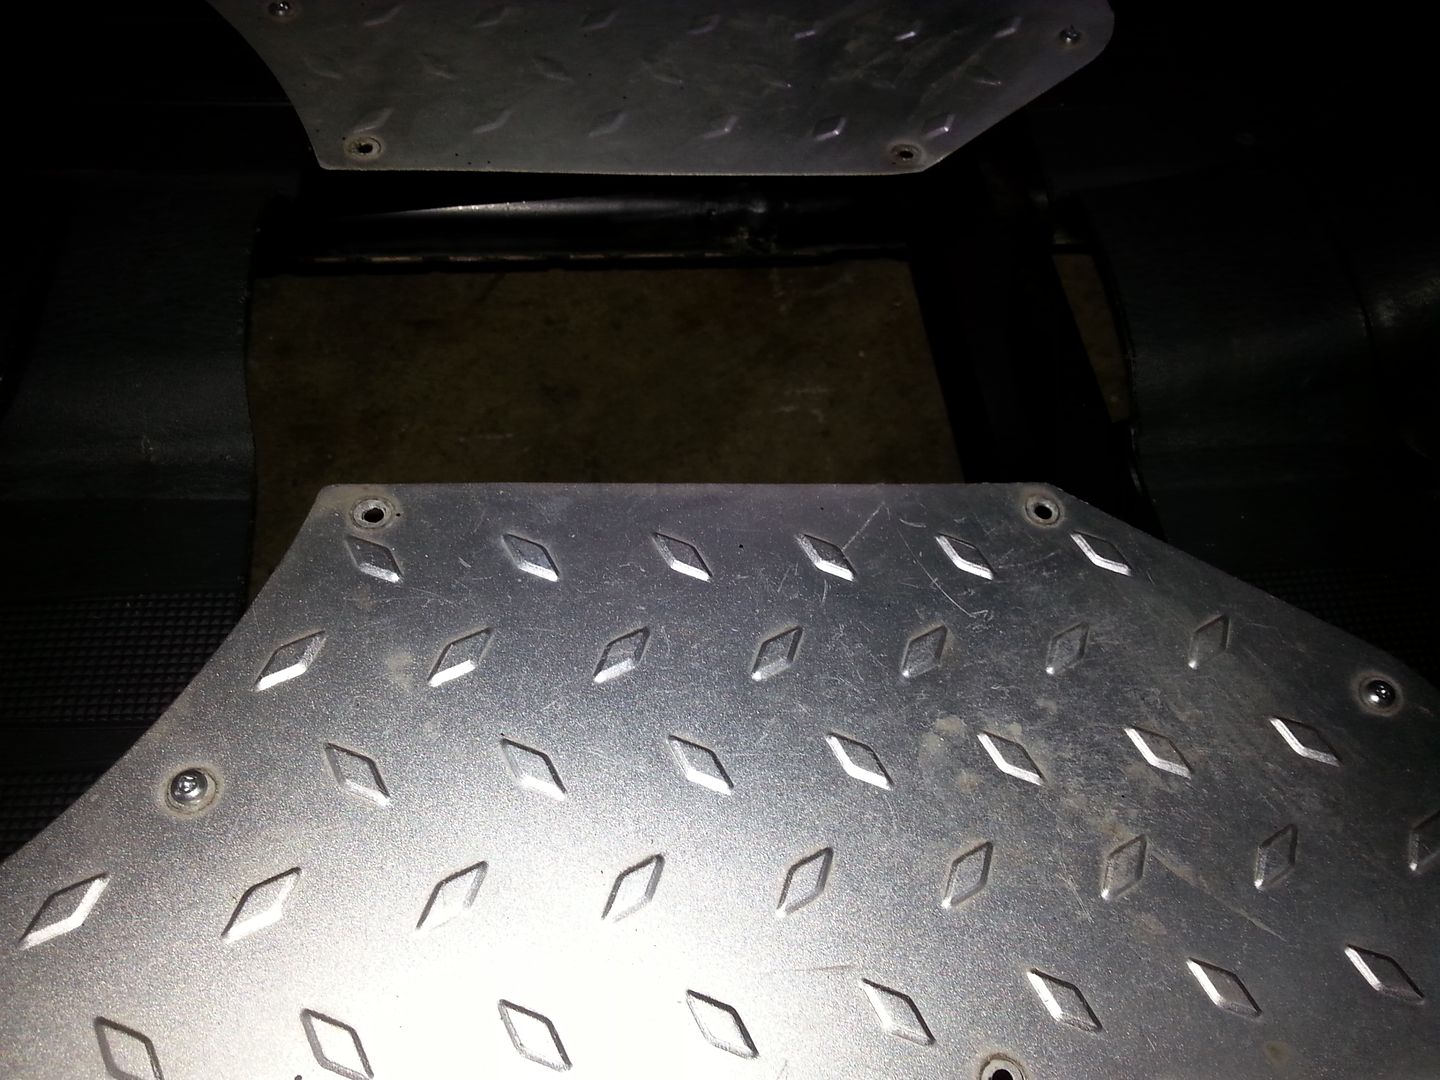
Came back before the rain began and cleaned up the garage. That's when i came up with the idea to put the aluminum floor board back on. I still have a hole in the middle, but its way better then having plastics dangling in the wind.
Got the muffler guard on and did some touch up and the strap that holds it. Back off and looked.
Flames are backward. ::banghead::
Got the muffler guard off and on and did some touch up and the strap that holds it. Back off and looked.
Picture time!!!
Its final resting place.
Fixing the choke lever on the panel.

Why didnt i think of it before? I'm gonna get a hamster wheel with a fake mouse/rat/rodent and put it in that space. ::lol2::
Overkill!!!
Bunnies!!!
Muffler guard
Im sorry if its a link to another forum, i'm just to lazy to repost 4 pages of picture heavy stuff.
Enjoy.
49ccscoot.proboards.com/thread/11153/guts-looks-build
This build will mostly be about slightly modifying the look of the scooter. I will be stretching it from the middle, adding a bike gas tank on a reinforcement bar, the wheels will go from 10 to 13 inches, a full paint job, and a new head light.
On the mechanical side, its getting a new variator Malossi Multivar. I'm still planning to add the dial-a-je kit and the oxy sensor, but those 2 thing are pretty much at the bottom of my "to do" list.
So here is the bike all stock:

And this is what i intend to do to it.

Did some more fiddling on it today, but first, a little teaser:

Started to fit on the head light, as always Murphy was around.
The connector and the mounting bracket:
NOT compatible!!! Murphy...

But both are an easy fix. I even started on the braket; witch will be sent out to get chromed one its done.

On the first look you see a washing machine and an old bakery pan.
But if you look closely you can see the pipe that will be on the scooter.

Worked some more on the headlight bracket today and got them practically ready for chroming.


Also started fabricating the center bar witch will hold the gas tank. It will also be solidifying the frame since it will be about 8 to 10 inches longer.
I salvaged some tubing from the kiddy swing that was in my mom's backyard when the pool was installed.


discreet opening to help keep my clutch cool.

Then i took out the brushes to give it a little look.

While i was toying with the rattlers, i stumbled on a nice can of flat black.

Pretty soon i'll be taking out the portable metal saw to chop it in 2 and stretch it. ::chinese::
I got front brakes now, came up with a pretty simple solution: I stretched the galiper retainer with some of that "Adamantium" bedframe angle bar. Now i only need a new break wire for the rear. The one i harvested from the donor is a little bit too much on the used side for my taste.


Forgot to take a final pictures of it finished and installed, but its pretty discreet.
Got around to buying some tubing for the stretch. unfortunately they did not have anything that would fit tightly inside on the tube so i doing the next best thing, im making the inner tube myself.
The outer tube is the exact same diameter as the frame, all i needed was some way to joint them together to make them more solid. The center bar for the tank will finish up the job to make this as stiff as can be.


I also fiddle with the gauges since i will be sitting lower on the bike.


Here are a few more pictures of the front break mods.
As you can see (more like picture), that little retaining arm will not be going anywhere.


More pixturez.
Needed a way to secure the inner pipe to the outer one, so i used a method i saw when i was working in a scaffolding shop. You drill a hole in the outside pipe, and weld the inner one to it by filling the hole.


And then Murphy had to borrow my grinder for 5 mins. I swear im gonna kill that guy.

So after a quick trip to Canadian Tire, it was back to prepping the frame.


The next pictures containts violence, mature viewers only!!!!


It was a tight fit but buy using a a binder i was able to set it back together.


Did some more work on the frame and installed the manual choke on the carb.
The frame was reinforced with some of my epic BED FRAME STEEL FROM HELL!!! Its a bit overkill but my butt will be on that scooter for my summer scamping trip.
The center bar is pretty much in its final stage of fabrication, only needs some good clamping devices in the front and a flat plate to bolt it to the frame where the seat will be.
For the front clamps, i was thinking of some muffler clamps if i can find the right size. Once that's done, it will be an angle bar welded to the other end, with holes to matching those 2 on the frame.
The problem with the engine being too close to the front was also fixed. I just moved the 2 bracket about 1/2 inch back.


Where the muffler clamps will go:

The manual choke was a bit tricky to install. I had to modify the stock holding bracket because the one that came with the kit would not get the choke assembly to rest properly in its housing. So i filled the holding bracket of the electrical choke until it was a perfect fit. Otherwise, this kit is pretty simple to install, but some instructions will probably come with them soon.


thing i was looking foward to was to build my own pipe but time is ticking away pretty fast now. I want this build done by mid june. I'm gonna be riding it to Perce QC. A 2500 km round trip.
So i ordered a few parts that i'll have to fiddle with.
The pipe will be the red one with the cone tip.
www.aliexpress.com/item/Universal-GY6-scooter-JOG-RSZ-engine-exhaust-pipe-muffler-pipe-alloy-alluminium-gold-blue-black-accessories/1903052191.html
Header pipe witch will have to be cut and welded to fit my body panel.
www.aliexpress.com/item/Universal-GY6-50cc-125cc-150cc-scooter-JOG-RSZ-engine-exhaust-pipe-muffler-pipe-accessories-Free-Shipping/1903067293.html
The muffler guard, for the look and its mandtory up here even if not to many have one.
www.aliexpress.com/item/New-Chrome-metal-steel-motorcycle-hollow-flame-exhaust-muffler-heat-shield-cover-heel-guard-9-exhaust/1595636592.html
Since you all could witness my amazing welding talent, i ordered some header wrap. Please notice that it says "TURBO". I expect about 7 HP more with that on the scoot.::lol2::" style="max-width:100%;"]
www.aliexpress.com/item/5M-Exhaust-Turbo-Manifold-Header-Heat-Wrap-Front-Pipe-Turbo-Insulating-Tape-Free-shipping/32230327127.html
Some riding googles:
www.aliexpress.com/item/Hot-trend-Outdoor-Motorcycle-Goggles-Windproof-Glasses-Safety-Sport-Glass-Smoke-Lens-Free-shipping-HS0289/889992381.html
A scoop for the fan.
www.aliexpress.com/item/High-Performance-Chrome-Fan-Cover-Air-Scoop-Cap-Gy6-125cc-150cc-Chinese-Scooter-Jonway-Znen-Tank/2045513720.html
And last, a solar charger for my phone.
www.ebay.ca/itm/311305450896?_trksid=p2057872.m2749.l2649&var=610415927580&ssPageName=STRK%3AMEBIDX%3AIT
I'll be making a scamping thread with a link to a photobucket album to share this little trek with you guys.
Now im off to bed, another crazy day is waiting for me tomorrow.
Still waiting for the parts to come in, but i finally got busy on it.
Got the plastic fitted for the center bar, used a jigsaw and a hole-saw and some files to get a clean result. That part will be pretty much hidden by the gas tank, so i dont mind if the opening is a bit big.


Then i fabricated the tank mount. I used 1/2 of the same pipe i used for the bar and welded a perpendicular tube on it. Pictures tells it better. Then i welded that piece to the center bar. Perfect fit.


The edges of the gas tank mounting tube were wrap in self-adhesive rubber both ont the edges and at the end to prevent vibration from going trough the side of the tank. Gave the center bar a coat of that famous black powdercoat look-a-like BBQ paint. I like the finish of it, not too flat, but not to glossy either. The scoot will be painted that exact same color.
After that it was BRAAMM time.
I did a little mock-up to see and show you what it will look like. I will get more done pretty soon, i booked 1 week of vacation time next week to finish this build, so more pixturez are on the way.
::popcorn::" style="max-width:100%;"]


More stuff got done today. The wheels got preped and painted; the body panels got washed, wet sanded and painted and the muffler guard got taped and is ready to paint. I will be working on it all week since i took a one week vacation just for that.
The washing and sanding got done outside while drink cola, eating chips and having a few cigars. But most importantly, no kitten were hurt during the process.
Here are more pixturez.


That is the final color of the scooter. I used BBQ black paint (low gloss). Totally flat black is not ideal as it will grab dust and get greyish pretty fast. The other thing is: if you wash it and rub harder on some spots they will become somewhat glossy and look like them badass flat black 2001 4 door corolla with neon colored rims ricers.
A bit like this:
www.performanceprobe.com/forum/showthread.php?t=45717
::lol::


The exhaust i bought is red but it will be repainted the same color as the wheel. To make the muffler guard look like its floating i will paint the holding brakets the same color.

Here are some nice decals i got for the rear body panels.

Today i got the front wheel back on the forks, as well as the mud guard. The new rear brake cable got installed, the rear wheel got back on the base, the mounting brackets for the fuel tank got welded on, made me a "high performance-racing-torbo charged-air ramming oversize" fan.
Just before i screwed back the orange cateyes on both side. Want to keep it street legal.::angelgrin::

In order to weld the brackets back i had to know where to put them, so i bolted them to the tank and VOILA!!!
The tank was emptied, washed twice with soapy water and was full of it when i welded the brackets back. I might be dumb, but not THAT dumb. ::lol::
Did a bunch of welding too where the floor board is gonna go. I was originally thinking about buying a second board, and use the 2 to make a long one.
That wont be the case:
1- 1 more floor board wont be enough.
2- At $40 a pop for 1 board, buying 2 is not an option.
So i guess i'll be taking out the heat gun and will be molding one out of whatever i get my hands on.
Here is my revamped fan.


+9.7 HP now!!!
::wheelie::" style="max-width:100%;"] ::checkered::
Part 3 of my Build-a-thon[/b]
Been busy today, finished putting the engine together, the engine got back on the scooter, worked on the floor board a bit, fixed a panel that needed repainting, got the back part of the body assembled, broke it, fixed it, then called it a day.
Here is how the frame will be under the floor board. I just hope that with all that extra metal i added to this ride that i'll still be able to take of on red lights.
These are the supports for the floor with the peg extensions. I made the extensions so that in case the rub on the road, they will fold backward.

Here is the floor board:

There is no way im gonna try to extend that part:

Same with this one:

So the best i could think of was: If not the front or the back, lets stretch it in the middle!!! ::idea::" style="max-width:100%;"]
Straight lines, square part, just need to make that hump in the middle.


With the engine on:

The little grill in front of the fan was broken, so i took it off. Im gonna have some kind of screen inside the scoop that will come in the mail someday.

This was still a problem even after i moved the motor mounting brackets on the frame. Taking it all apart again was not a tempting option, so i did the next best thing: I cutted the top of it.

I did that after mesuring the depth of the whole inside the breather tube to be sure i would not ruin it. I used one of them little straw you get when you buy a can of WD-40. Call me Mister-Hi-Tech. ::rockon::" style="max-width:100%;"]

Brand new rear brake cable was installed. No secrets or mystery about that.

Brand new fuel hoses all over the scooter:


This was previously on both sides of the rear body panels. I kept them to see how they would look on the tank. I'll be getting new ones tomorrow.

My little one was making "magic potion" out of dandelions, liquid soap and whatever else she could think of.

Repainted the CVT cover with some wannabe HAMMERED paint. I was more hammered by the result then the paint itself. Gonna have to try and fix that and make it come out right... or simply buy regular paint.

crap happens:

But if fixed it right away:
Mixed up some of that stuff, applied it very generously, wiggled the part where it was broken to get the /glue/putty/bondo thing in the crack, then added some fiberglass tape. 2 layers.


Tomorrow, i'll have to dissasemble the whole rear body part, sand it and repaint it. Sux but cant really do anything else about it.
The color used for the wheels and fan is: Chevrolet engine bay orange. I'm trying to restraint myself from putting too much of that stuff everywhere.
::hmmm::" style="max-width:100%;"]
Another good day today, The crack in the body panel is almost invisible. Fixed the croocked kickstart. Fitted the rear body on the scoot. Worked on the "hood". The foot pegs got welded to the frame and i made me an expensive ashtray.
Here is the crack all prep up for the magic trick. Tape was apply that way to prevent over spray from going everywhere, but it was not full applied so that i would not get a tape line in the paint.


A few more coats were applied and the crack is now almost invisible.
The kickstart lever was put in a vise and heated up. No secret here.


Some aluminum lid put to good use. I got a bout 4-5 of them with the pans that go with them. I use them as welding shield.
Think about it next turkey dinner.::nana2::

Applied the stickers to the back panels. These are of very good quality, are applied very easily and dont seem to want to peel off by themself. What else can you expect from stuff made in Canada.
I got them here:
www.ebay.ca/usr/rottenremains?_trksid=p2057872.m2749.l2754
They also have a website:
rottenremains.com/


I scavenged trough my recycle bin and found the old support for the back panels. Its not pretty but it will do the job.

A more general idea of the final look.

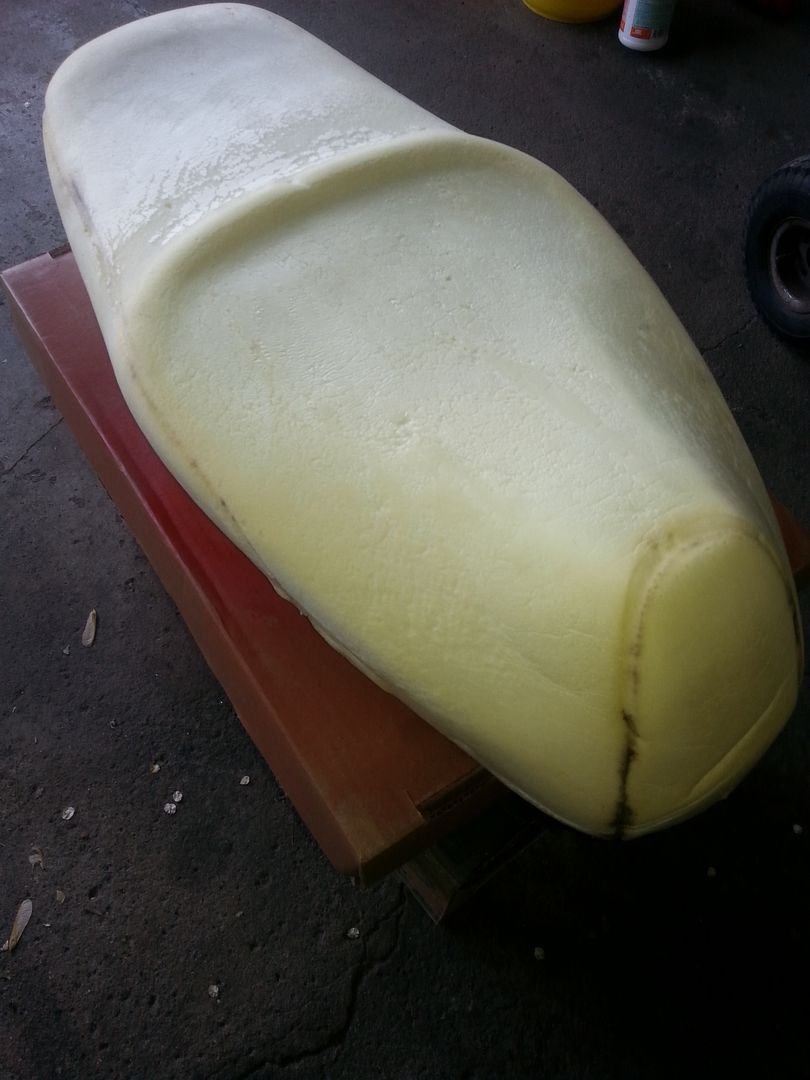
I want to get rid of the seat and turn it into a hood, so here we go!!!!
I know how i want it to look, but i have very little ideas on how to get there, so i went along with it and just did it as it came to me.
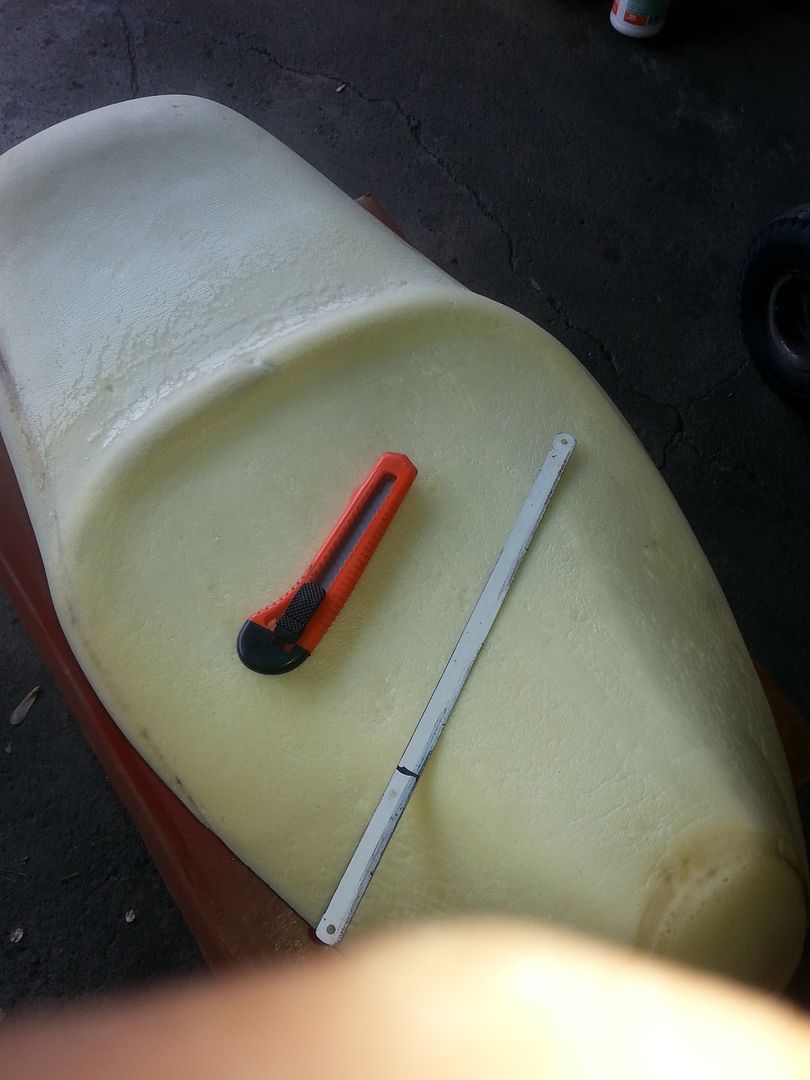
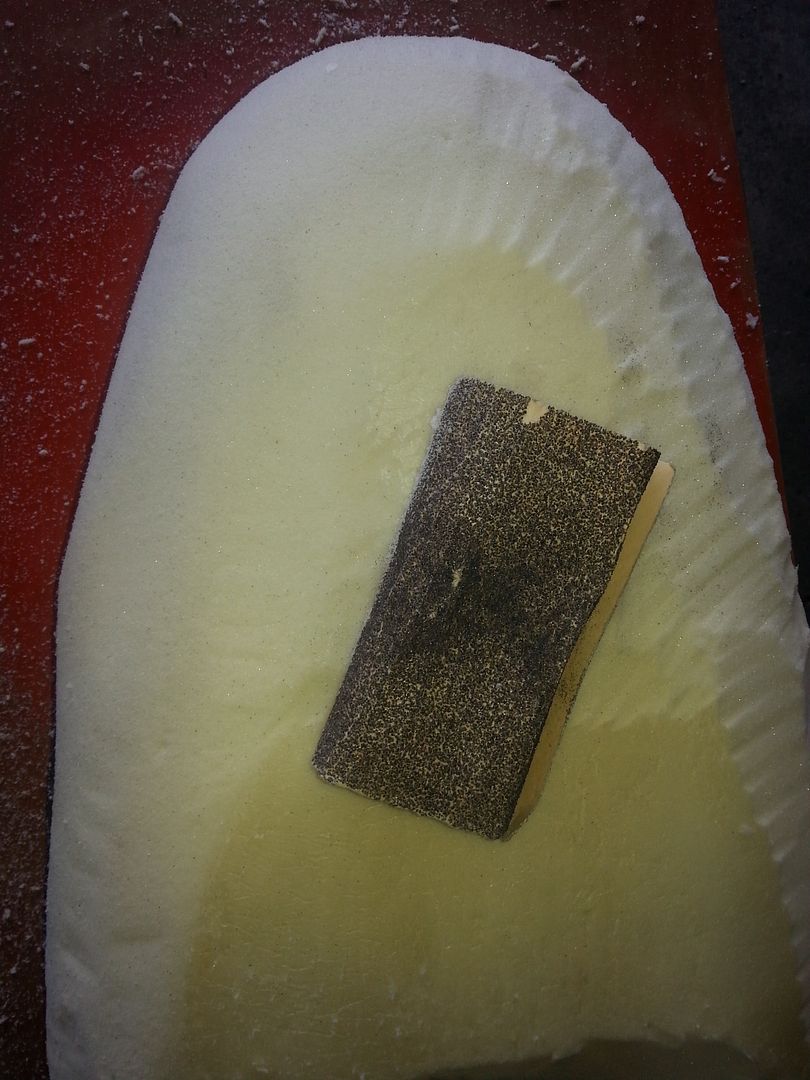
Removed the vinyl top. Roughly shaped the foam to what i wanted. Sanded it to a smooth finish.


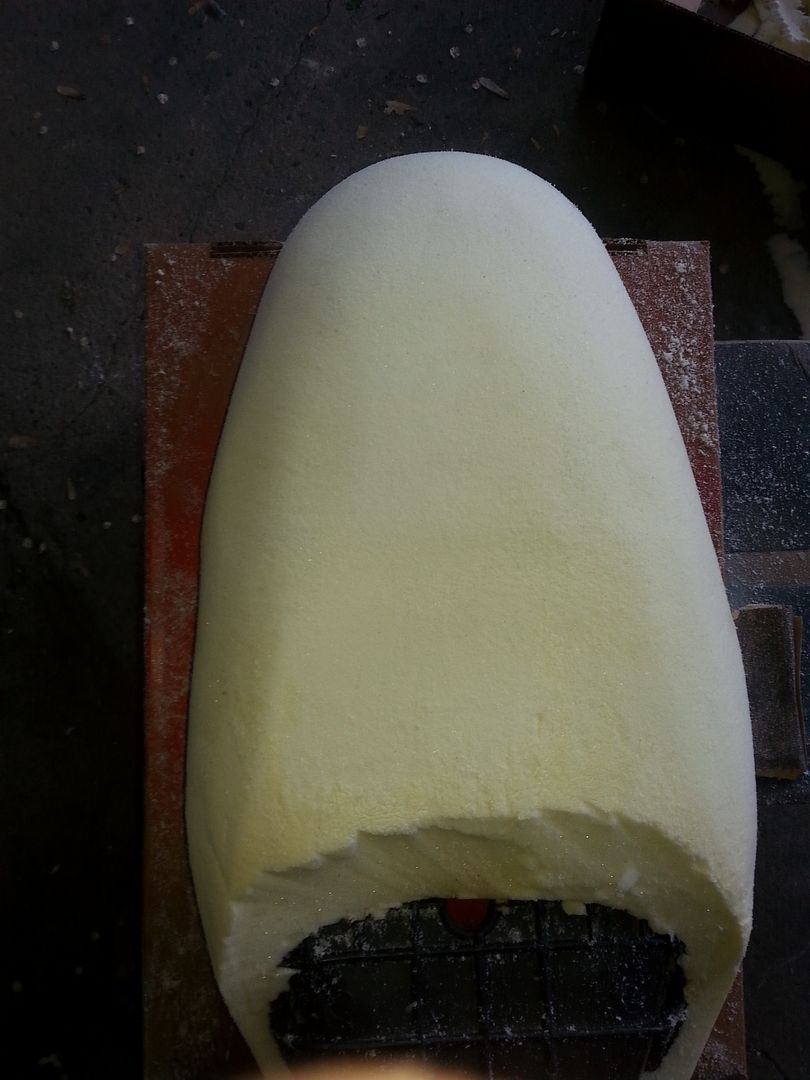
One more try-on for size. The foam will serve as a base for the fiber glass hood. It will get a nice coat of ducktape, then the fiberglass will go on it.

A part of the seat frame was cut out to make room for a lower single seat.... witch is currently still roaming around in my brain.

By then it was time to join her, i needed it. Its been near the 30c with lots of humidity here today.

Mailman came by this morning and i got my pipe. I be going shopping today for a new battery and hopefully it will go BRAAAAM BRAAAAM today.
I got the pipe off Aliexpress and from looking at it, its of as good quality as anything you can find on eBay or on the web, but at a fraction of the cost. Just dont be in a hurry or order your part way in advance from them. It was ordered on May 6.
I think it crossed the Pacific in a row boat.

Went shopping today, needed a new battery. Bought a small cheap one that you have to put the acid yourself in it. Filled it, charged it and it make the engine turn so it was a good deal at $40.
While i was at Canadian tire, i looked up the fiberglass stuff to make the "hood" a bit expensive, so this gets a nice spot on the side burner.
Worked on the pipe. The header i ordered is made for a sporty looking scooter. mine is retro style so the pipe gets shot up in the body panel. Fixed it:
This is the pipe compared to a 50cc "El Cheapo" free flow exhaust.


First problem:

Second problem:

The solution:
I used a cutting disc to slice the header, but not all the way, just enough so i could give it the desired bent. Welded it, a little bit of grinding and VOILA!!!


DOH!!!... naaah


Now i needed something to hold the muffler:
Took a piece of scrap angle bar and done this.


Final result:

When i ordered the pipe, i wanted a black one but they were out of stock. No problem, i still had some of that satin black BBQ paint.

Fiddled a bit with ideas for the hood. All i could come up with as a fast short term solution was this:

This is VERY temporary until i get some $ for fiber glass of if i came come up with some other out-of-the-box idea. I just wanted to put it a side a bit and work on the seat. Once the seat is done I'll clean the tank, finish the wiring, and take it out for a spin. Most probably on saturday.
I cant wait to eat flies!!!
Last day of my "vacation" week.[/i][/b]
Today i wanted to ride it. I've been at it for 7 days including today, so i wanted to get my butt on it and feel it. So last night i plugged back everything, got it all cleaned up with zip ties. Engine turns over great; the pipe sings this lovely song: WOOOP!!! WOOOP!! WOOOP!!!
Nothing....
Its got gas, compression... no spark. ::no::
So i take out the plug, replace it, no spark. I unplugged the 2 wires going to the coil and put my test plunger to them. Nothing. So maybe its the stator or some wires. Checked them all out. Nope not there. Only other thing i had to check was the CDI. But it was good when i tried it on the mystery engine. Plunged the tester about everywhere i could think, and everything seemed fine. So i started to look for another CDI. There should be one lying around somewhere if my maths skills are are to date.
Found nothing, but then the garage is a very well organized mess.
This morning i went out and bought a new stock one. Its rev limited but i need one. $40.
Slapped it on and...
BRAAMMM!!!!
::nana2::
Took out some zip ties and replace everything nice and tidy. Got the little wussy battery attached. Tried again and the battery wouldn't turn the starter. Ok, going back to what worked before. I went out and bought another lawn mower trackor battery. Overkill? Maybe, but it works.
itstalled the choke enricher lever on the knee panel. 1 hole.
Took it outside and made the first video. Went for a stroll. Came back and checked the plug. Its was a nice coffee color. problem is: that plug was black as coal befor i went out.
Forgot to put on the High Performance Racing Air Filter i bought on eBay for $5. Its attached to about 18 inches of pool hose, witch is plugged in the carb intake. Crappy, ugly but i just love my redneck contraption.
Went out for another stroll, and all was fine.
Came back before the rain began and cleaned up the garage. That's when i came up with the idea to put the aluminum floor board back on. I still have a hole in the middle, but its way better then having plastics dangling in the wind.
Got the muffler guard on and did some touch up and the strap that holds it. Back off and looked.
Flames are backward. ::banghead::
Got the muffler guard off and on and did some touch up and the strap that holds it. Back off and looked.
Picture time!!!
Its final resting place.

Fixing the choke lever on the panel.


Why didnt i think of it before? I'm gonna get a hamster wheel with a fake mouse/rat/rodent and put it in that space. ::lol2::


Overkill!!!

Bunnies!!!

Muffler guard

Im sorry if its a link to another forum, i'm just to lazy to repost 4 pages of picture heavy stuff.
Enjoy.
49ccscoot.proboards.com/thread/11153/guts-looks-build


 CAN YOU HELP ME OUT MAN,AS i LOST ME JOB DUE TO NOT BEING ABLE TO GET THERE?ANY INF